I found some rubber pieces in the door latches, and knew that they shouldn’t be there – at least they wouldn’t have been there originally. So, I took them out, and then found that the door wouldn’t properly latch closed. Oh, that’s why Grandpa Wayne used those rubber pieces. I mashed them back in so that the door would close properly, but knew I would need to re-build those latches.
Once I got the new springs for the latches (from a latch rebuild kit from Bratton’s), I set about the rebuild. They were pretty dirty to start with.

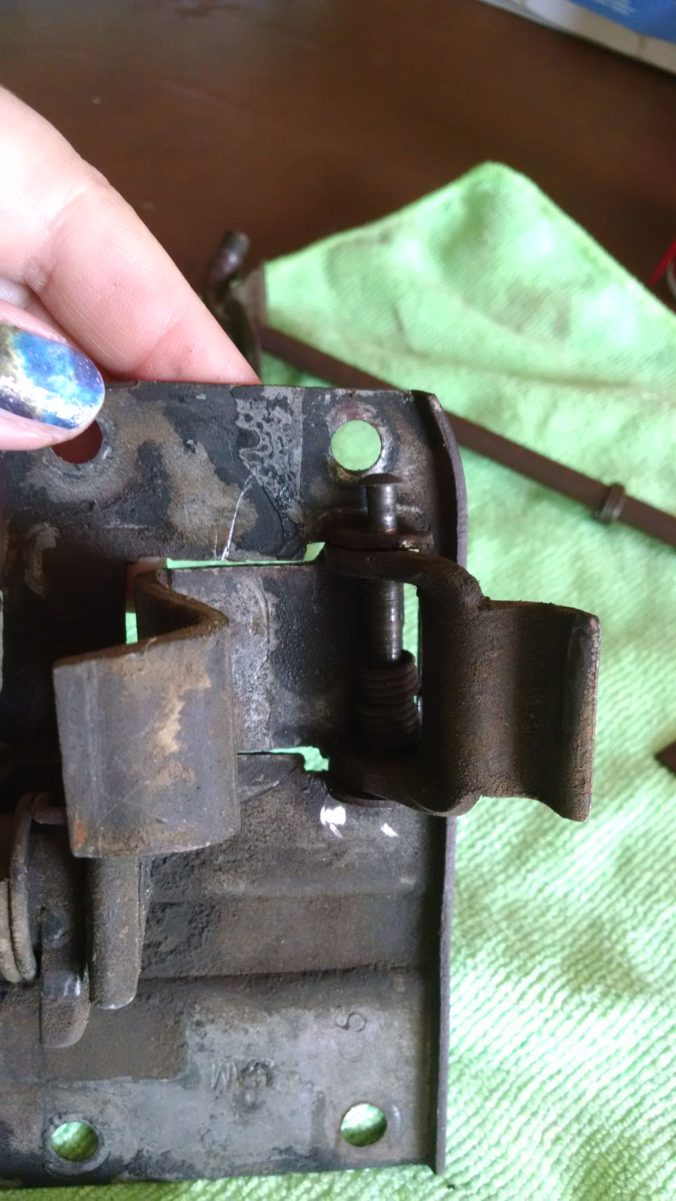
First task was to pull the pin holding the latch in. Note that there’s no spring there – thus the use of the rubber pieces.

Another spring (note it’s mostly gone) needed me to bend back the metal. I’m always a little weirded out by bending metal in a car, because I’m worried about getting it back where it started. But I’ve done it a few times now on other projects, so just forged ahead.
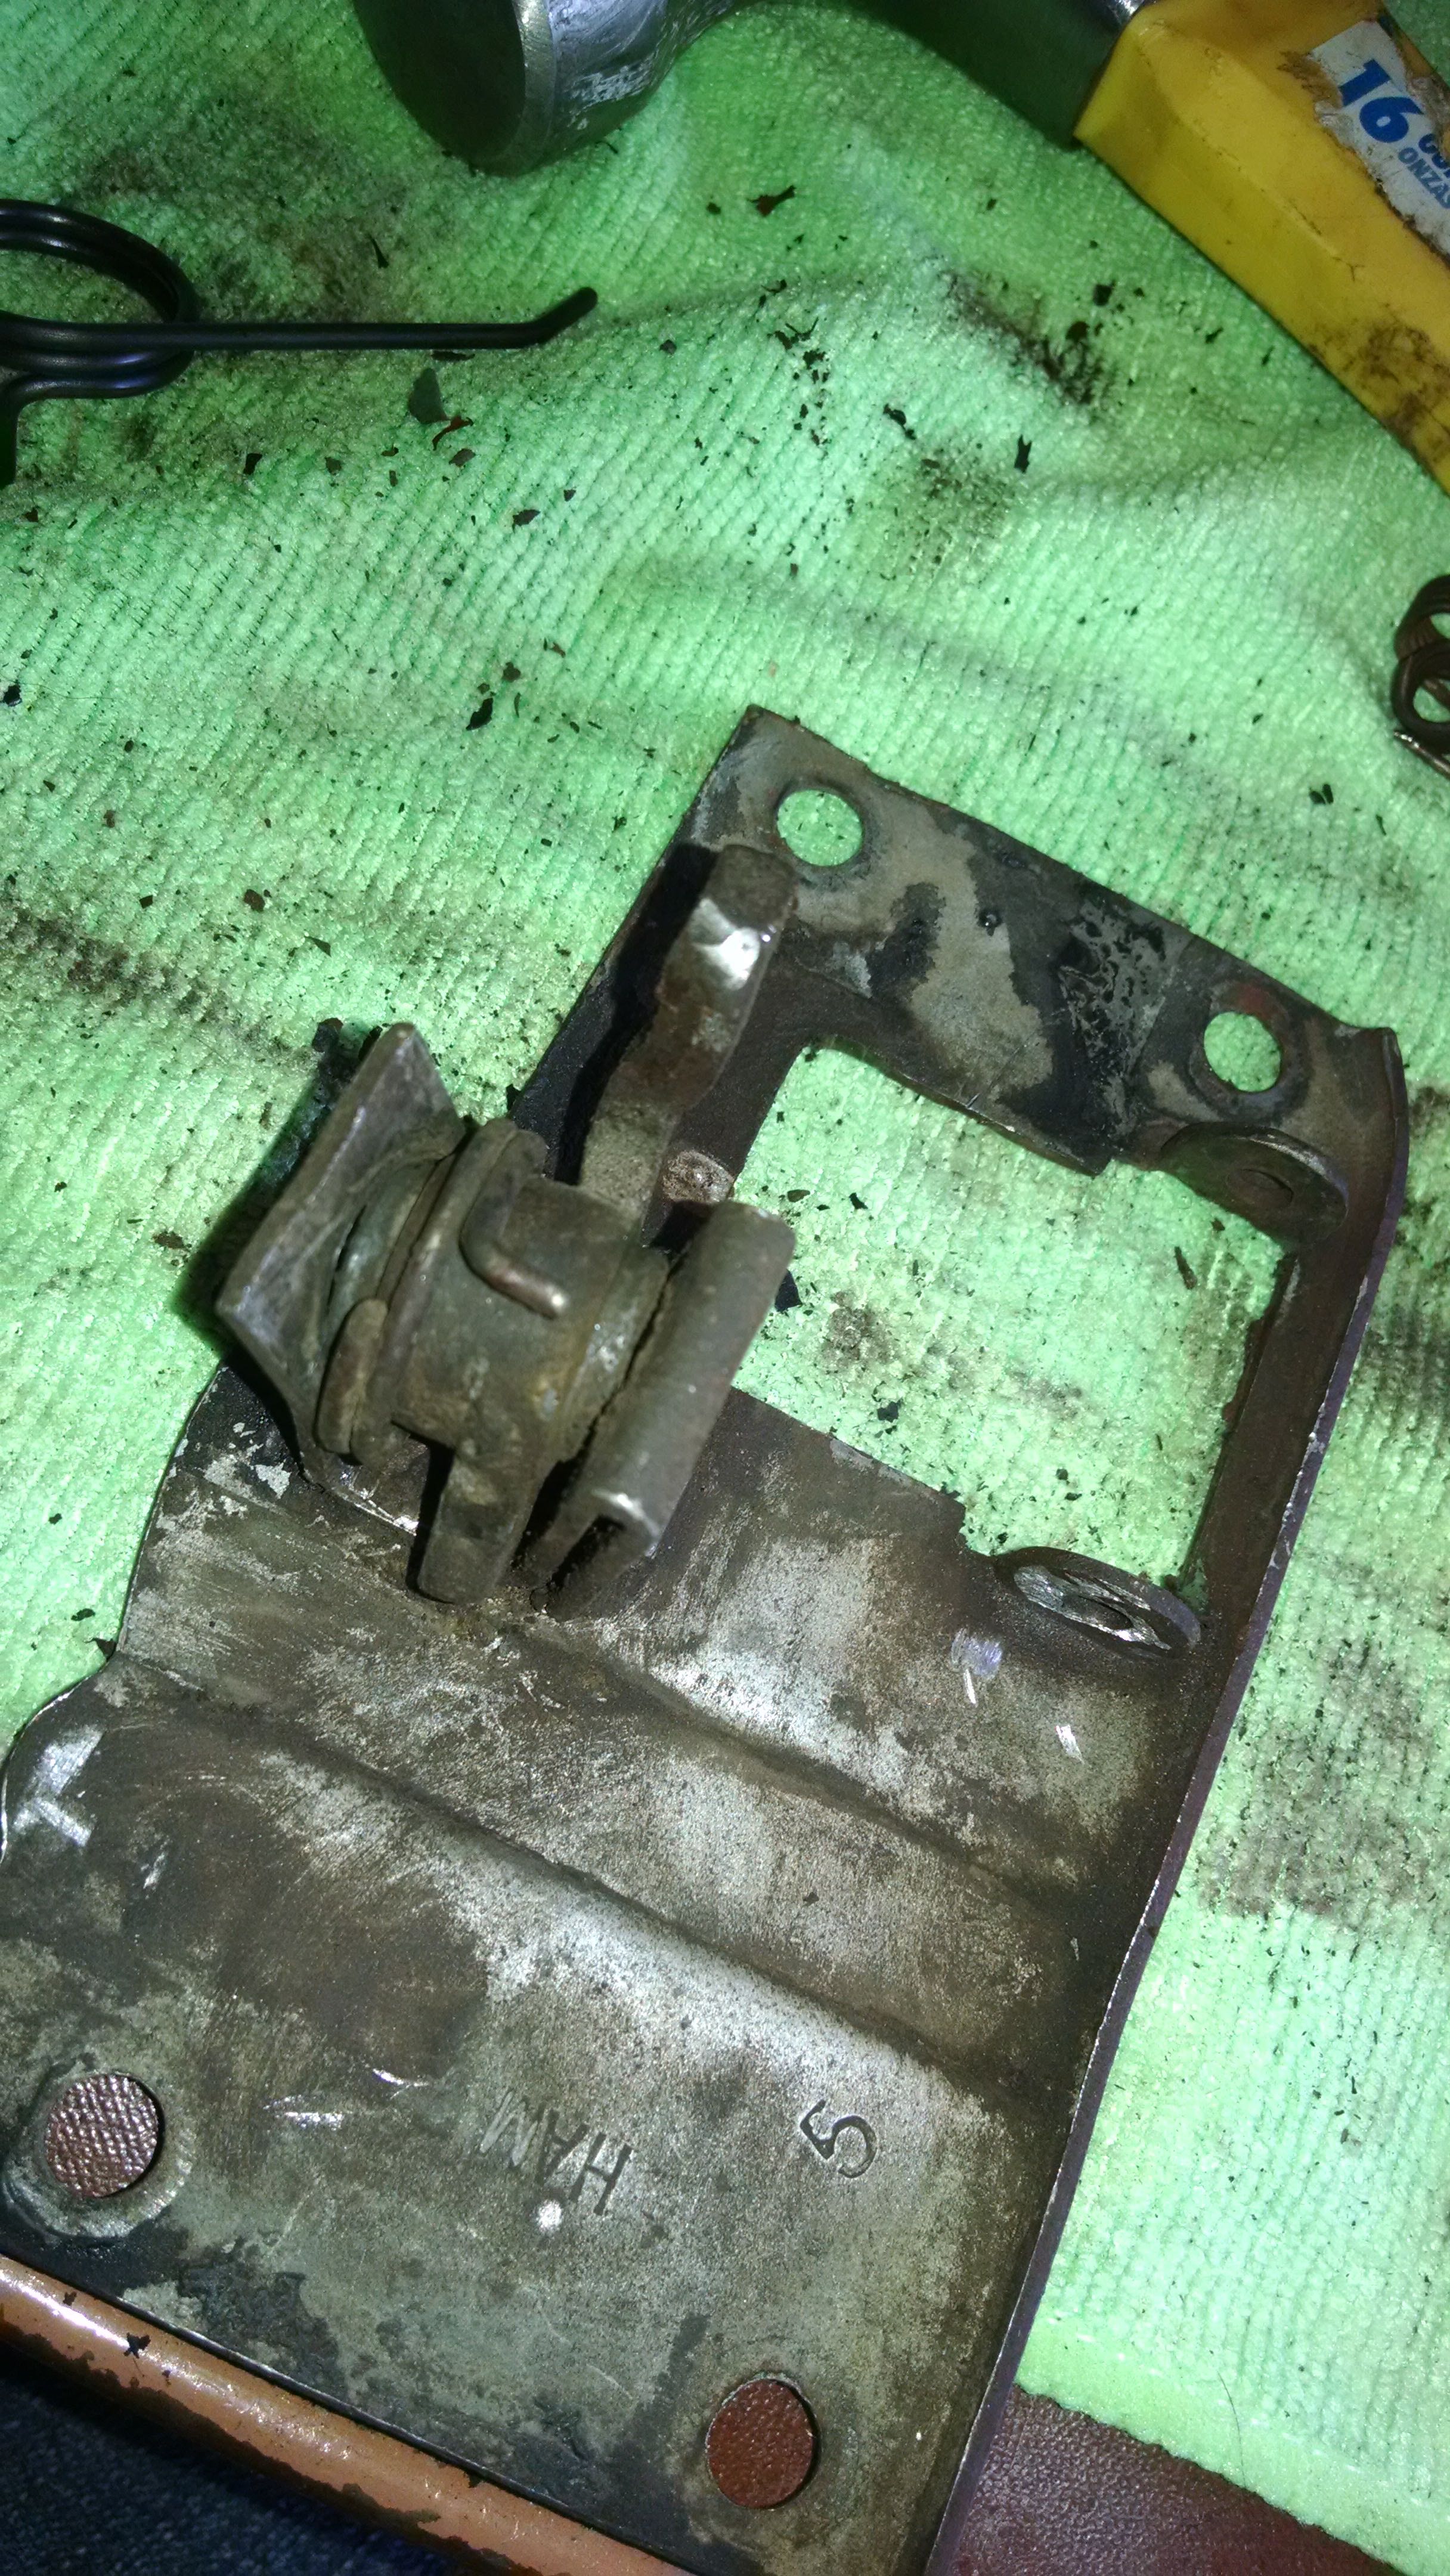
I was able to figure out the placement of one of the springs because the shards of it were still in the latch when I took it apart (and was smart enough to take the above picture before I took it apart!). This one was relatively easy to get back in, and then I bent back the metal I had pulled apart.
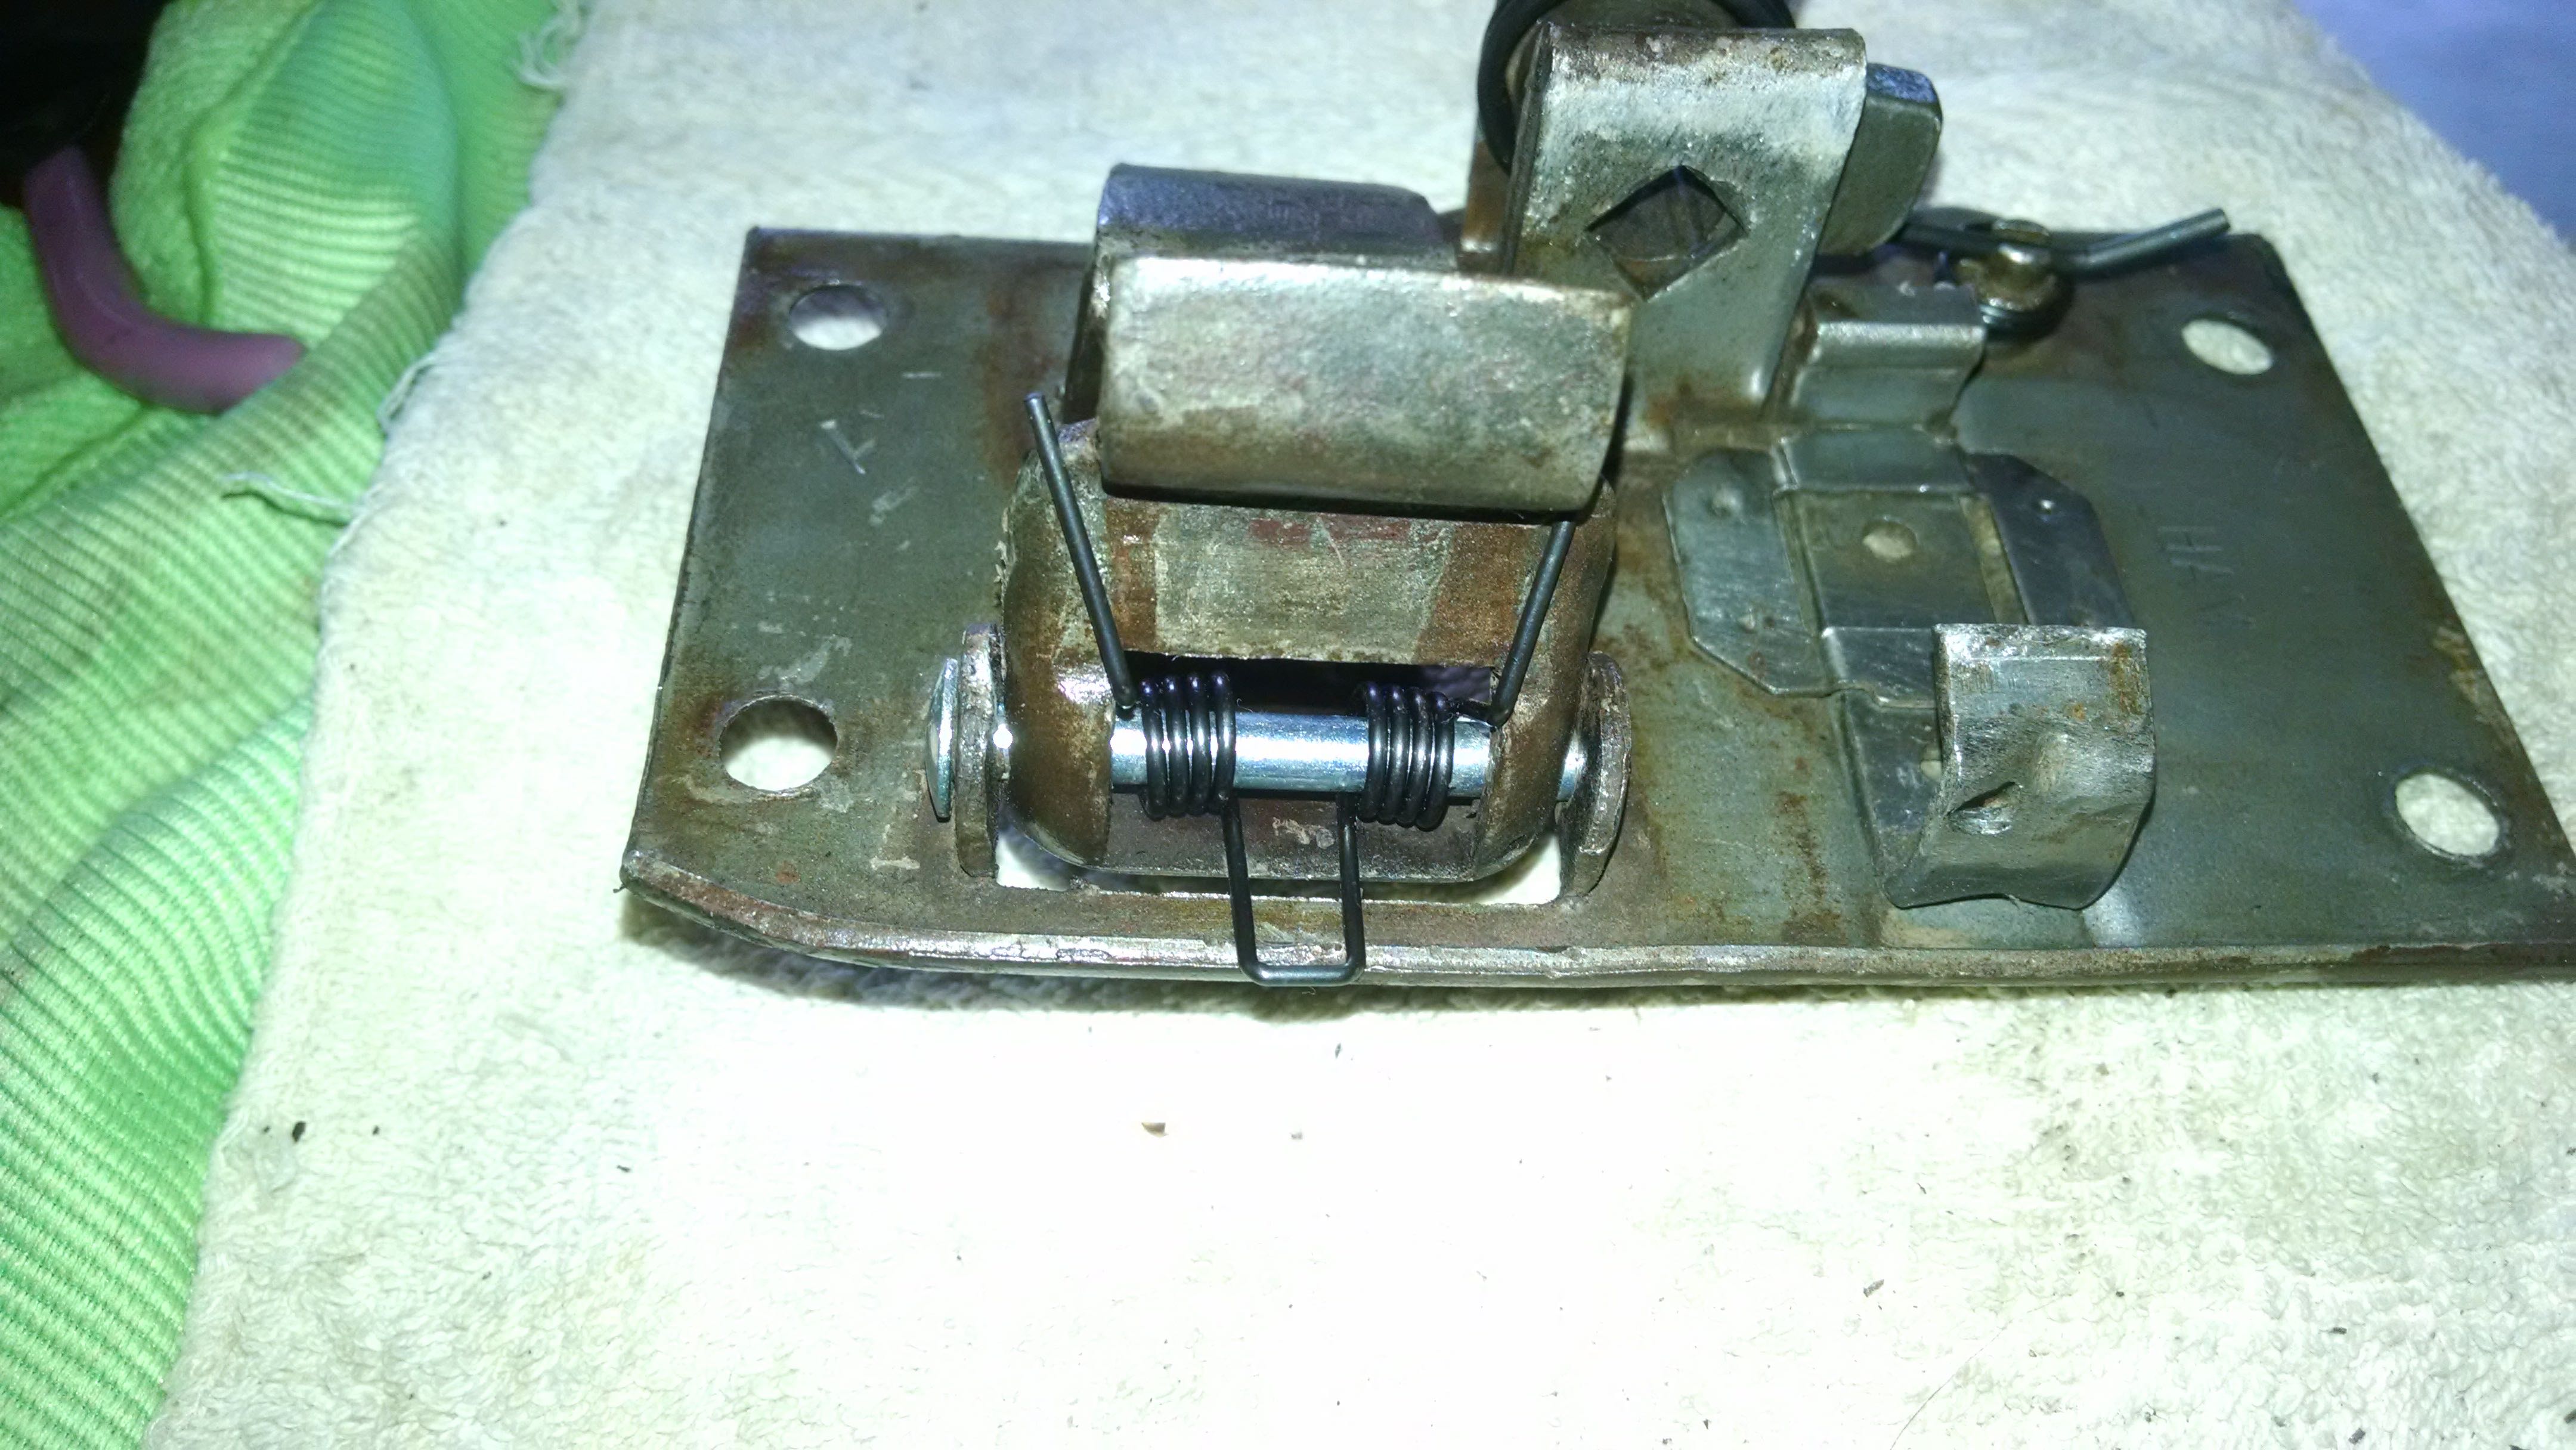
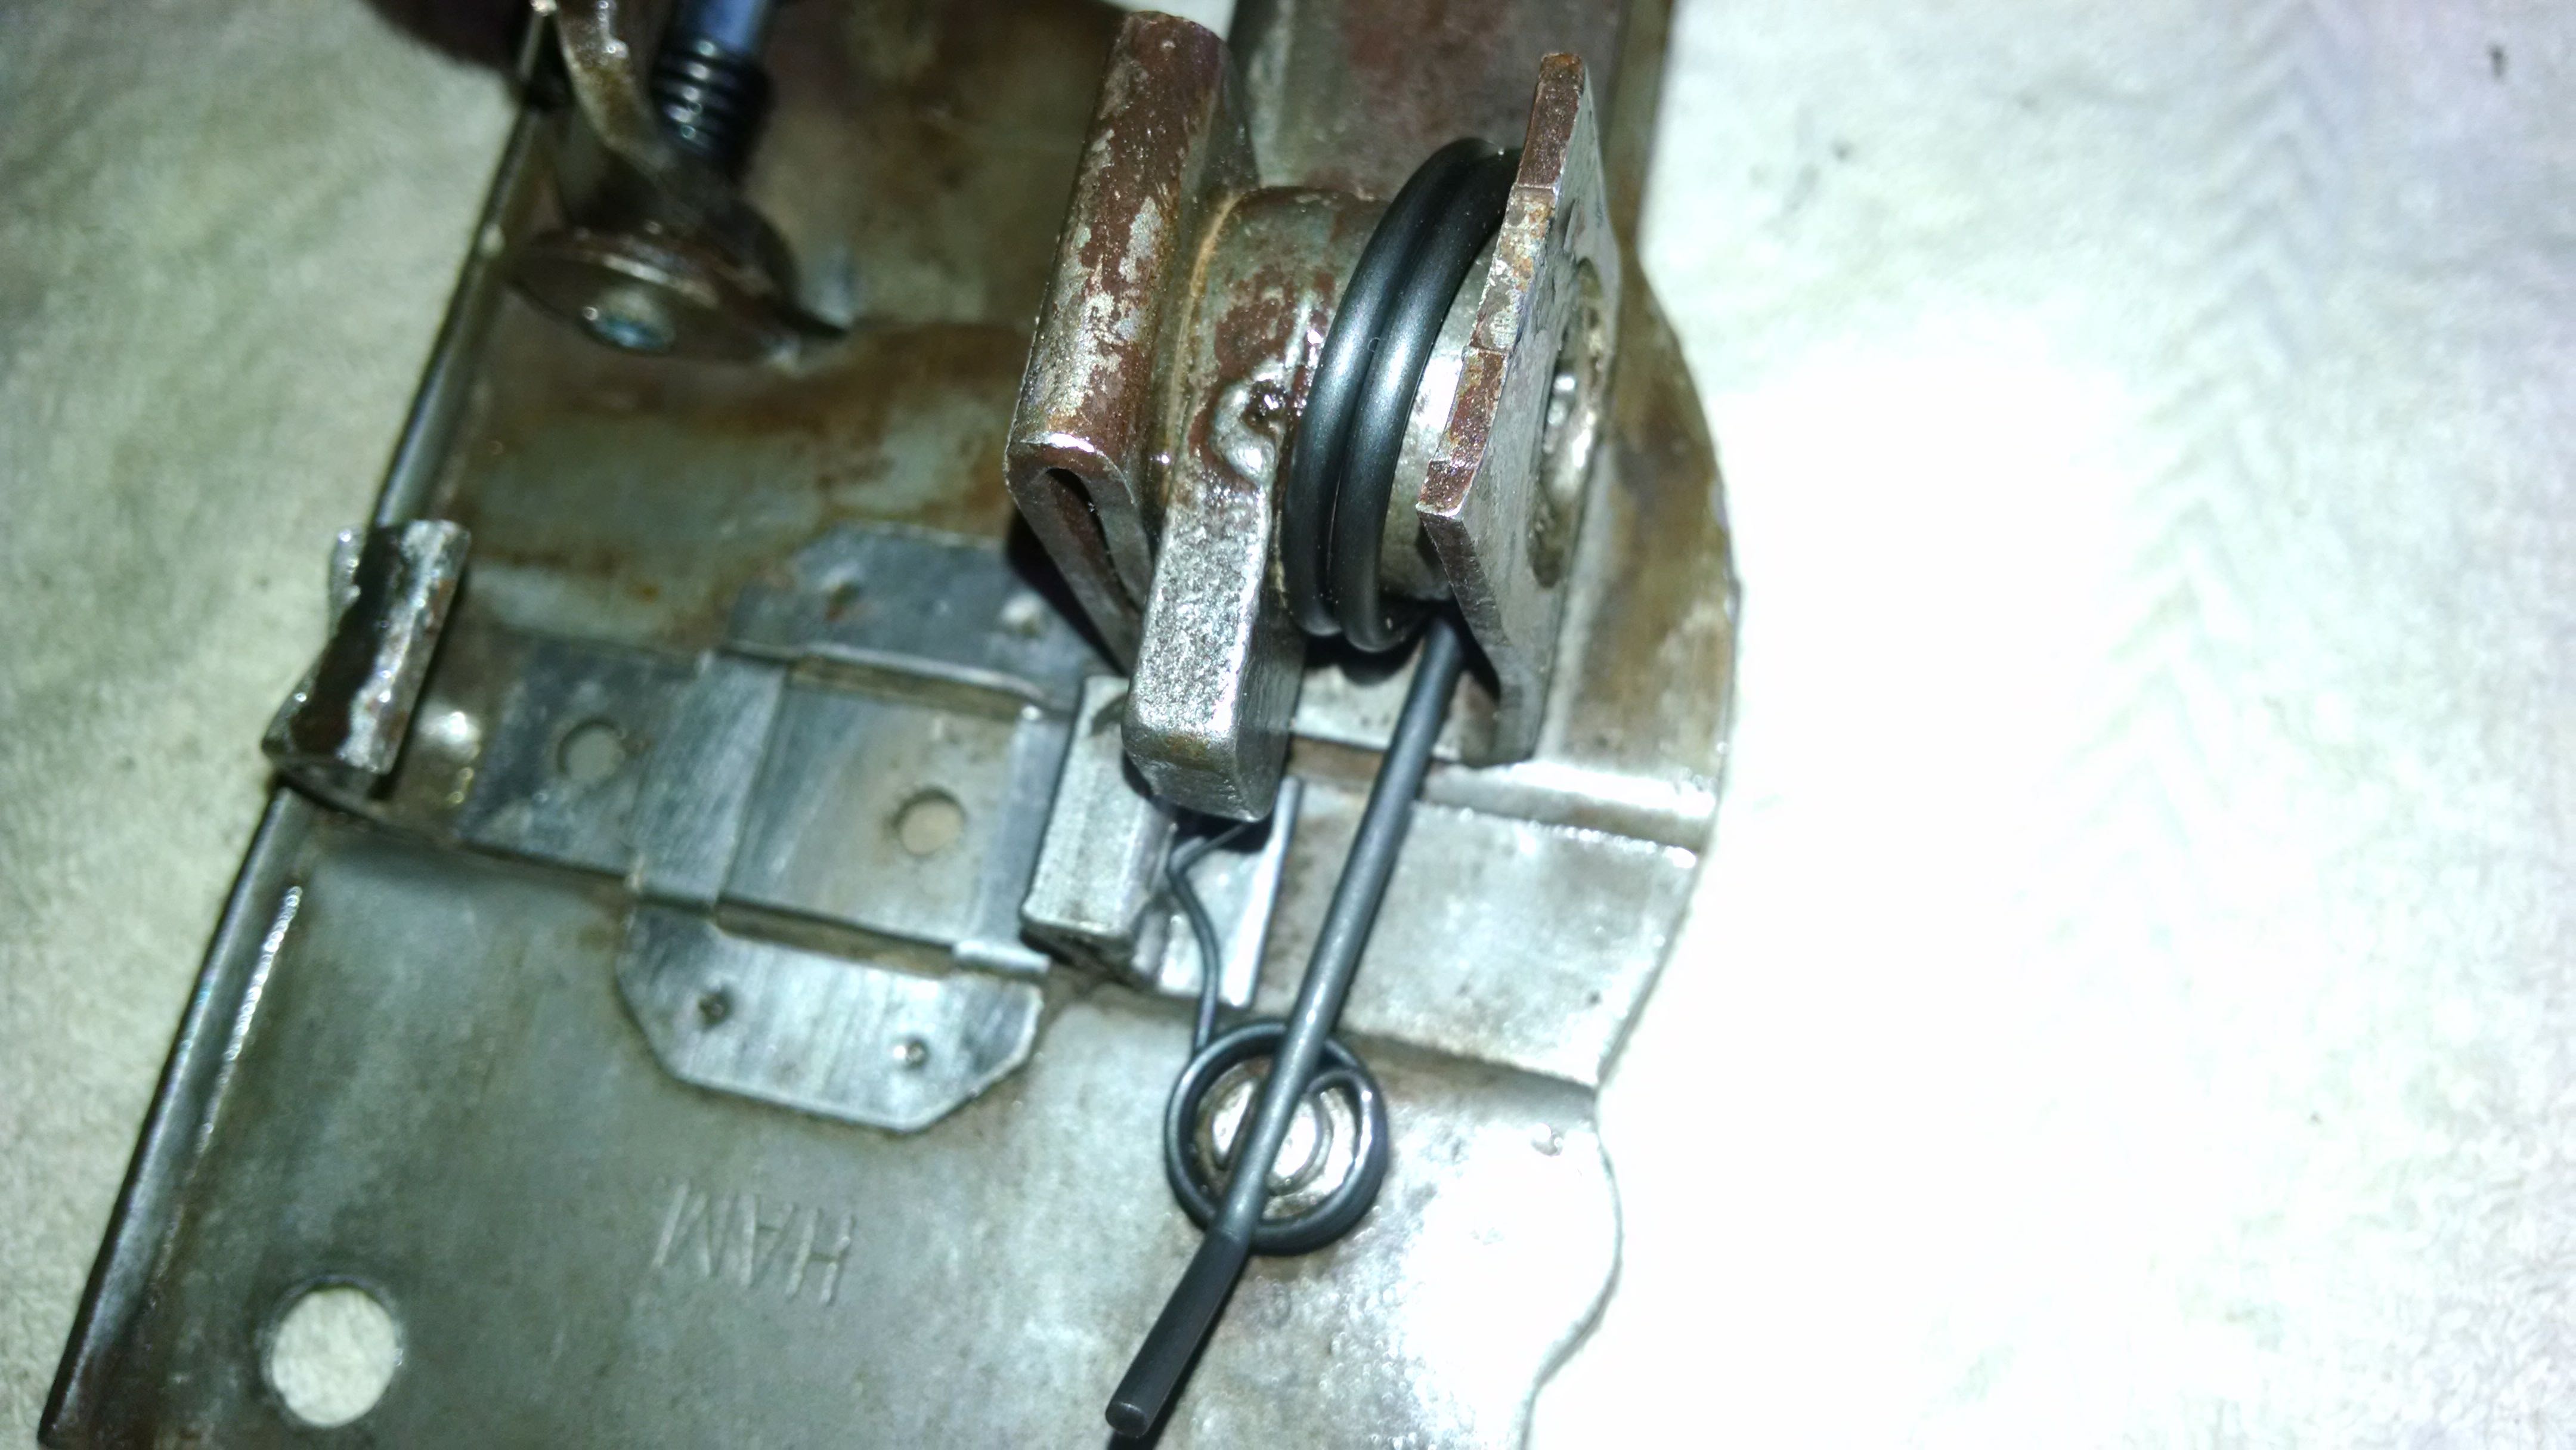
However, since the spring to push the latch back out was gone, I had to do a little trial and error to figure it out. I did a google search to try and find pictures showing the spring placement. I came up empty, though I did find a short video of someone showing off their before-and-after latch rebuild. I played that video and stopped it on the new latch about 4 times.
Even after all that, I got the latch wrong once and had to remove and re-do the spring. Here’s what I finally settled on, which seems to make the latch pop back out.
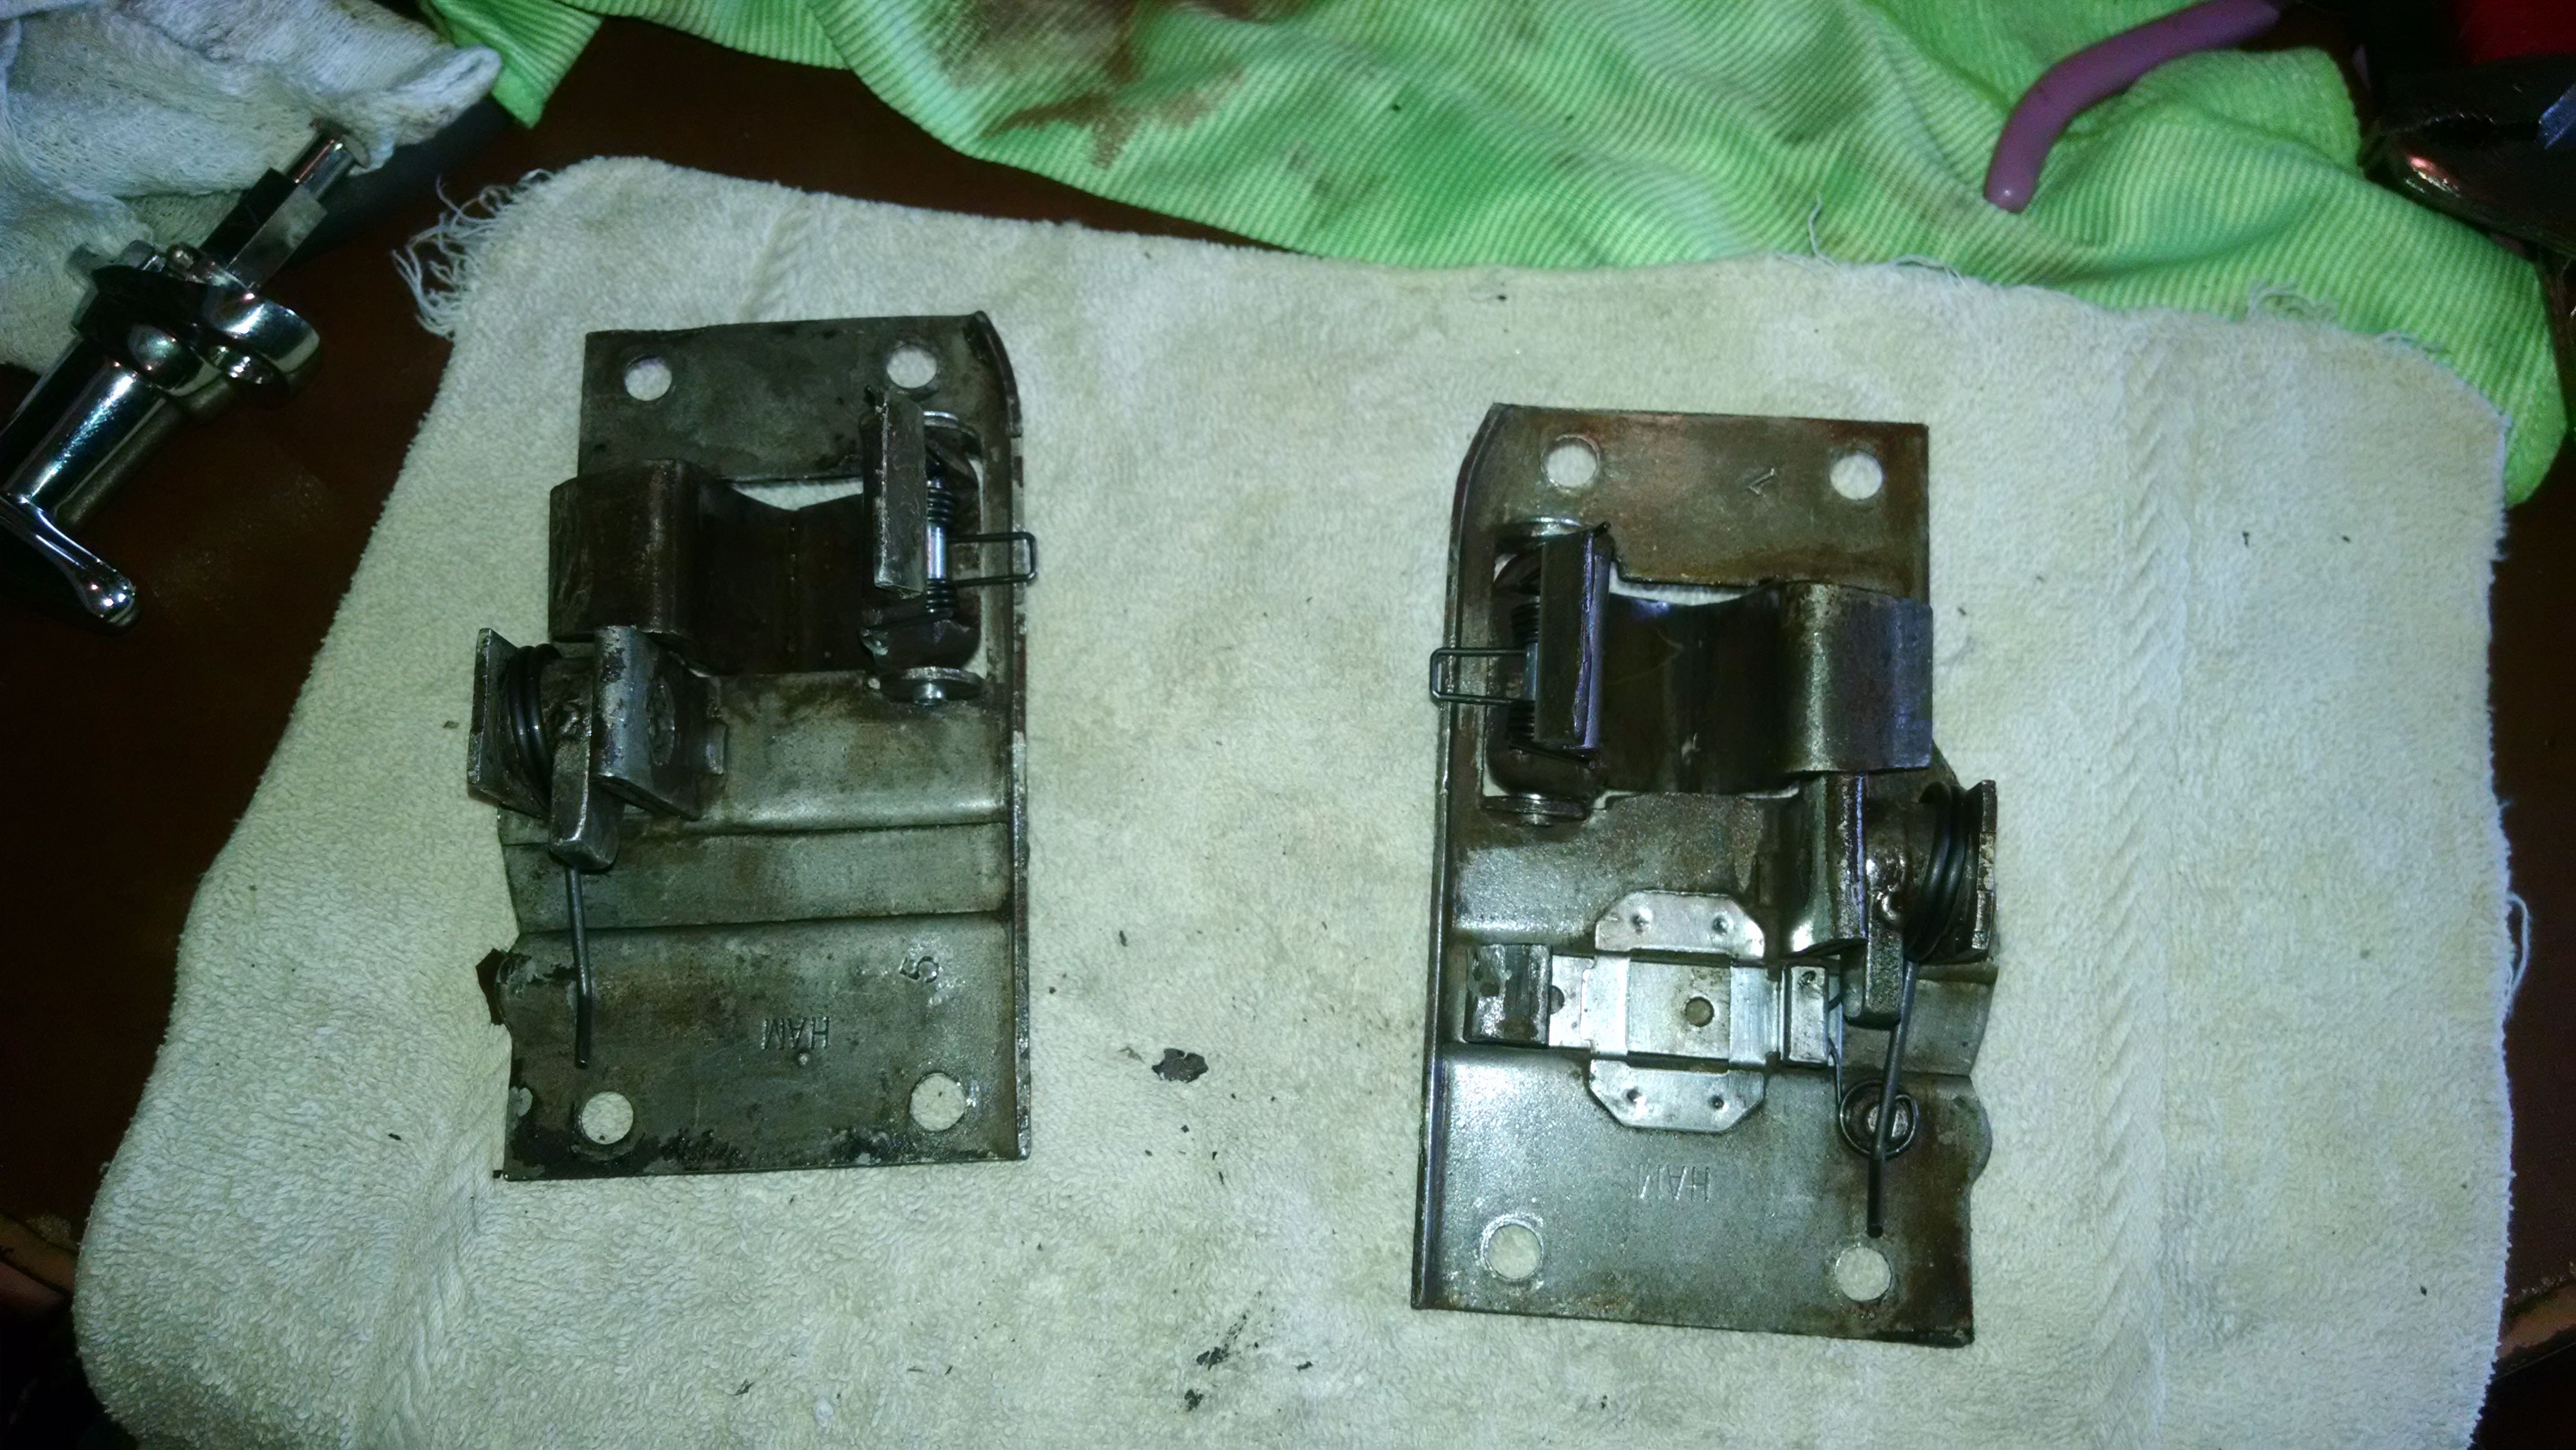
In the end, here are the two rebuilt, cleaned latches.

Recent Comments