Model A Girl

Adventures of a Ford Model A owner

Author: Barb (page 1 of 2)

Rebuilding the door latches

I found some rubber pieces in the door latches, and knew that they shouldn’t be there – at least they wouldn’t have been there originally. So, I took them out, and then found that the door wouldn’t properly latch closed. Oh, that’s why Grandpa Wayne used those rubber pieces. I mashed them back in so that the door would close properly, but knew I would need to re-build those latches.

Rubber in the door latch

Once I got the new springs for the latches (from a latch rebuild kit from Bratton’s), I set about the rebuild. They were pretty dirty to start with.

Door latch pre-rebuilding

First task was to pull the pin holding the latch in. Note that there’s no spring there – thus the use of the rubber pieces.

No spring in the latch!

Another spring (note it’s mostly gone) needed me to bend back the metal. I’m always a little weirded out by bending metal in a car, because I’m worried about getting it back where it started. But I’ve done it a few times now on other projects, so just forged ahead.

Bending the metal to get the striker out

I was able to figure out the placement of one of the springs because the shards of it were still in the latch when I took it apart (and was smart enough to take the above picture before I took it apart!). This one was relatively easy to get back in, and then I bent back the metal I had pulled apart.

Spring placement main latch

However, since the spring to push the latch back out was gone, I had to do a little trial and error to figure it out. I did a google search to try and find pictures showing the spring placement. I came up empty, though I did find a short video of someone showing off their before-and-after latch rebuild. I played that video and stopped it on the new latch about 4 times.

Even after all that, I got the latch wrong once and had to remove and re-do the spring. Here’s what I finally settled on, which seems to make the latch pop back out.

Spring placement - handle return spring

In the end, here are the two rebuilt, cleaned latches.

Two re-built latches

Cotter pins, safety wire, and lock washers – oh my!

If you want to make sure your bolts and screws don’t go anywhere, there are a few choices for ways to keep them in place. Ford used cotter pins, safety wire, and lock washers throughout the Model A. My grandpa, who restored Daisy, didn’t necessarily believe in using these everywhere they were supposed to go. In particular, Grandpa Wayne seemed to have an aversion to cotter pins. So, as Dave and I are working on Daisy, he’s noting places where I need to add them.

Lock washers are probably the easiest thing to use. I assume more folks are familiar with them than cotter pins or safety wire. A lock washer is just a washer with a slit in it and bent to be a slight bit helical. When you tighten down the screw/bolt with a nut, the washer flattens out and is supposed to exert a spring-like force on the screw, keeping it from unscrewing. These are not the safest way to keep things from unscrewing, but they’re easy, so Wayne used them in several places where there should have been a cotter pin.

A cotter pin is a small piece of metal that’s folded in half, with a loop where the fold is. You put the pin through a hole in the bolt and then split the pin, bending at least one arm around the bolt. These are usually coupled with “castle nuts”, which are nuts that resemble the top of a castle’s turret. The cotter pin goes between the peaks in the nut, locking it in place.

Castle nut, no cotter pin

I think it’s safe to say that cotter pins are the most common thing used on the Model A. There were several places where Wayne simply didn’t put them and other places, like I mentioned already, where he substituted a lock washer instead of putting in a cotter pin. My friend Dave keeps pointing out places where I need to add cotter pins. Dave is all about saftey, and I appreciate it, because I wouldn’t necessarily know where the cotter pins were missing. Last week, I worked to install them on the u-bolts holding in the rear and front springs.

Four castle nuts - no cotter pins!

First, I needed to remove the castle nut, clean it, and then clean out the hole for the cotter pin. Since the holes had been collecting crud for about 30 years (and maybe had the remnants of an older cotter pin, it wasn’t necessarily the easiest thing. In some holes, it was enough to use a length of safety wire, but for others I needed to use a small nail and pound the crud through.

Cleaning out 30 years of crud

Then, the final trick is to tighten the castle nut down so that the hole lines up with one of the “castles” just right. Once that’s done, insert the cotter pin, and bend half of it over the bolt.

Adding a cotter pin

Cotter pin!

Finally, there is safety wire in a few places. It’s just what it sounds like – wire that makes things safe 🙂 Basically, there are holes in the heads of some bolts, and you add wire to keep them from spinning. In my case, there are series of bolts holding in the drive train to the rear differential.

No safety wire

Again, the first step was to clean out 30 years of crud from each hole. (And most of that crud seemed to end up on my face and hair, since I was laying under the car while doing this. Oh, and a few of the bolts had holes going the wrong way – they led right into the drive train tube, so I couldn’t get the wire in (it’s very stiff wire!).

Hole in the top of a bolt for safety wire

But, I finally got it in. The idea with the safety wire here was to link all the bolts together, then twist off the wire. This should keep them from working their way out.

Getting the safety wire installed

(I went back and pulled the wire tighter than in that picture, but not by a whole lot — it was very stiff wire!)

I’m sure I’ll keep finding other places, but these were the most glaring instances where Wayne didn’t use the safety measures that Ford had originally put in.

Installing Seatbelts

Seatbelts had been invented when Model As were first made (for airplanes), but they were not an option on Ford automobiles until the 1950s (according to Wikipedia). Clearly, they were not an option on Model As.

Seatbelts are not required on antique cars, I wanted them in Daisy. Sure, in a bad enough accident, they won’t be enough, but it’s some added protection. The main hope is to keep from being thrown from the car in case of an accident. I had heard about this accident, which took the life of a man and his daughter from our area a few years back: Father, daughter killed in accident involving Model A. Turns out that Dave, the guy in the club I’ve been working with on Daisy, knew this man and had helped him look at Model As before he bought this one. Dave seemed more than happy to help me install the seatbelts. And I’m glad, because it wasn’t exactly trivial.

Since the car is not designed for seatbelts, we had to figure out how to connect the belts to the body of the car and fish them up through the seat. We also wanted to reinforce the points where we attached the belts to the car. So first, Dave and I scoped out the bottom of the car to find a likely place to put in a piece of angle iron. The idea was to bolt the belts through the car body and the angle iron, which would spread the force on the body of the car across the length of the iron piece.

Here’s the channel we found:

Installing seatbelts  Installing seatbelts-2

We drilled through the body of the car in three spots, and bolted the belts to the car using
Grade 8 bolts. Next, we needed to figure out where to fish the belts through the seat. Dave crawled into the trunk to mark the seat.

Installing seatbelts-3

I let Dave cut the holes in the seat. I’m not sure the name of the tool he used, but it had a circular, toothless blade, and kicked up a lot of sparks!

Installing seatbelts-6

We filed down the edges created by cutting the metal, and I shot the openings with a bit of black spray paint, since the process had stripped some of that area of paint. Dave had also brought along some clear plastic tubing. We used that to protect the seatbelts from the edges of the cut seat. Even with our filing, there is still some danger of fraying the belts. Using the tubing, we cut two lengths for each slit in the seat-back, cut one side of the tubing, and then fit it over the cut edge of the slit. I’ll need to check these periodically to ensure they stay and that the belts don’t start to fray.

Here is Dave after we fished the seatbelts through each of the slits in the seat-back:

Installing seatbelts-7

Next, we put the seat back in the car. We didn’t connect it to the tracks yet, because we wanted to attach the seatbelts to the body first. If we had put the seat back in, we would have needed to go in through the trunk.

Here’s the seatbelts attached to the car:

Installing seatbelts-8  Installing seatbelts-9

Finally, we reinstalled the seat. (Which was a whole other thing because we had discovered my seats were adjustable, but I didn’t have the adjusting mechanism. Installing that mechanism was not as easy as we first thought it would be…but then, nothing in this process is as easy as one might think.)

Here is the finished seatbelt install!

Installing seatbelts-10

Simple Brake Adjustment

Front wheel break adjustment  Back wheel brake adjustment

I’m a bit behind on blogging, but Dave and I have been making progress on Daisy over the past few weeks. Back toward the beginning of July, we made a few simple brake adjustments that will make the brakes engage faster. Before the adjustment, the brake pedal needed to be pressed in almost all the way before the bake engaged; after the adjustment, it engaged much quicker.

I’m sure I could do this adjustment myself again in the future, but wanted to shoot a short video so I would remember when the time came.

Around the block!

I’m working on a post about all the things we’ve done with Daisy in the past couple weeks, but in the meantime… I got to take her around the block this weekend!

A few tidbits that I learned this weekend:

  • You can pump up a Model A’s tires with a bicycle pump, but I don’t recommend it. Especially if you need to do all five of them, three of which start out at low enough presser to not register on your tire gauge.
  • Experience driving a modern-day clutch does not necessarily translate well to an antique car. In a modern car, I hit the clutch and throw the car into gear as quickly as I can. In an antique car, you should take your time, letting the transmission get into neutral, and then putting into the next gear.

    On our short around-the-block, I think Dave said “take your time shifting” (or similar) at least 3 times. Heh.

  • It’s a little jarring when a tire’s tube gives up all the air at once – even when the car is not moving! Dave and I were working on the tail lights, and I went to grab a tool and suddenly heard a big “whoosh”. It was the spare tire losing nearly all of its air! Probably time for a new tube.
  • Sparks are scary.
  • My wire strippers have a handy tool for determining the size of some common small screws.

Hinky Wiring

Dave came over again on Saturday, and we made a lot of progress with Daisy’s wiring. Sadly, we found some new problems along the way, but I think one more order from Bratton’s will do the trick.

We started by opening up the dashboard panel – some of the wires we were changing out needed to go from there to the terminal box.
Open dashboard panel

With the panel open and the wires all freed, Dave removed the terminal box. Dave examined it closely, and he believes it was actually an original. It’s always a little sad for me to pull out original parts – is it just me?
Original terminal box

Next we fished the appropriate wires through from the dashboard to the terminal box, closed up the dashboard, and connected up the new wires to the terminal box. While we were there, we also replaced the wires going from the terminal box to the coil and from the coil to the distributor. These were all the wires we had poked around with on Friday the 13th, so we felt some confidence that this would take care of whatever her problem had been previously.
New wires and terminal box_labeled

I had also bought the bundle of wires for the head lights and tail lights. This bundle of wires goes on the end of the steering box.
End of the steering box for lighting wires

From there, we went to the driver-side head light…which is where we found some new problems. We were replacing the wires that went *to* the head light; however, the lights for the head light socket itself were not good. It appeared as though there was some meltage in the head light:
Melted and shredding wires in the headlight

And some of the wires were shredding:
Shredding wire

That’s not to mention the creative wiring that my Grandpa Wayne had done. To connect the socket to the main bundle of wires, he had simply twisted the wires and taped them up with electric wire. On the tail lights he had soldered them before taping. Not exactly the safest way to wire!
Wayne's wiring

That means I need to order new sockets for the head lights, but the tail light wires looked okay. I had also missed one bundle of wires, so I’ve ordered those as well. Here’s the other missing bundle:
One missing bundle of wires

So, to sum-up: we replaced a bunch of the wiring, but found additional issues, so I’m waiting on an order from Bratton’s.

She’s alive!

But we don’t know why…

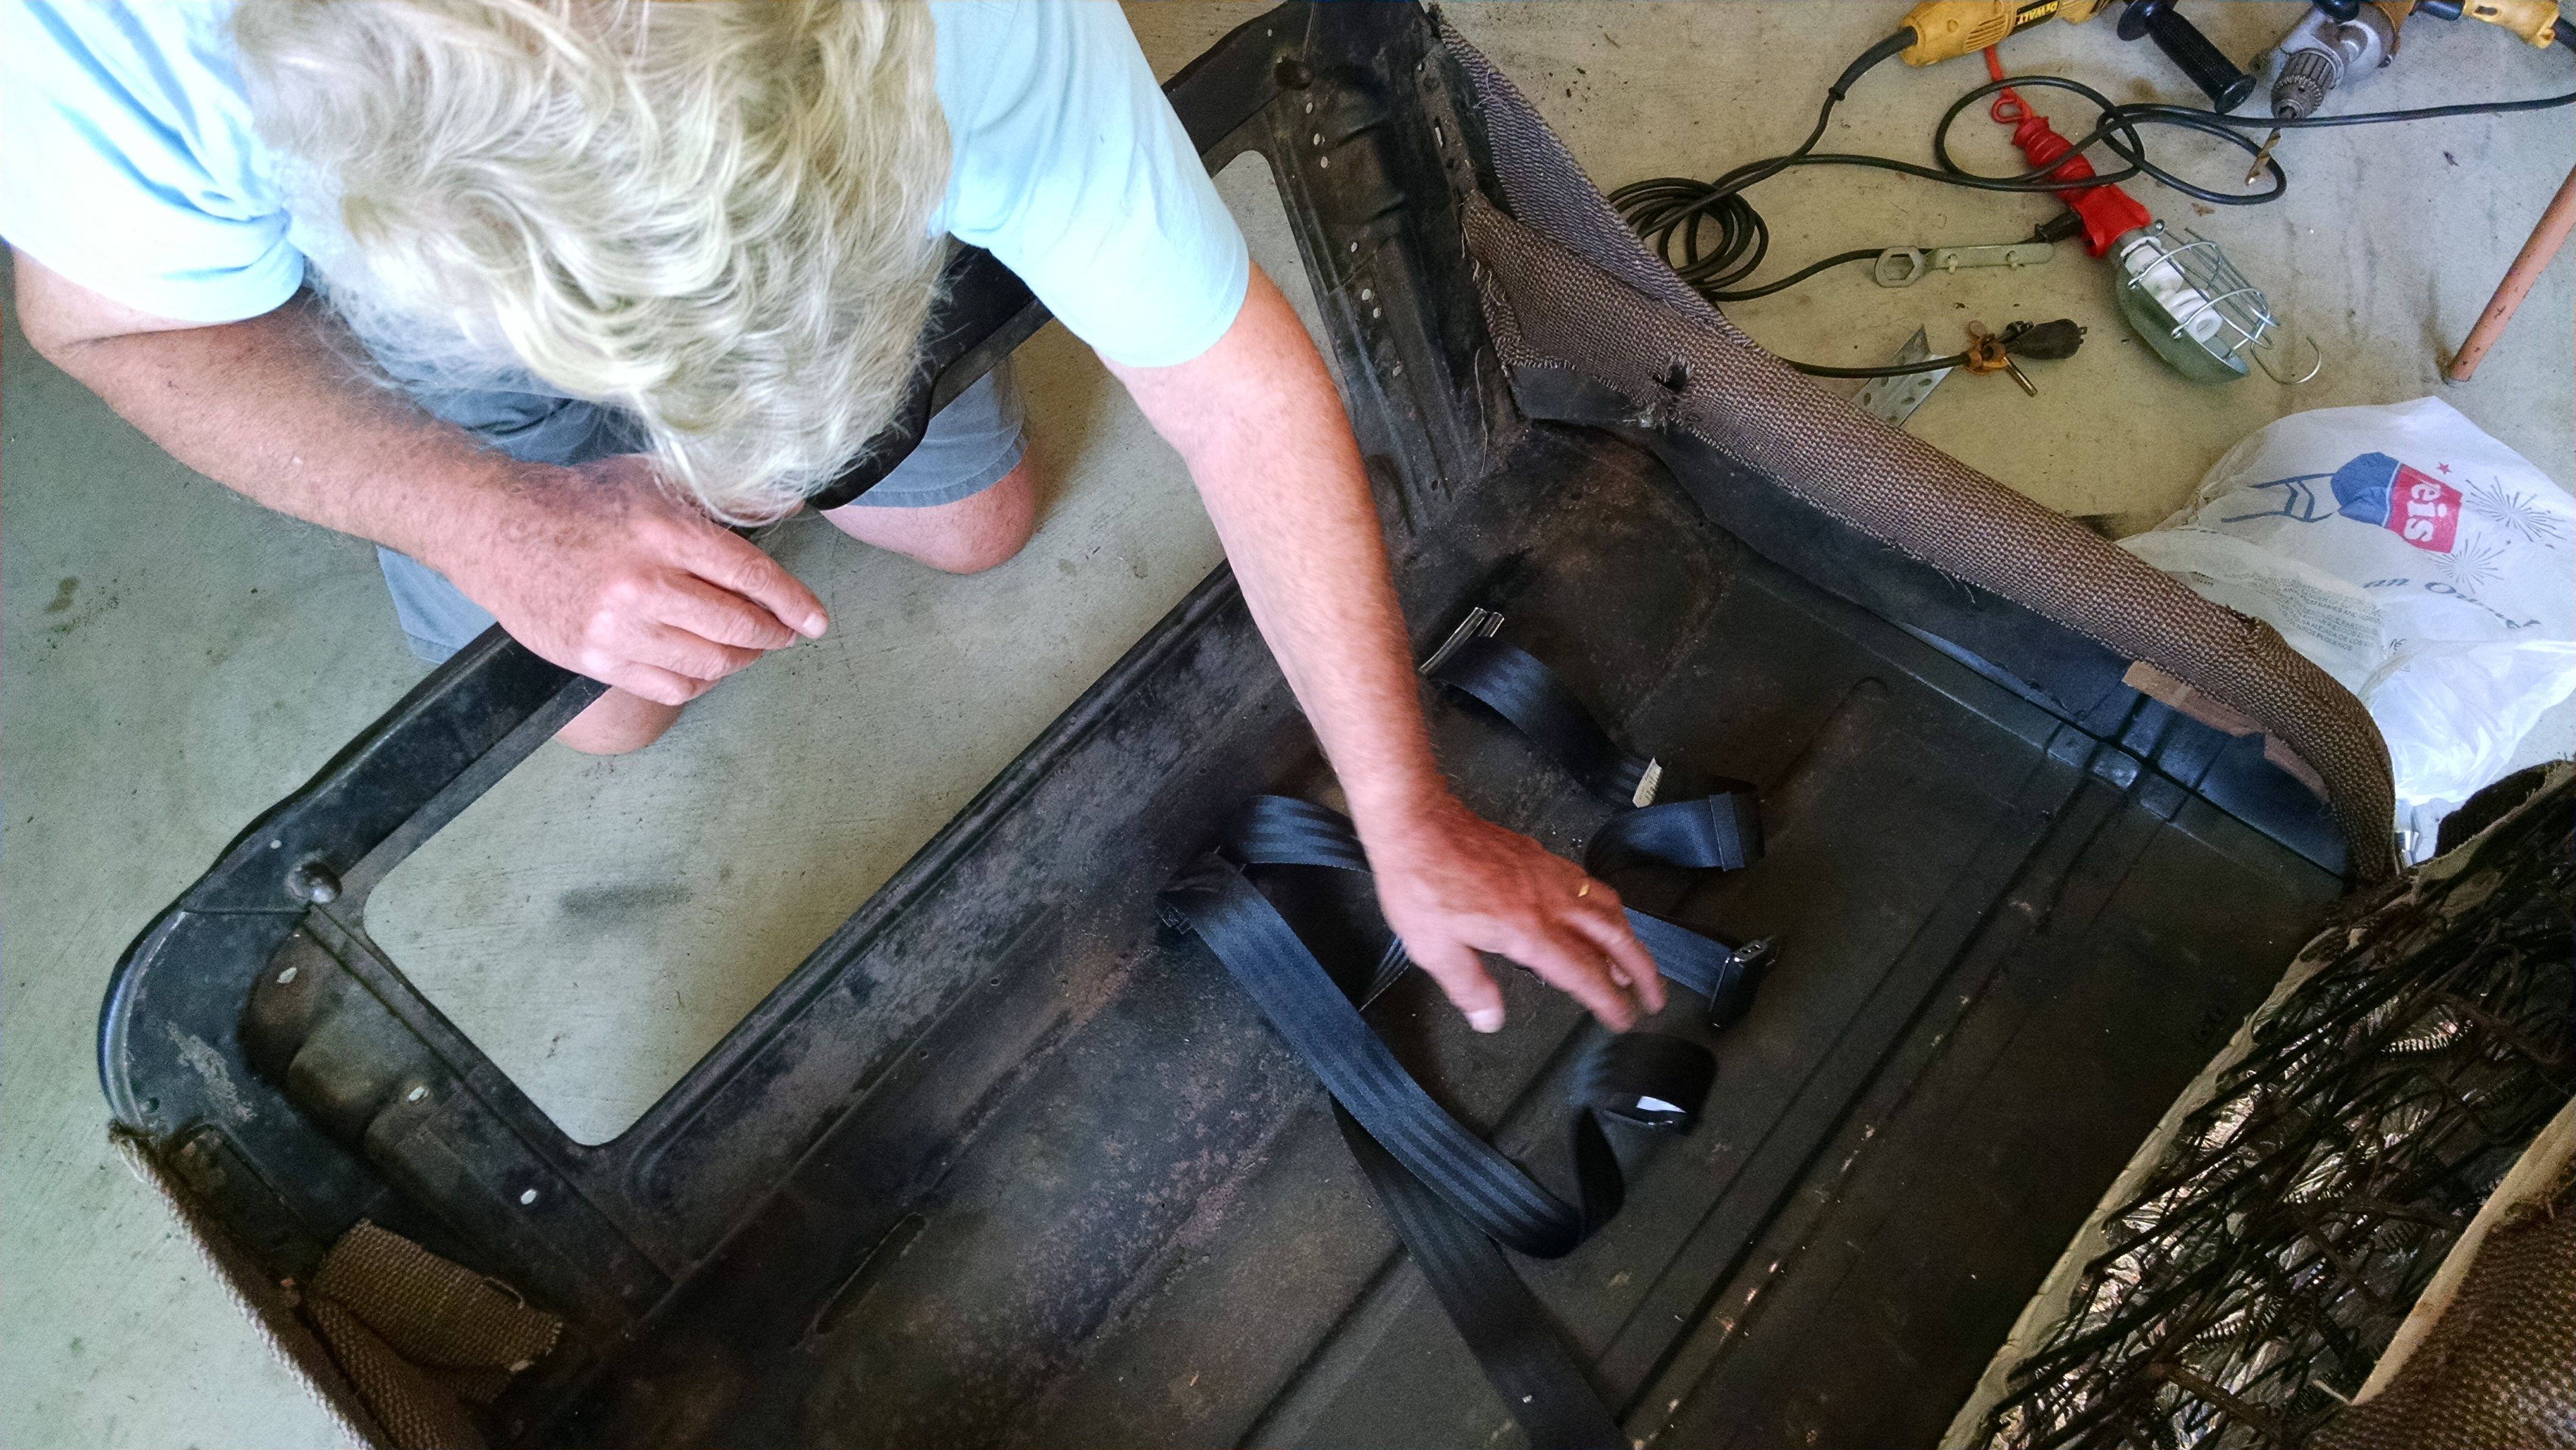
I had one of the guys, Dave, from the local Model A restorer’s club over on Friday to help with Daisy. At that point, I had already rebuilt the carburetor, and we were fairly sure she was getting gas. I had also drained the gas tank and put in some fresh, just in case the gas was bad. Dave and I had been emailing back and forth, and he had me check some voltages to see if the problem was electrical. I was able to get the voltages, and they seemed correct. And at this point Dave thought it was time for a visit.

Looking closely at the wiring in Daisy, I was becoming convinced that was likely the problem — it looked rather hinky. Despite having the voltages we thought I should have in all the right places, the state of the electrical made it suspect.

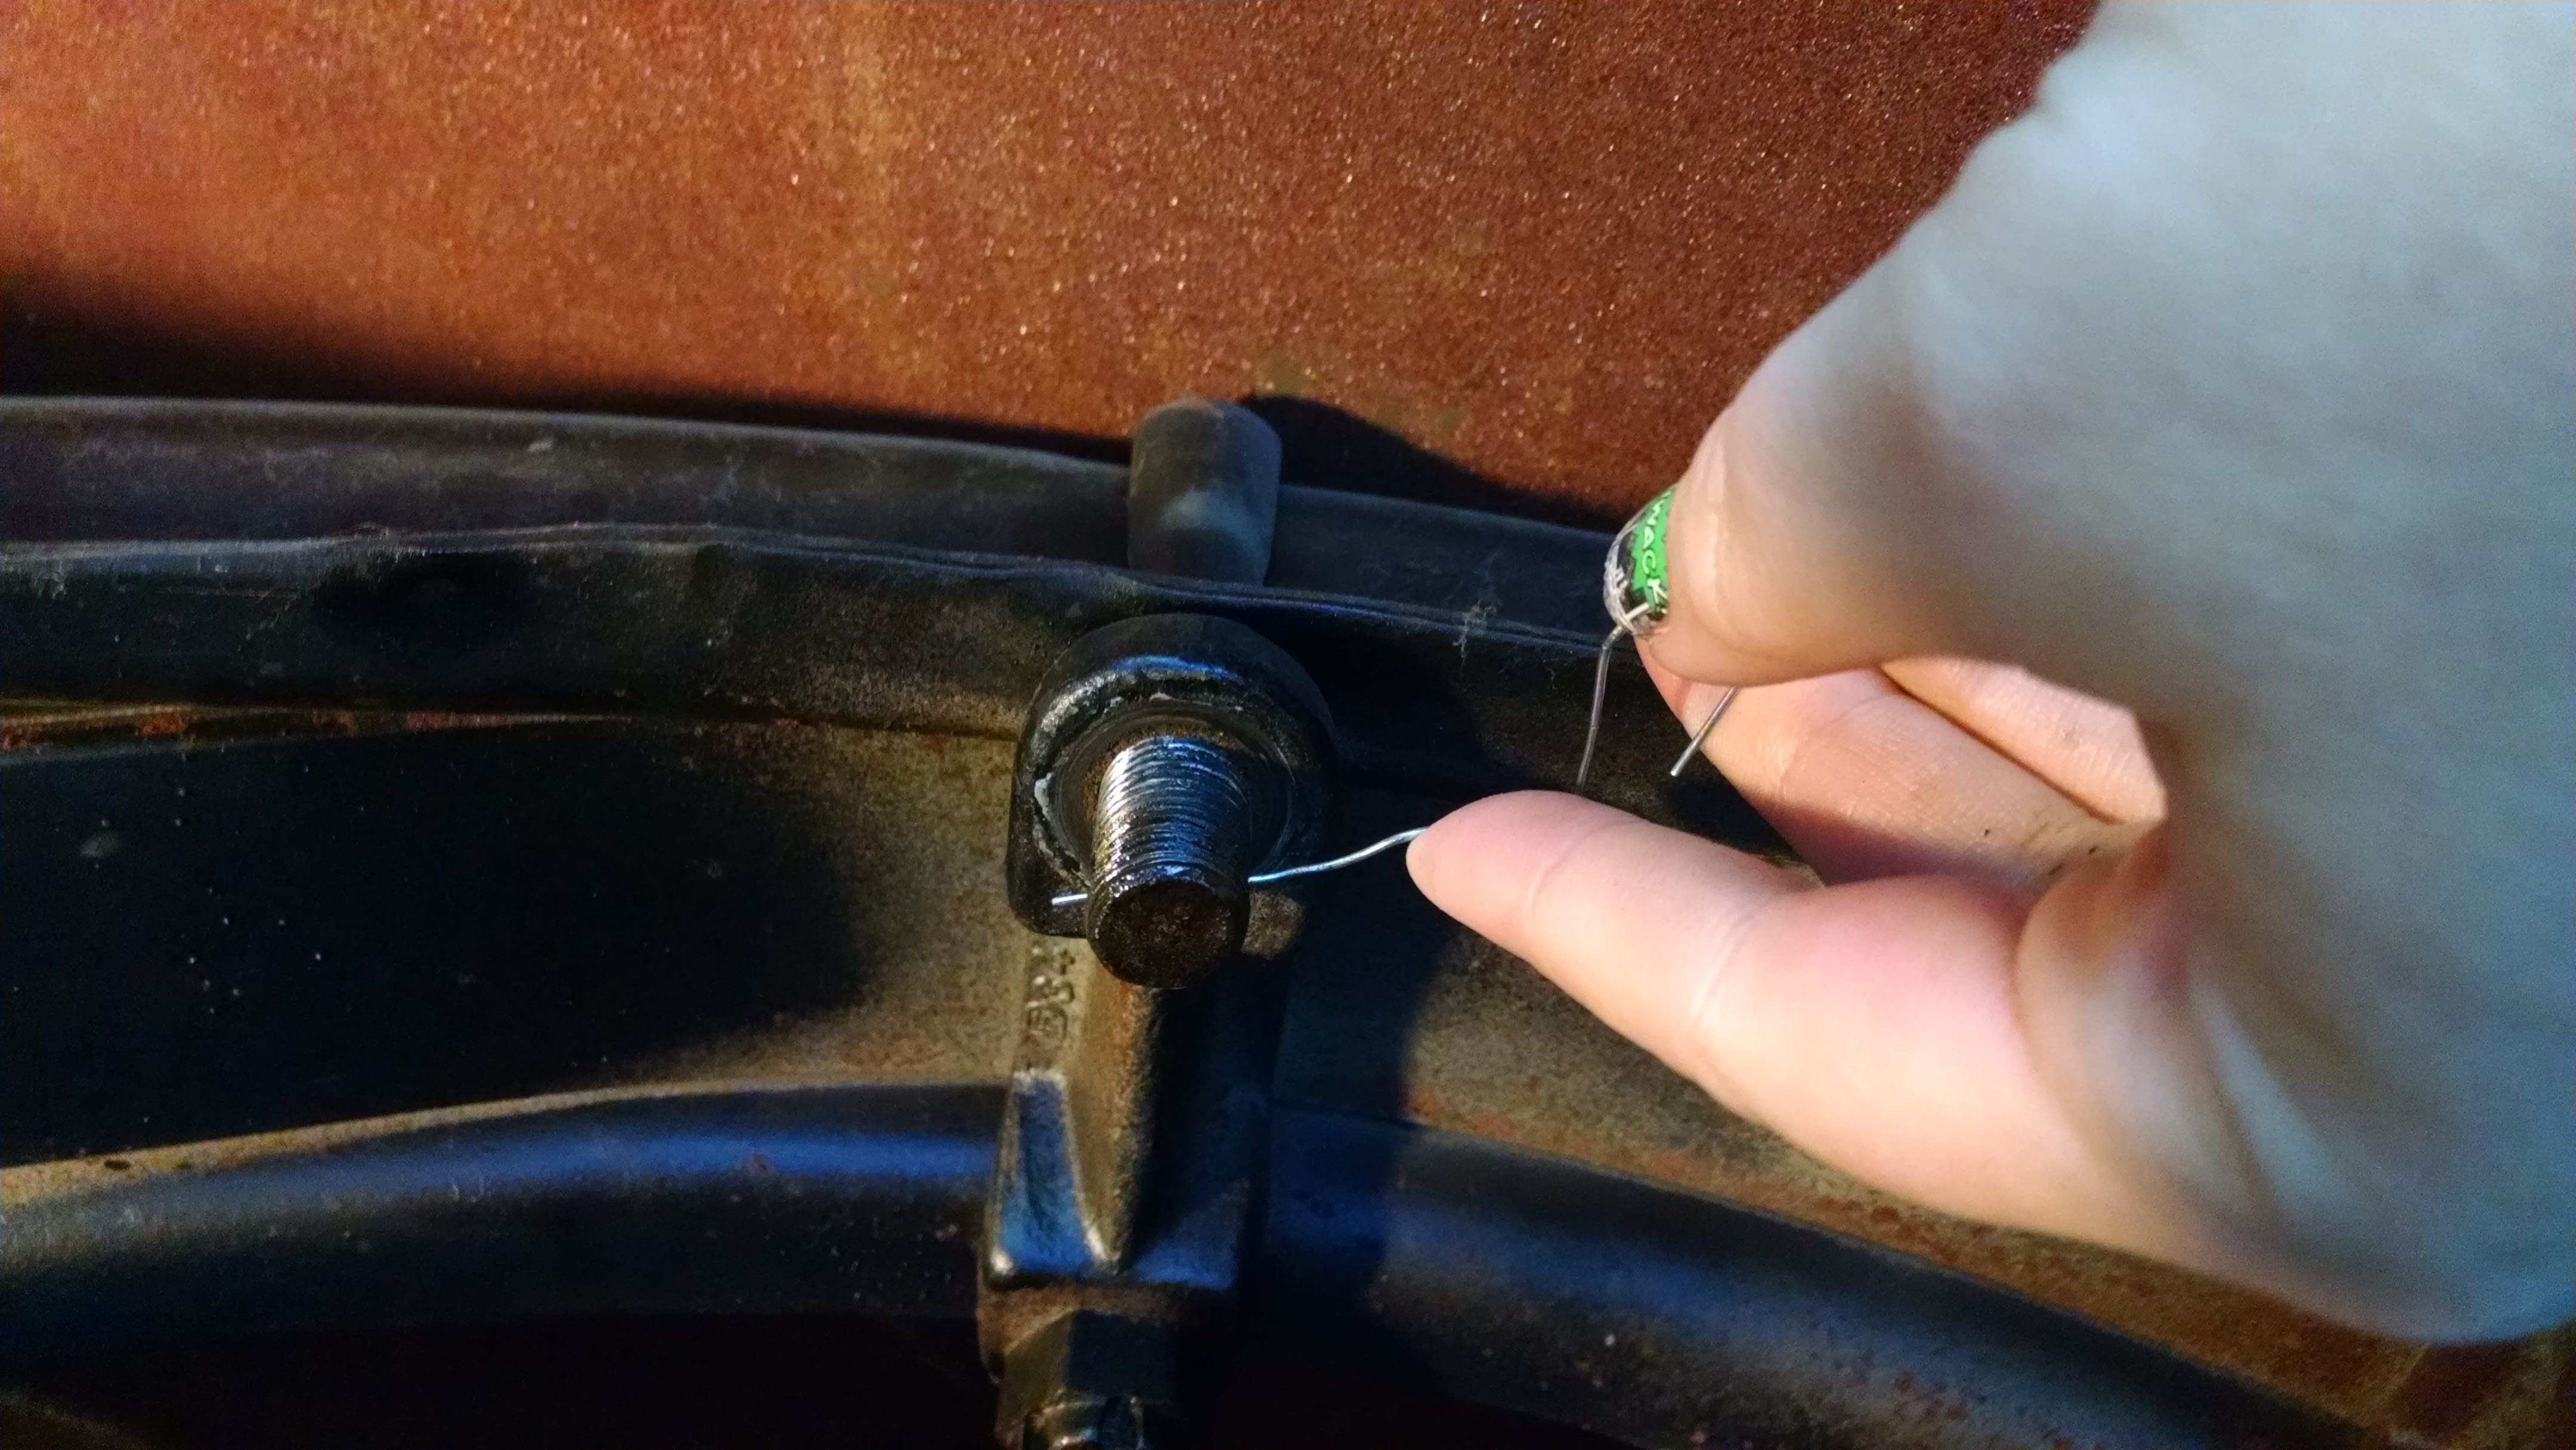
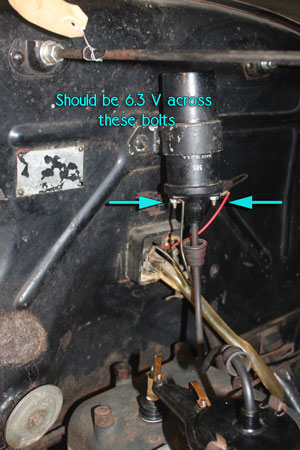
When Dave arrived, we started by re-measuring those voltages — as recommended by Les Andrews (Model A Ford mechanics Handbook).

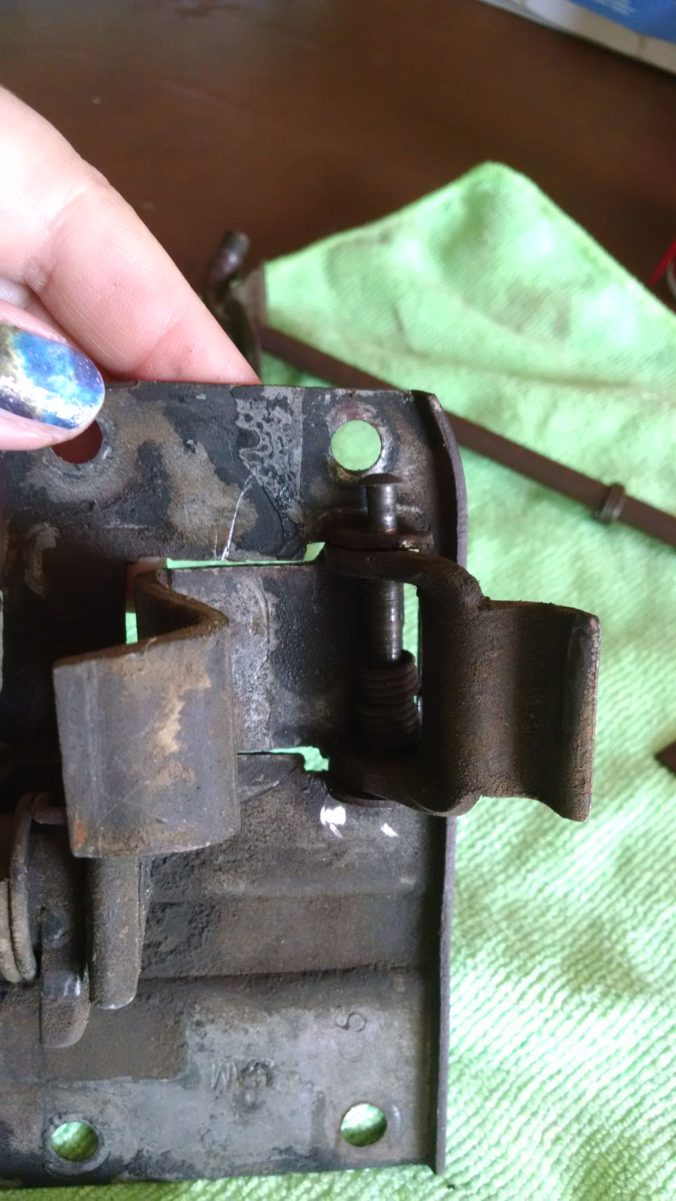
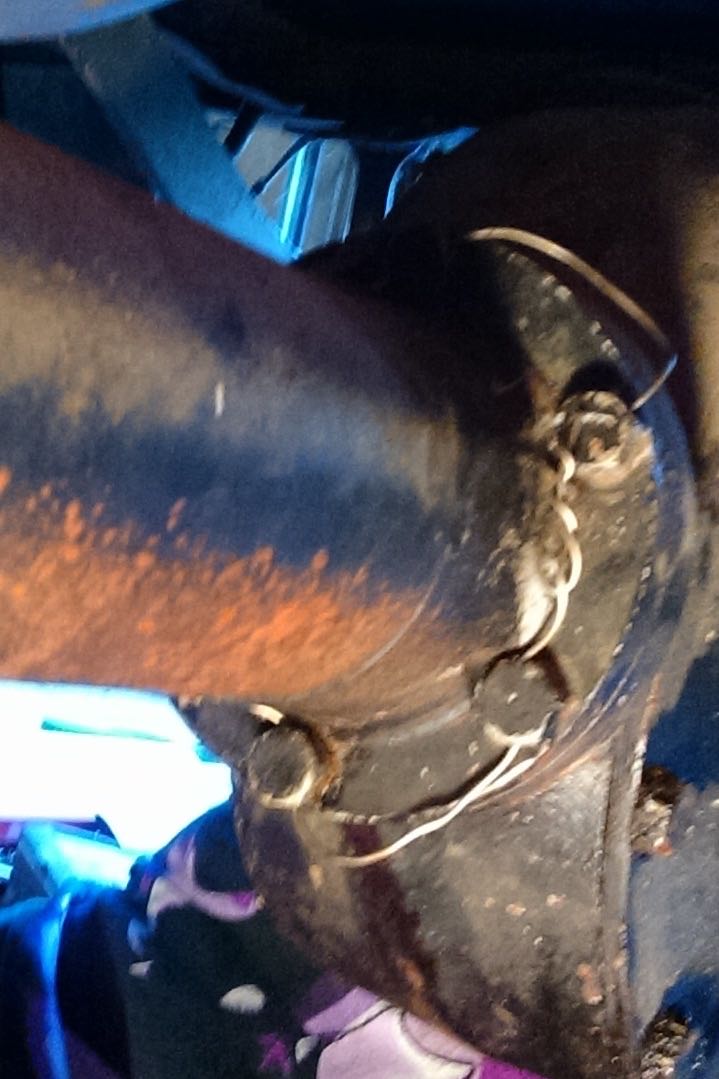
Voltage across the junction box should be 6.3V (I don’t have a cover on my box — that will be included in my next order from Bratton’s). And it was.
Terminal box voltage

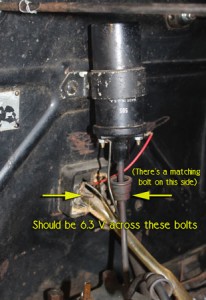
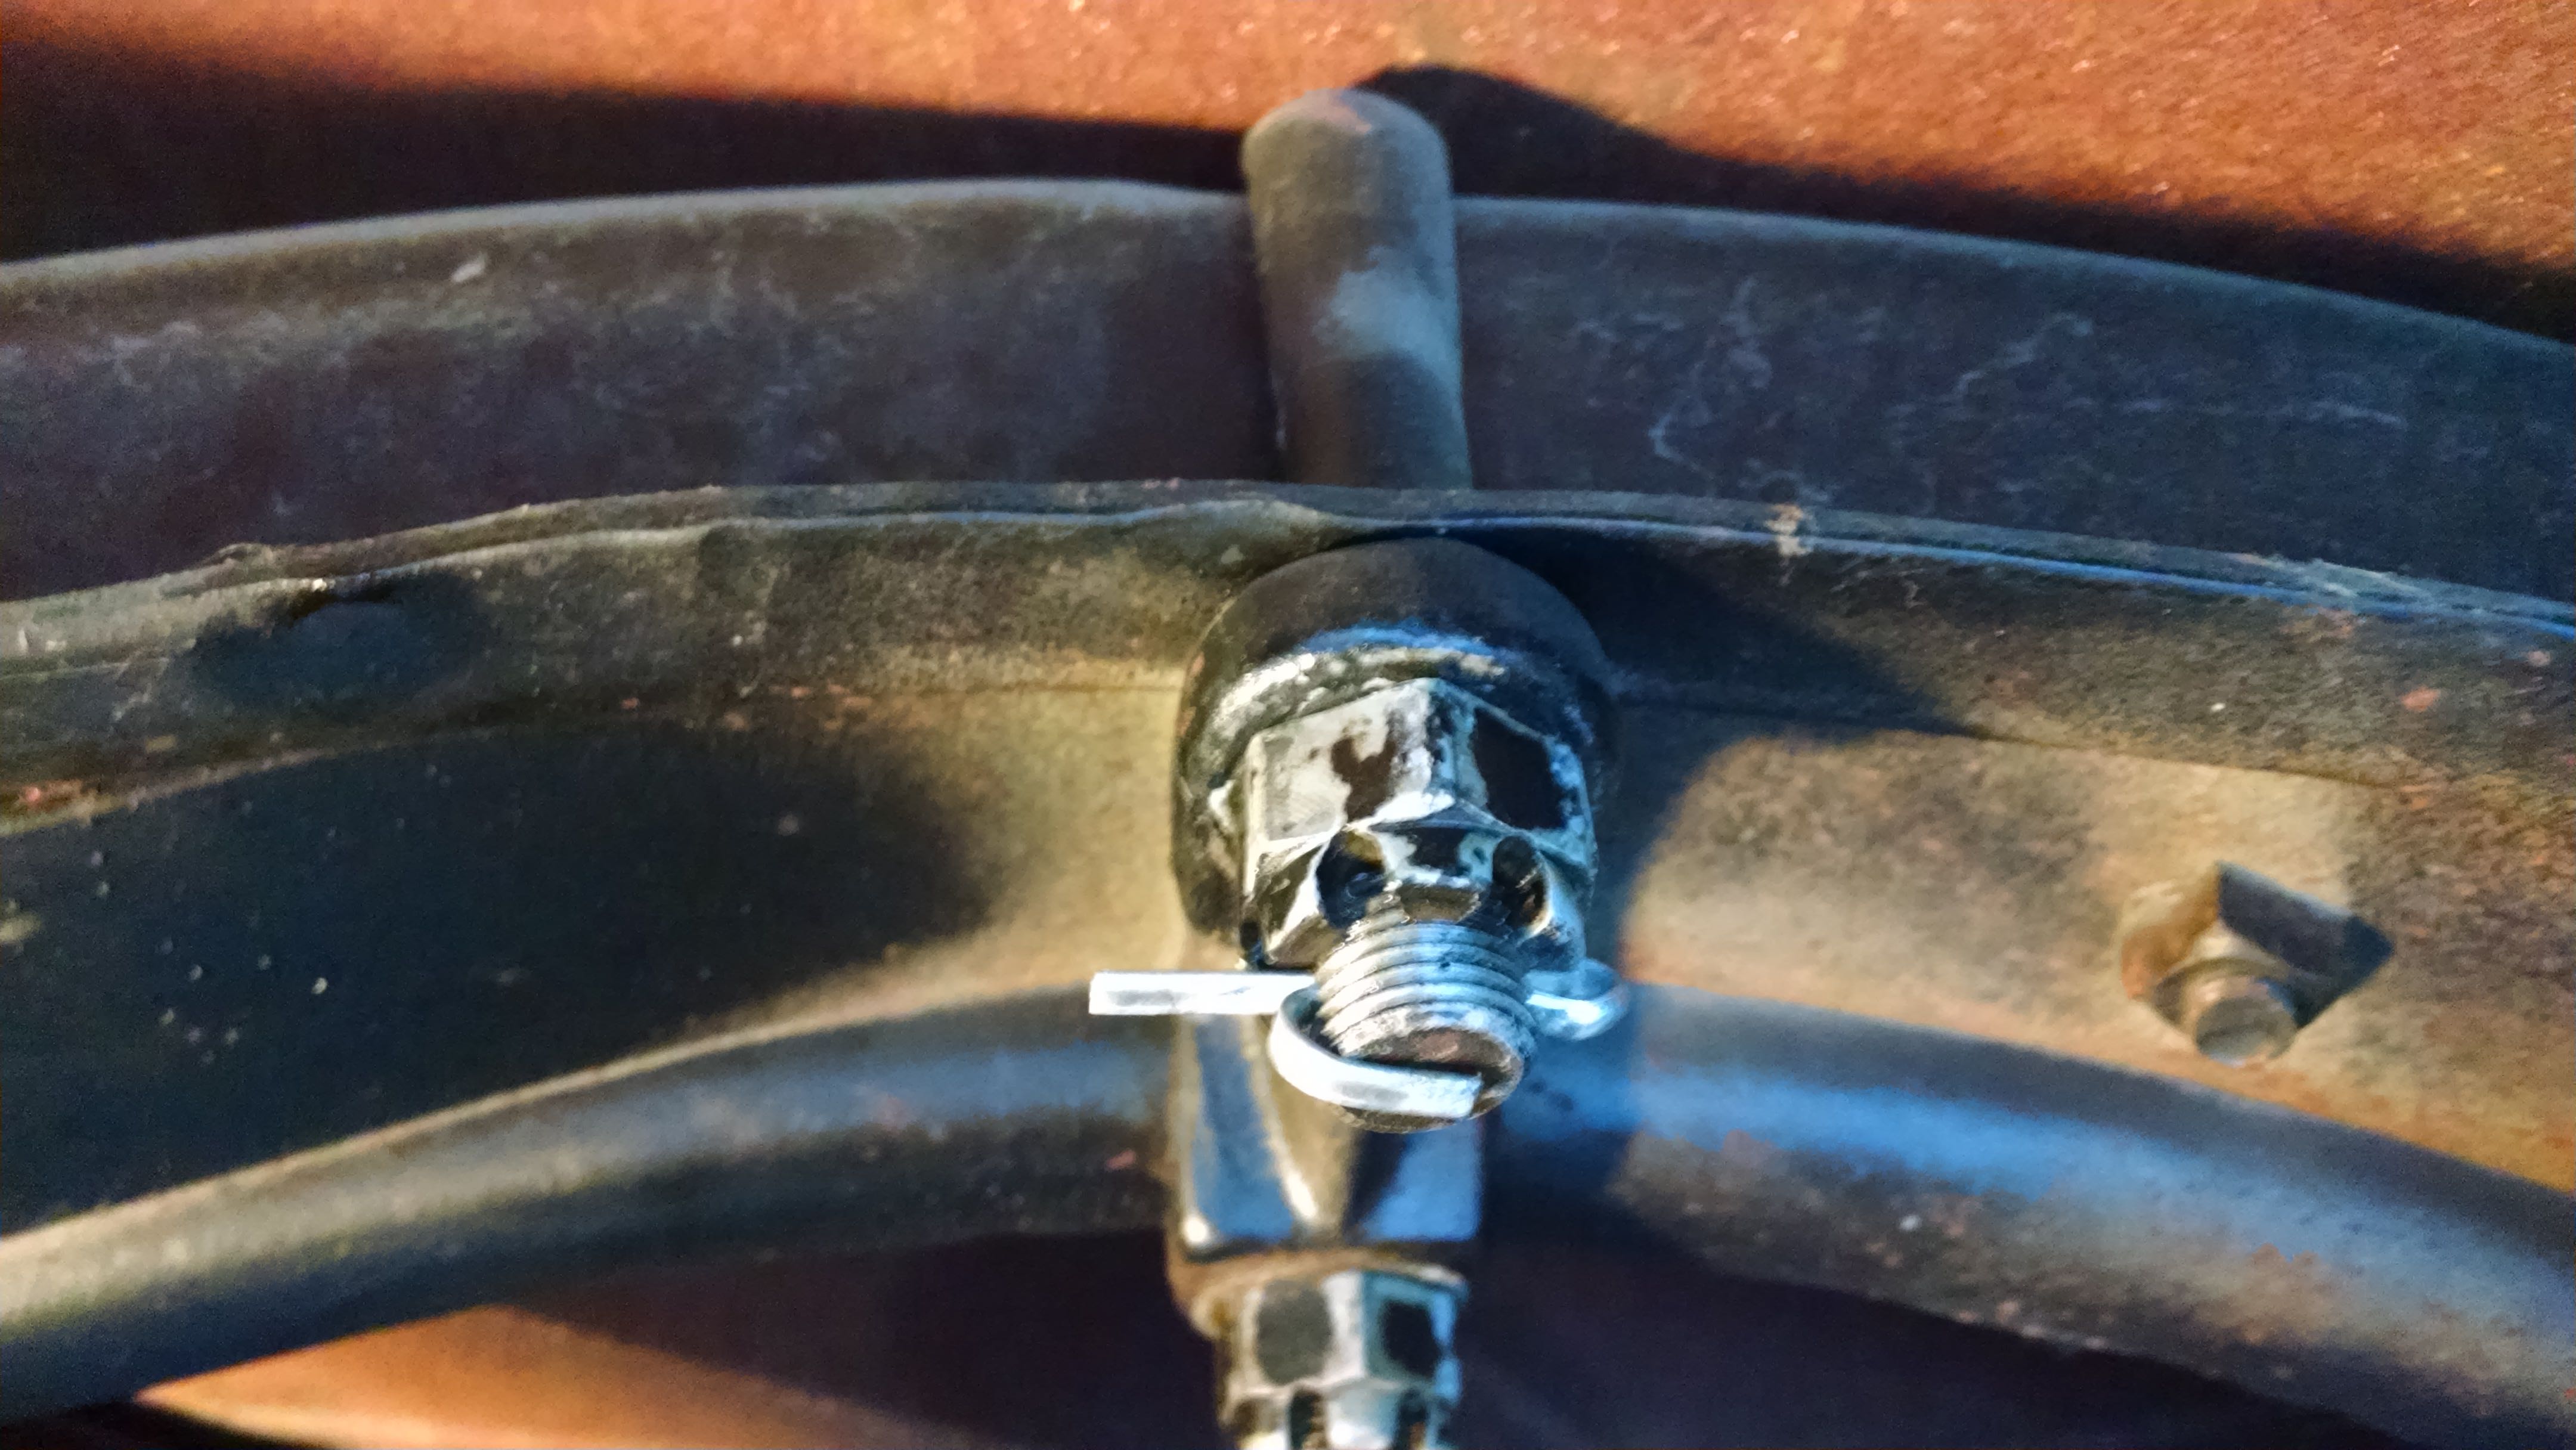
Voltage across the coil should be 6.3 V…and it was.
Coil voltage

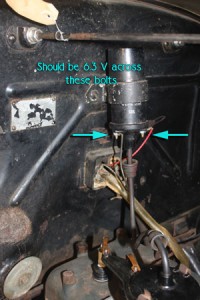
The voltage across the points should also be 6.3V. I didn’t get a picture of that, but the voltage was right.

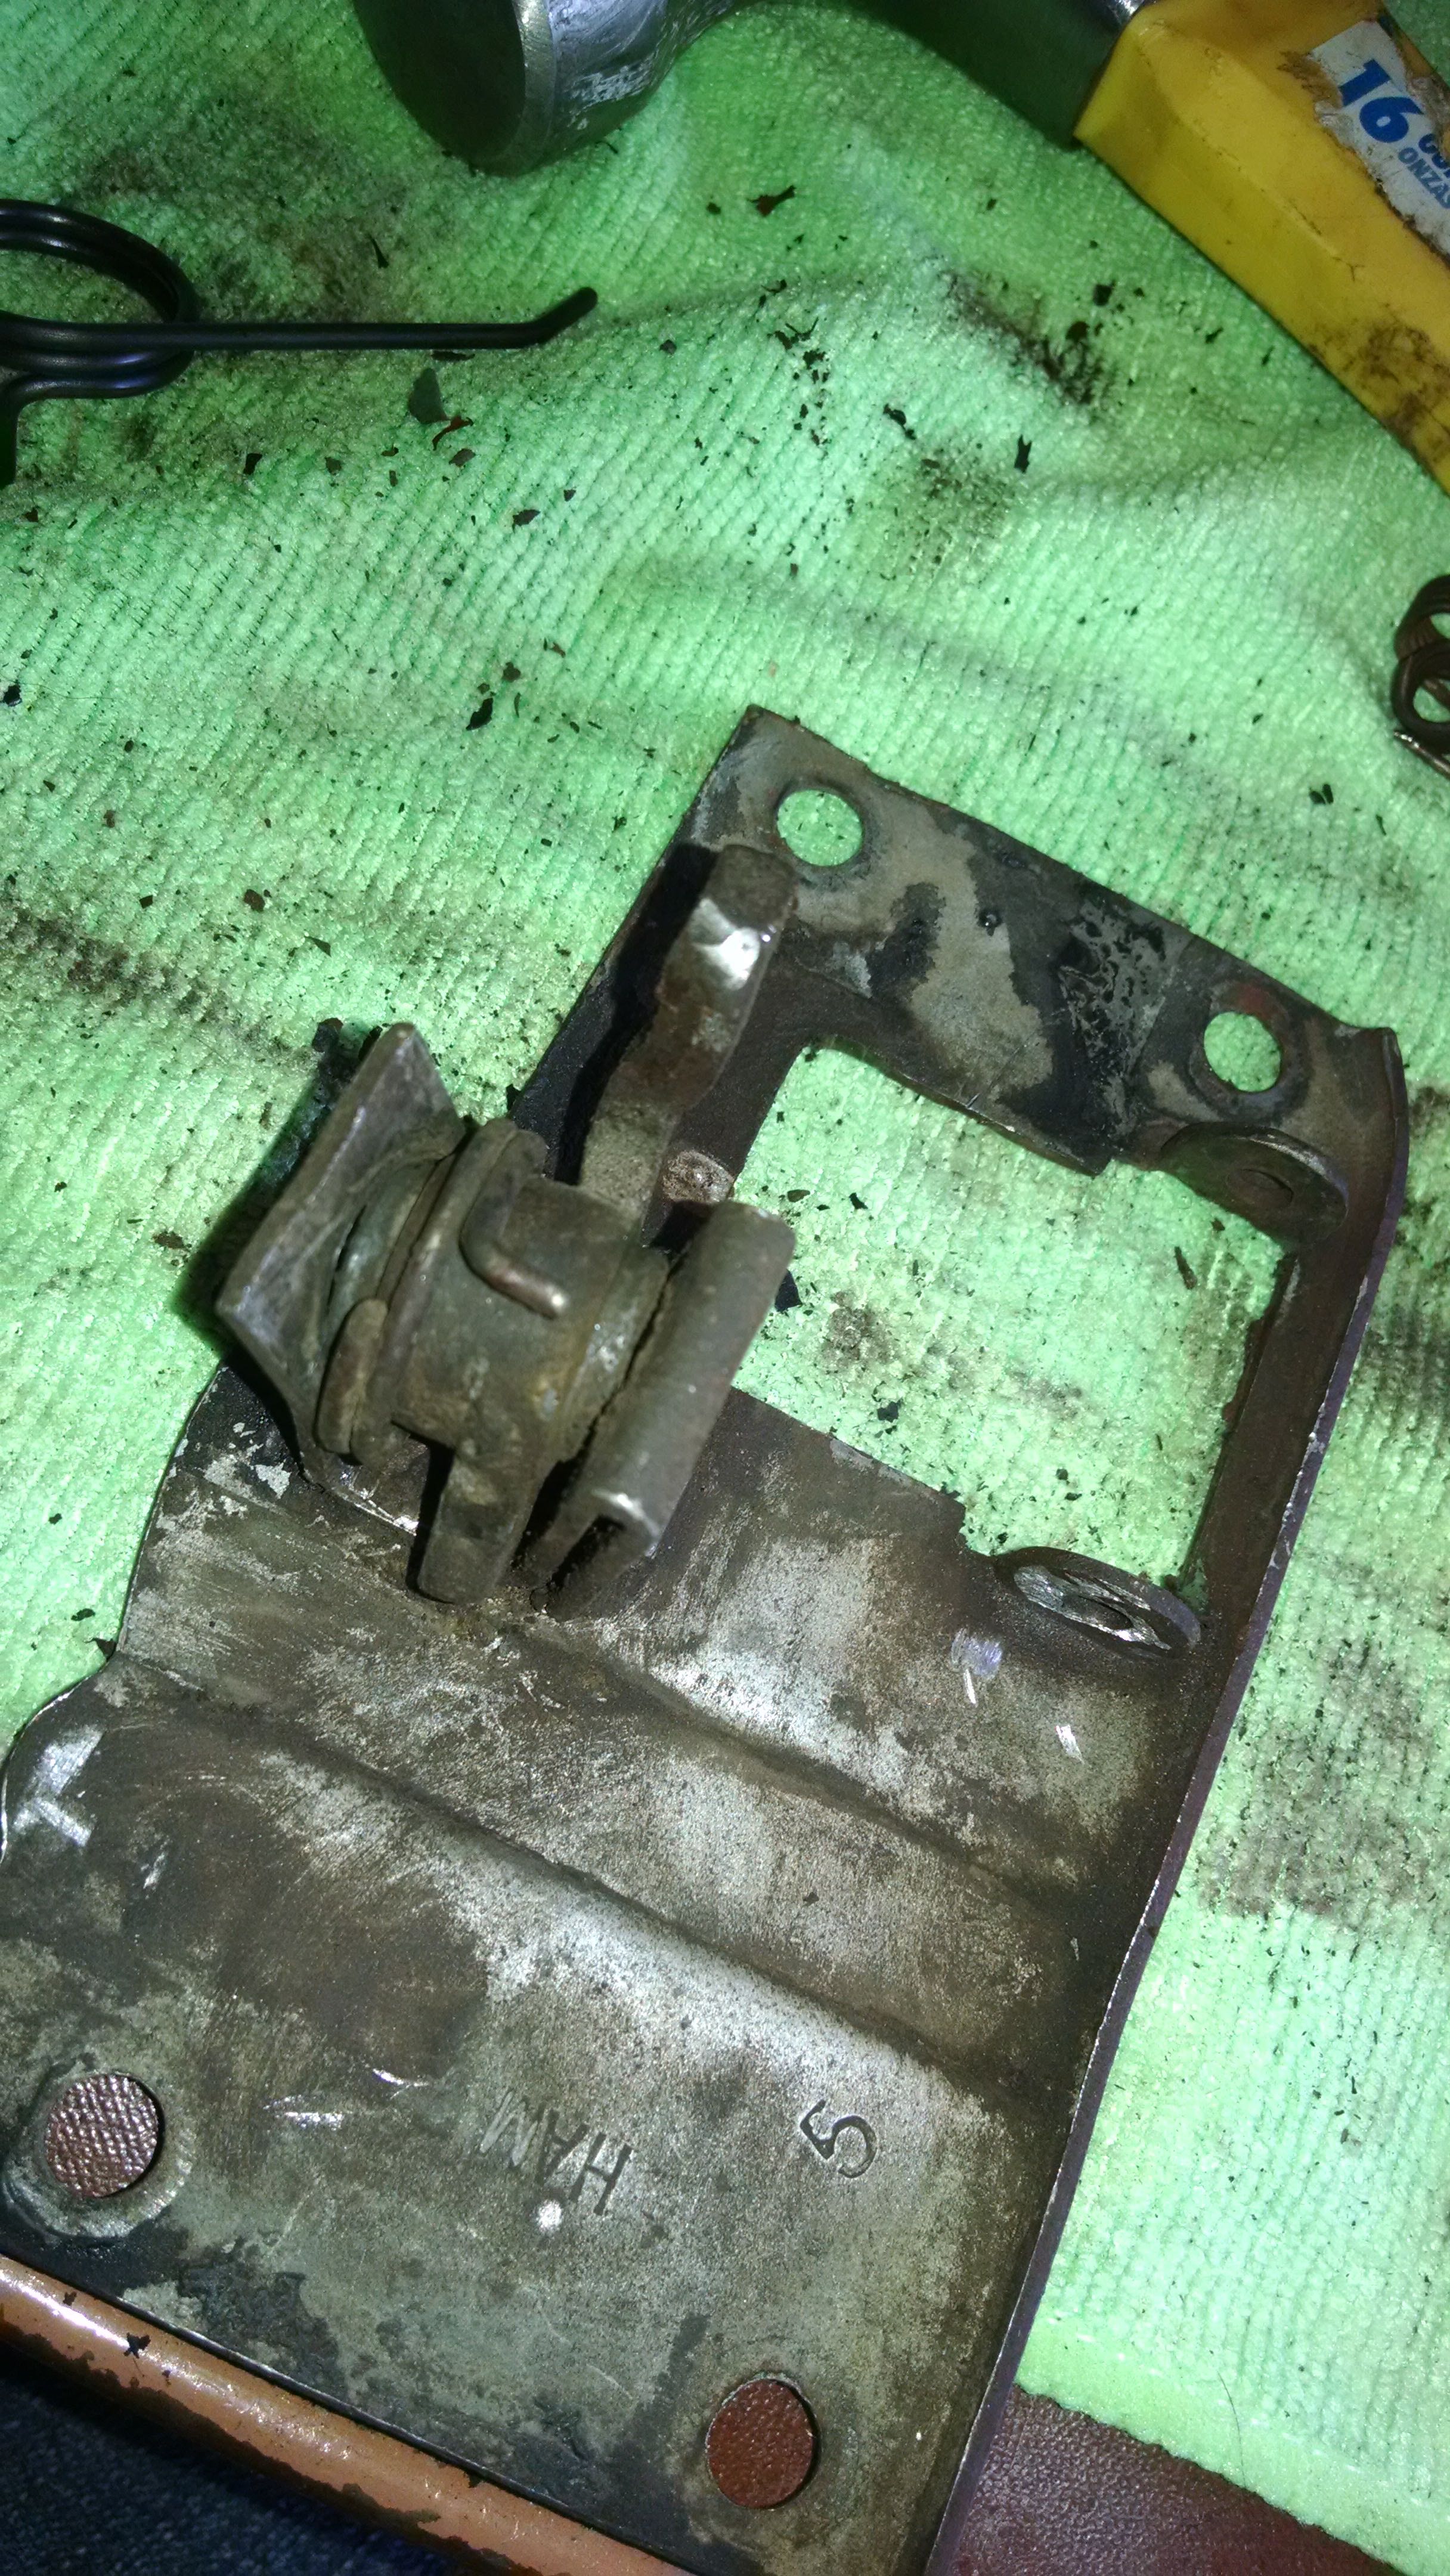
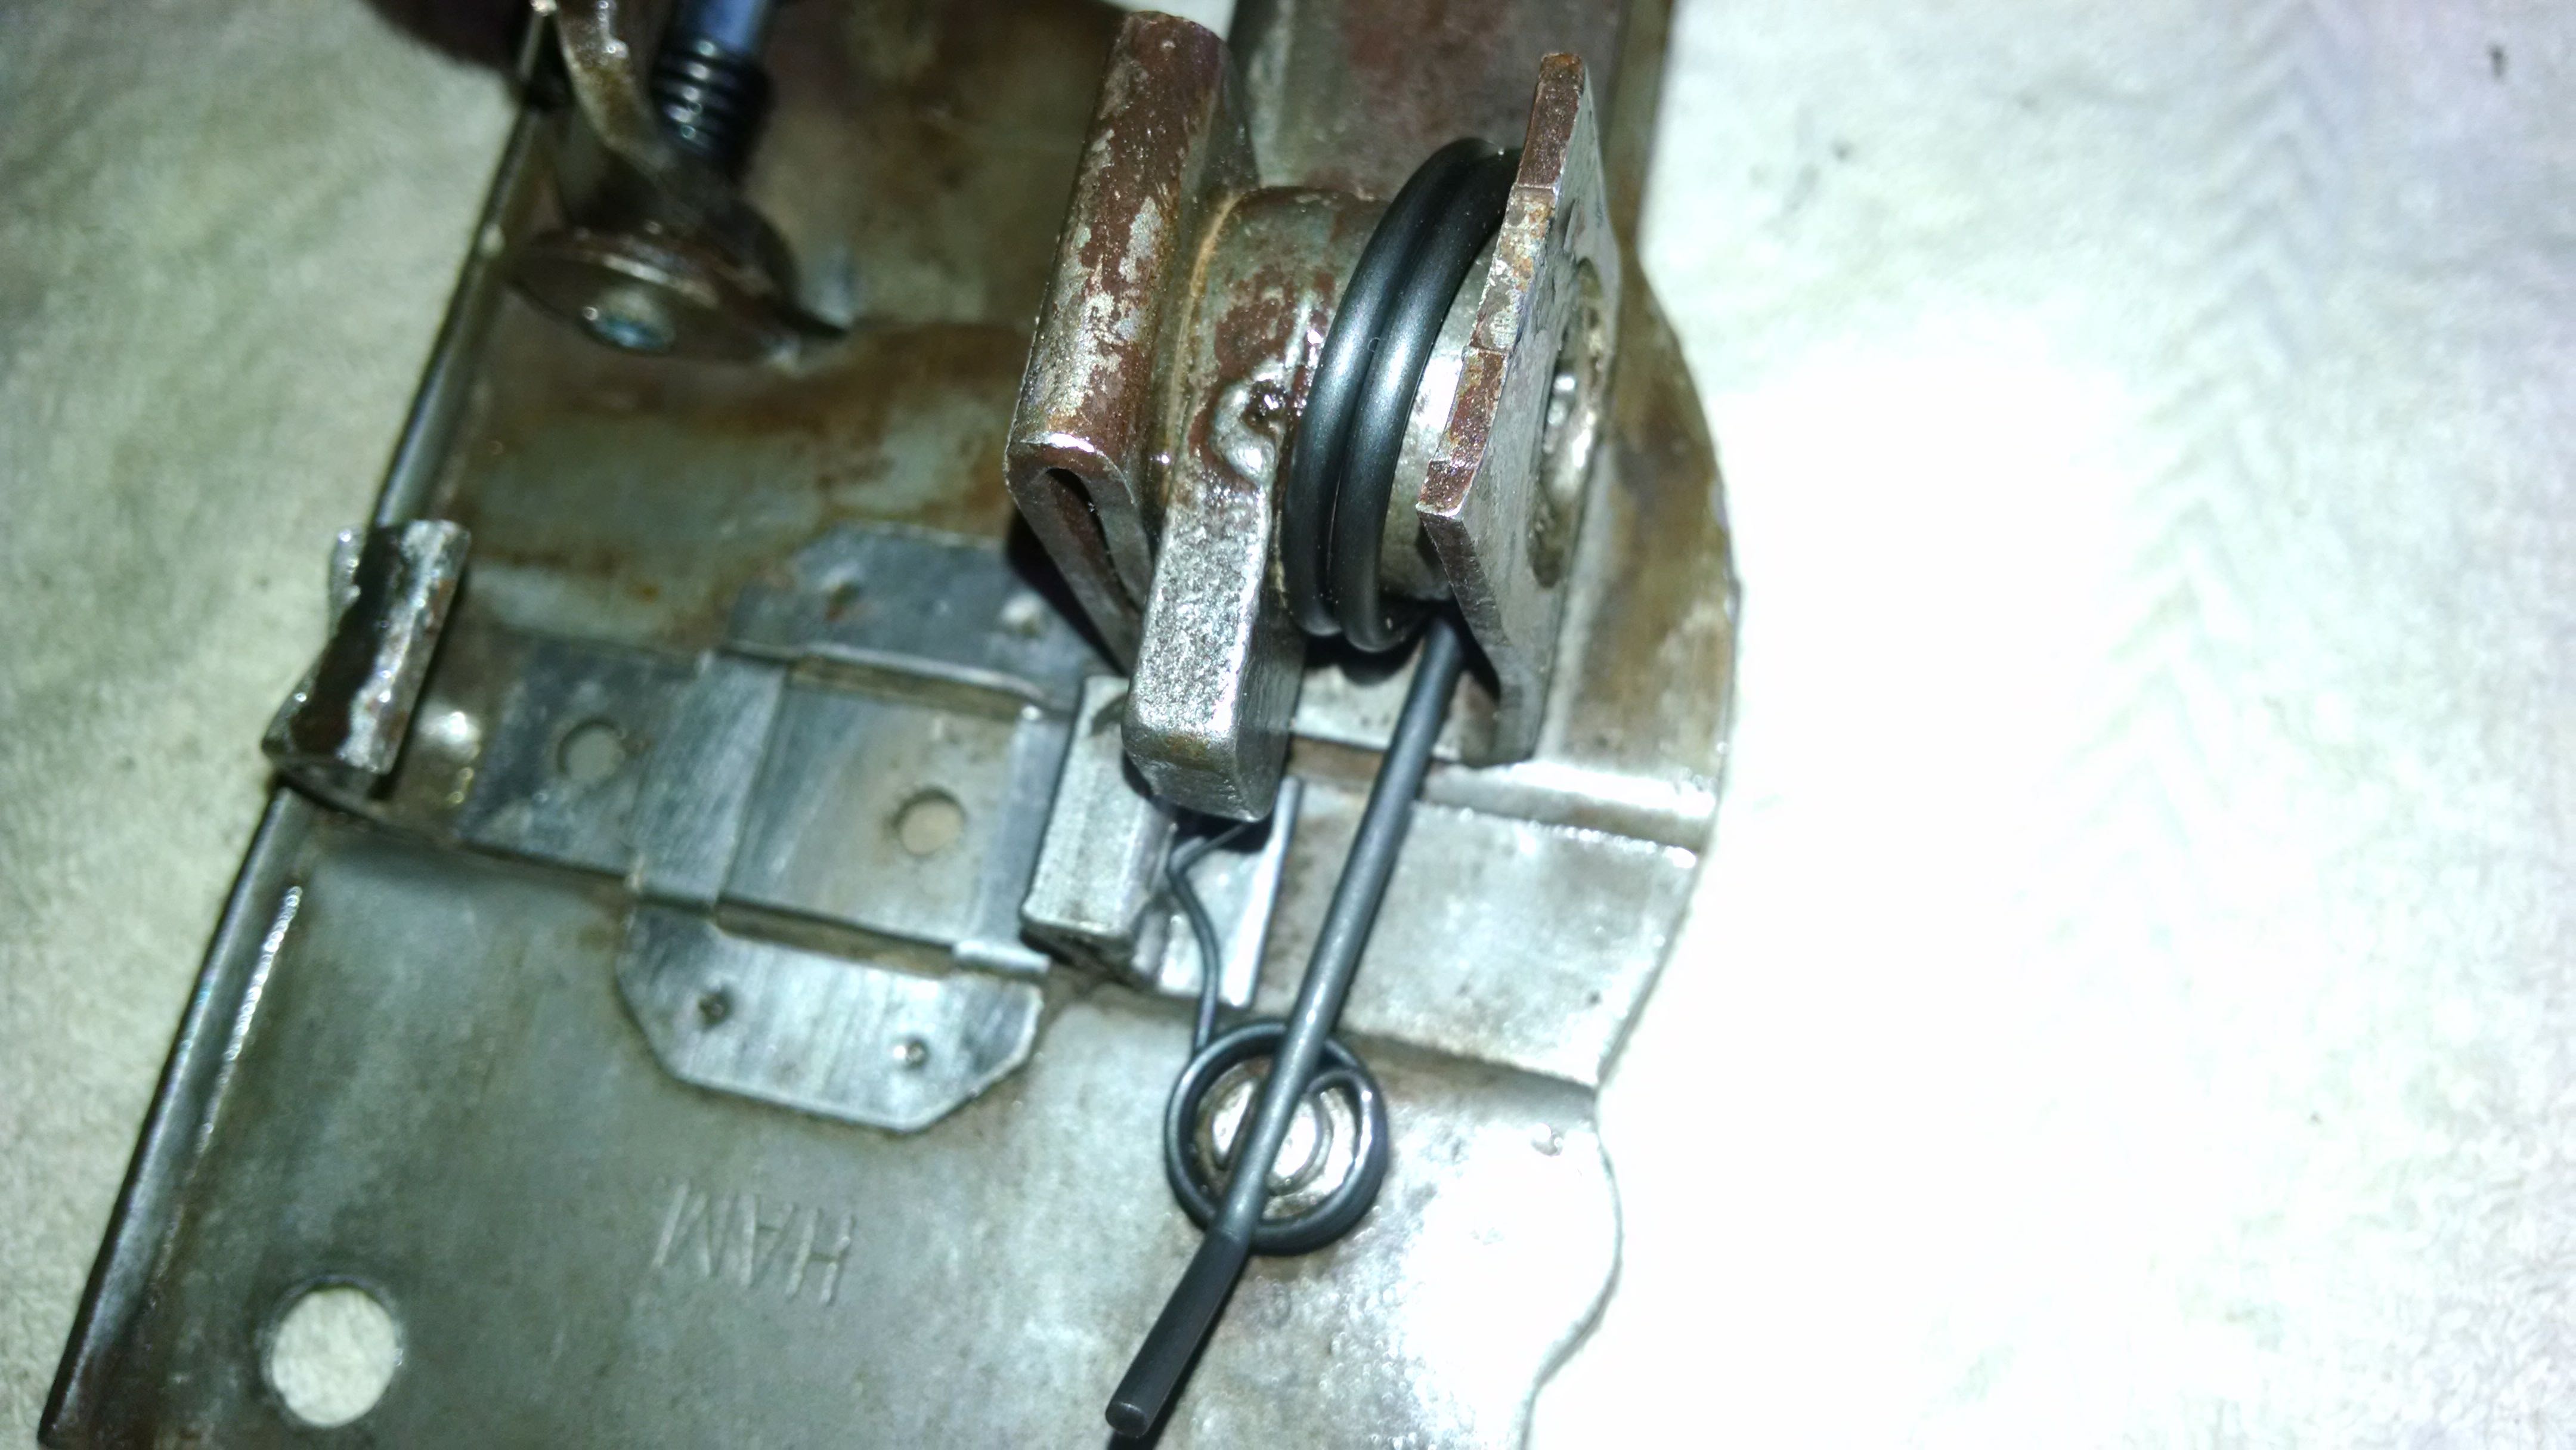
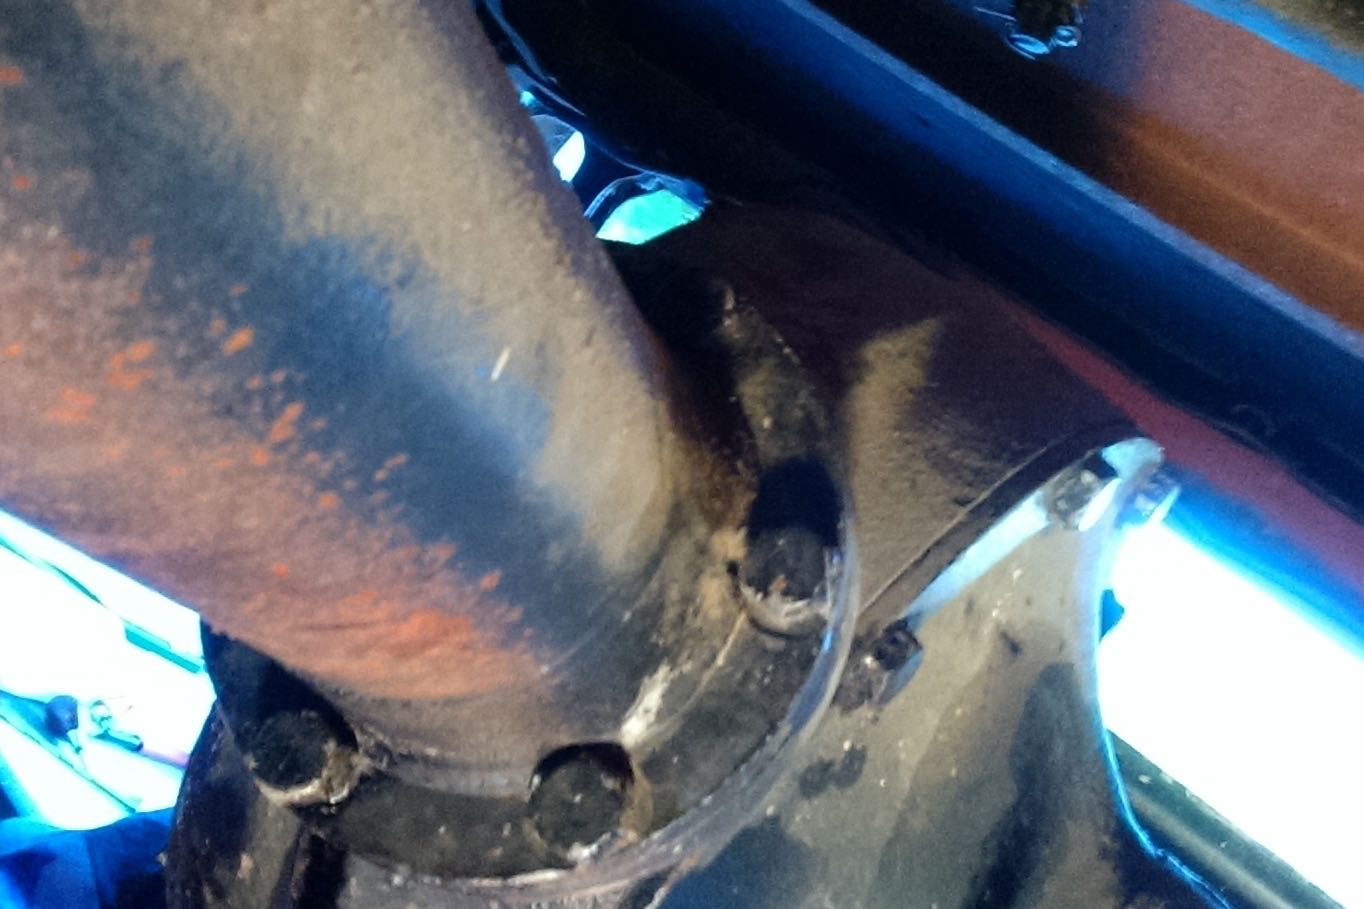
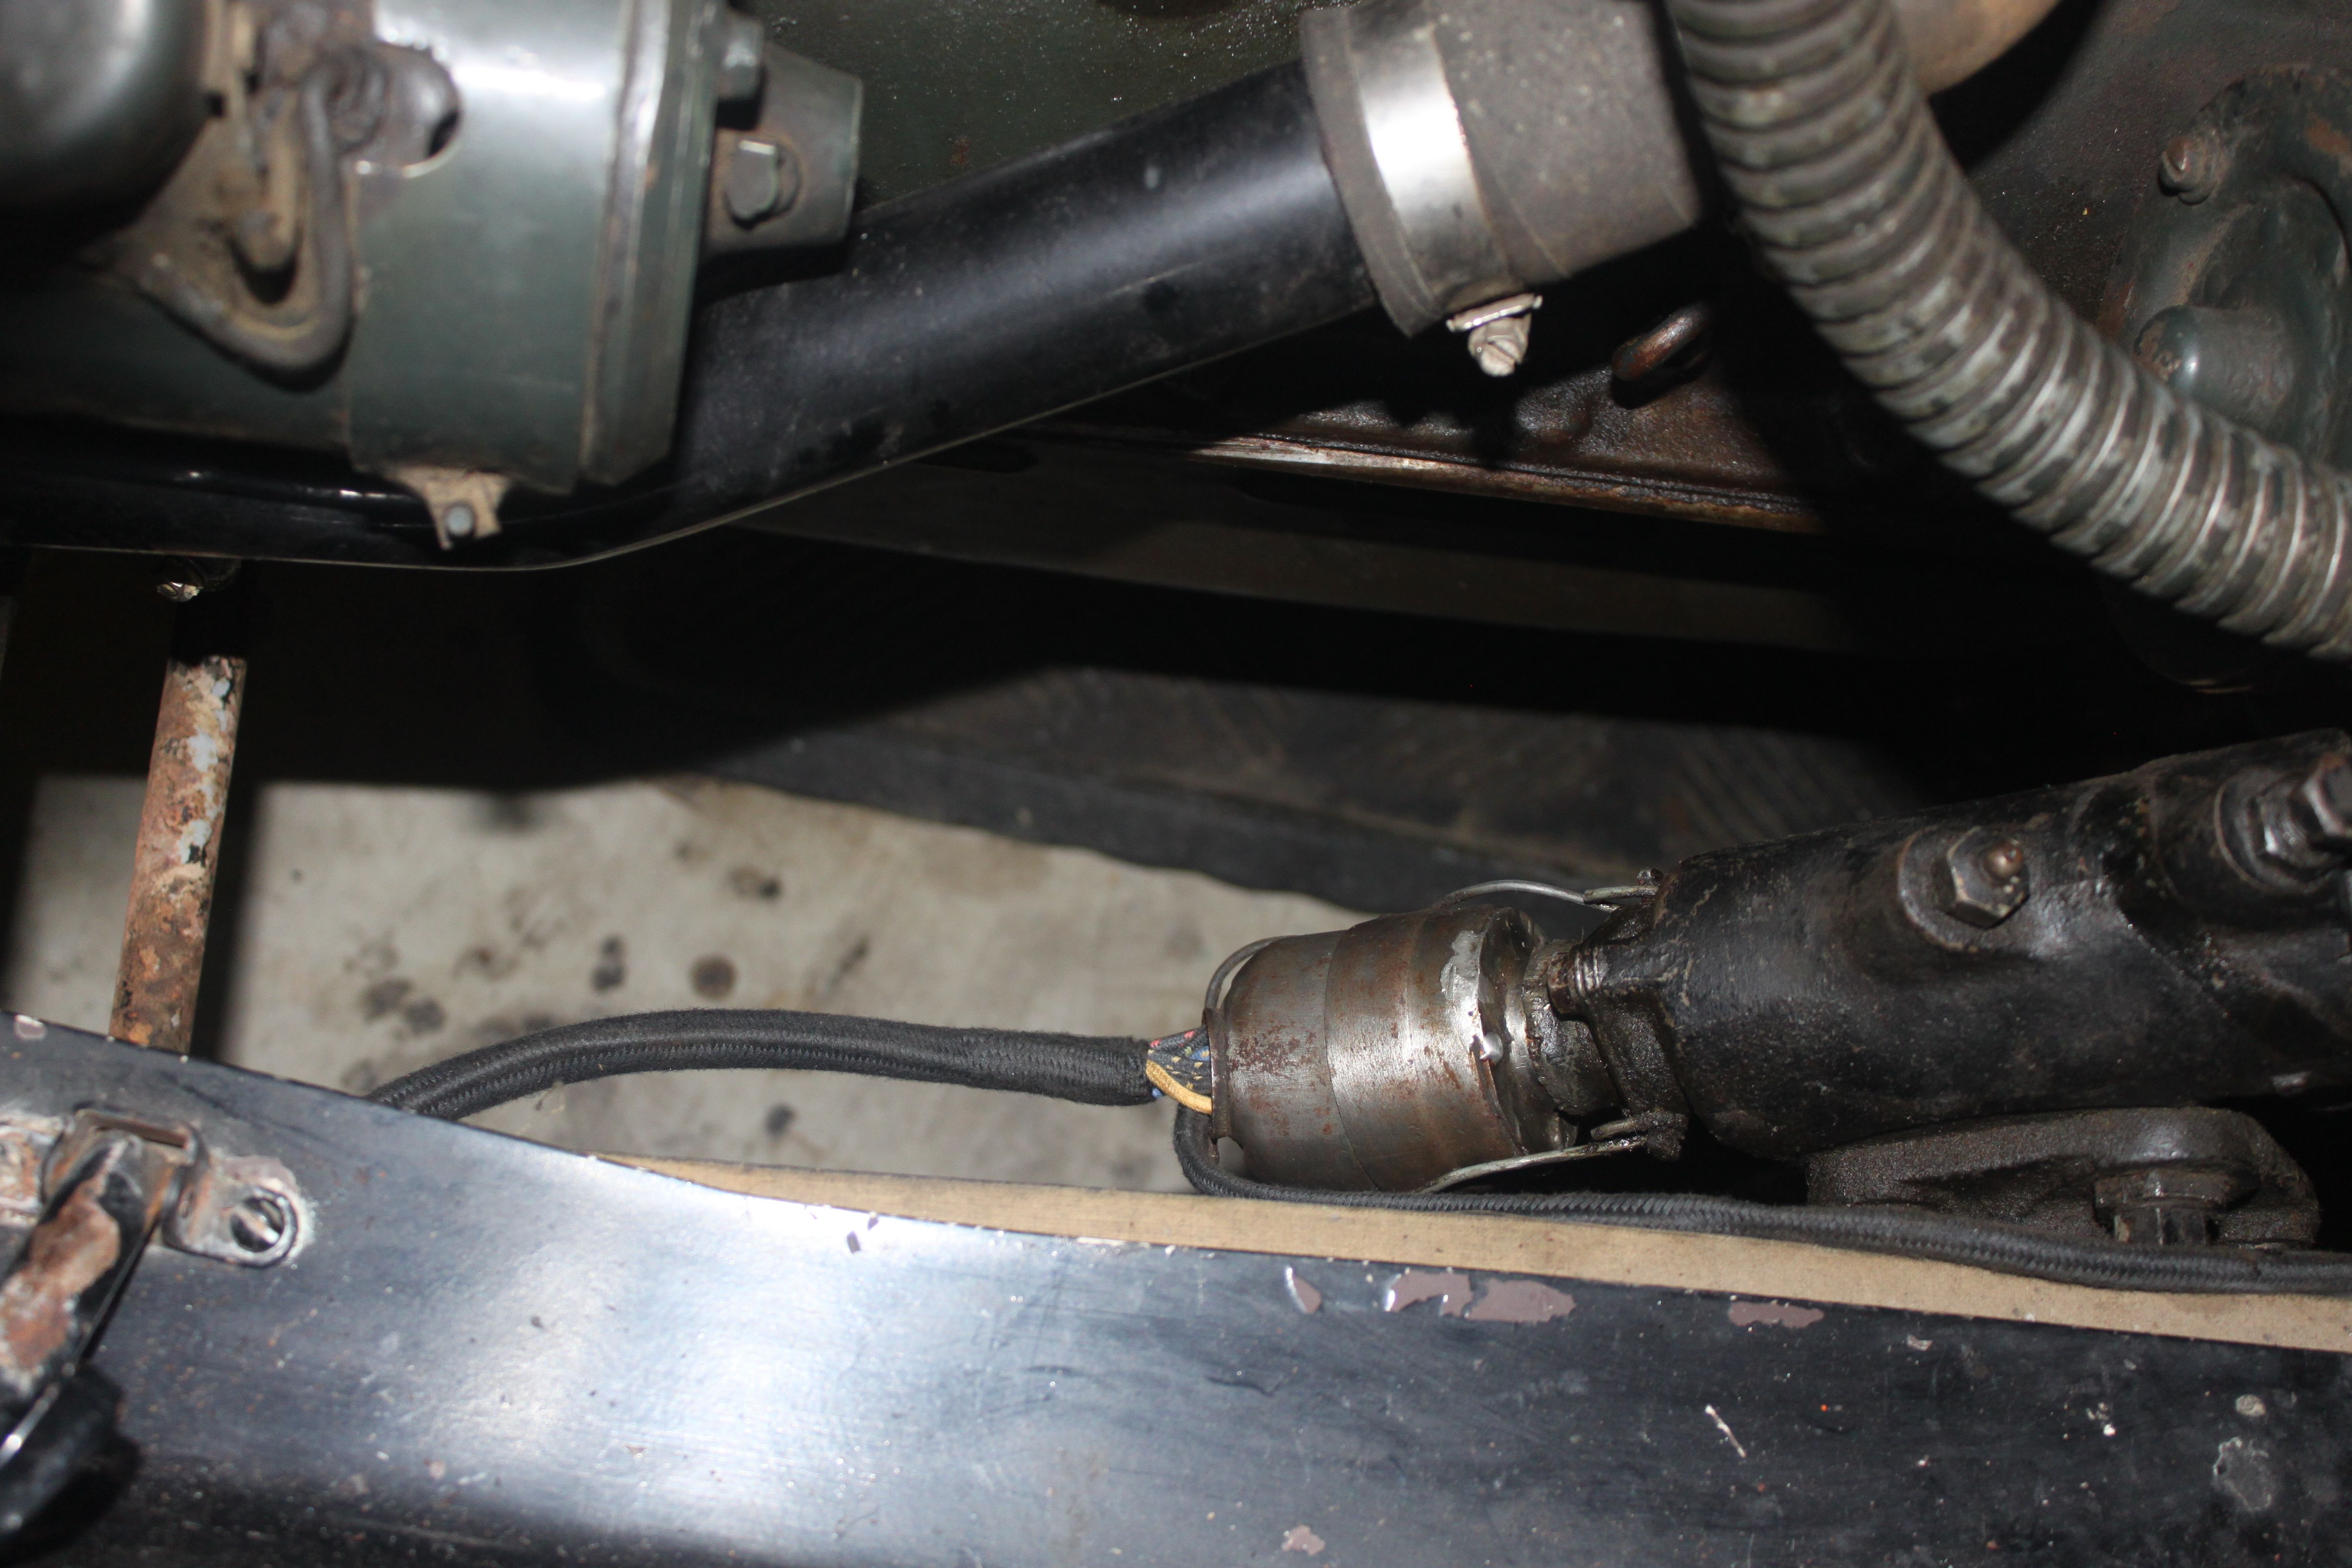
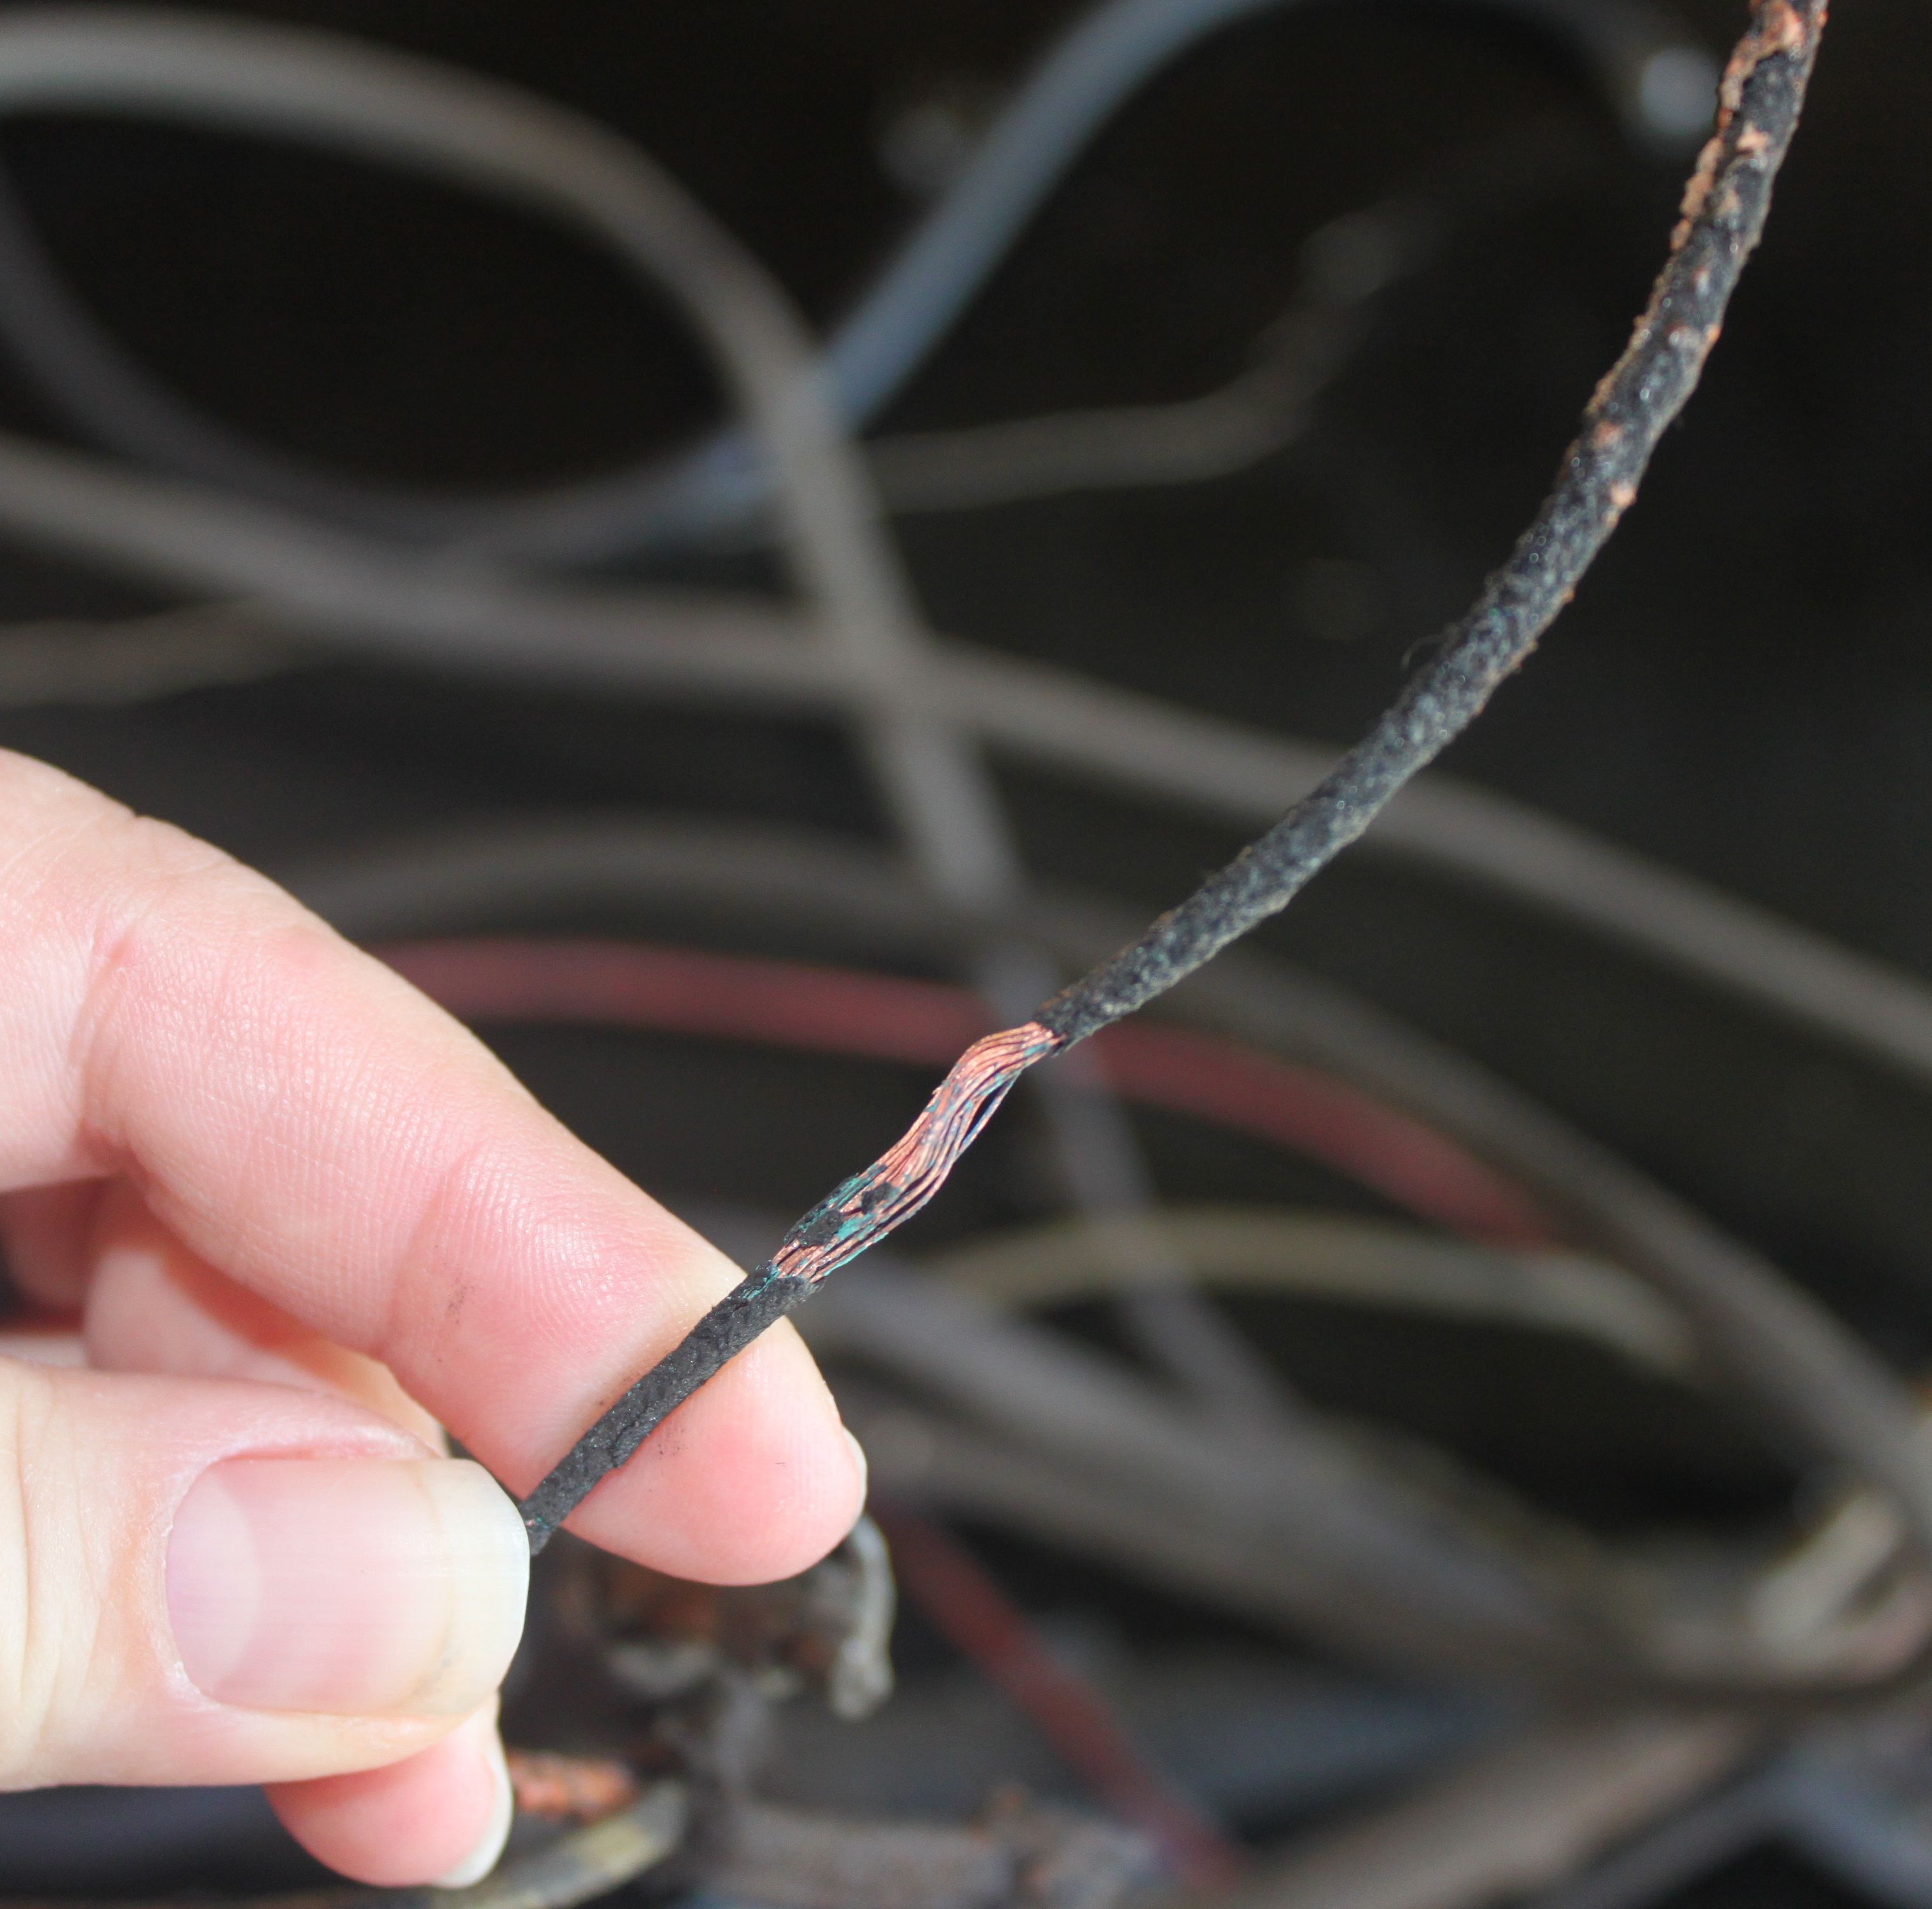
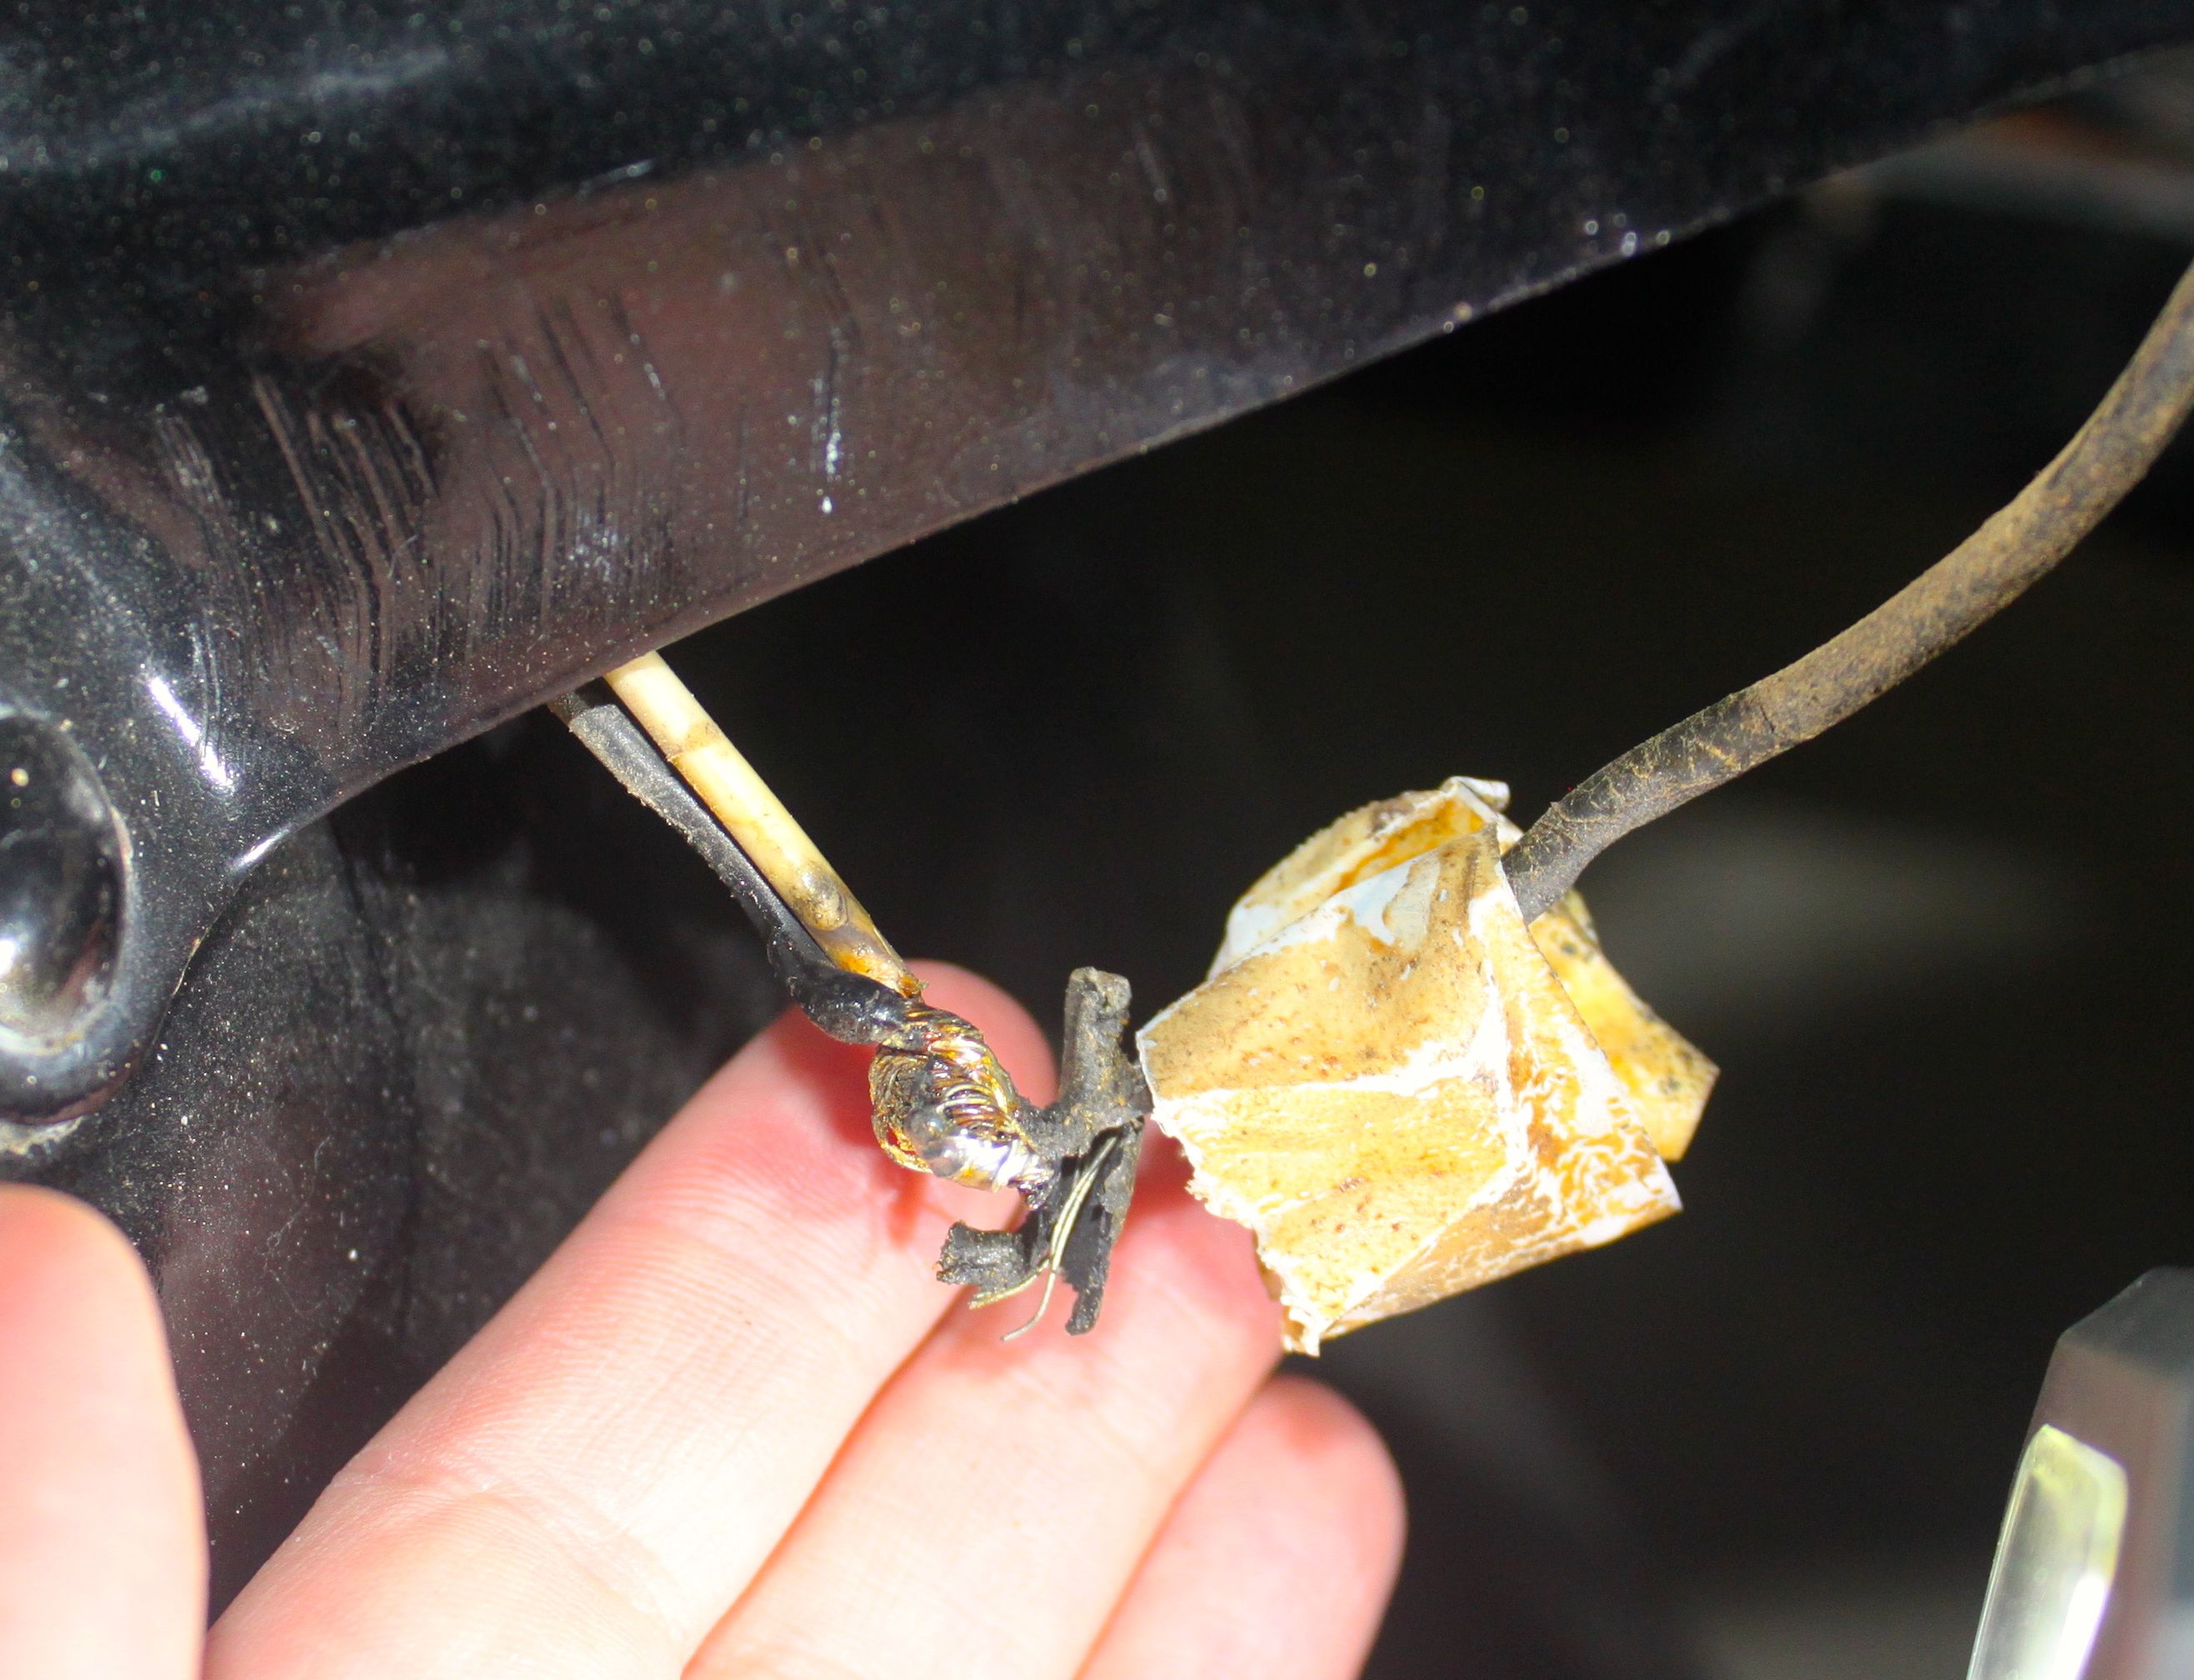
While checking those voltages, we discovered a few questionable wires. Dave pulled the one connecting the coil to the distributor. If it was a more-modern cable, it would have carbon inside instead of a wire, and that carbon can break down. Mine actually had a wire inside, and it had continuity. The connectors were a bit questionable, especially on one end where the wire wasn’t evident. Dave pulled that one, exposed a bit more of the wire and soldered back on the connector. I should replace this one soon, but it shouldn’t have caused the trouble starting.
Wires with bad connections on Daisy

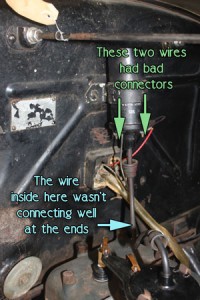
Also, the wires going into the coil had sad connections — the black wire was connected to the connector with just a wisp of wire. He re-did that connection so that more wire was holding the connector.

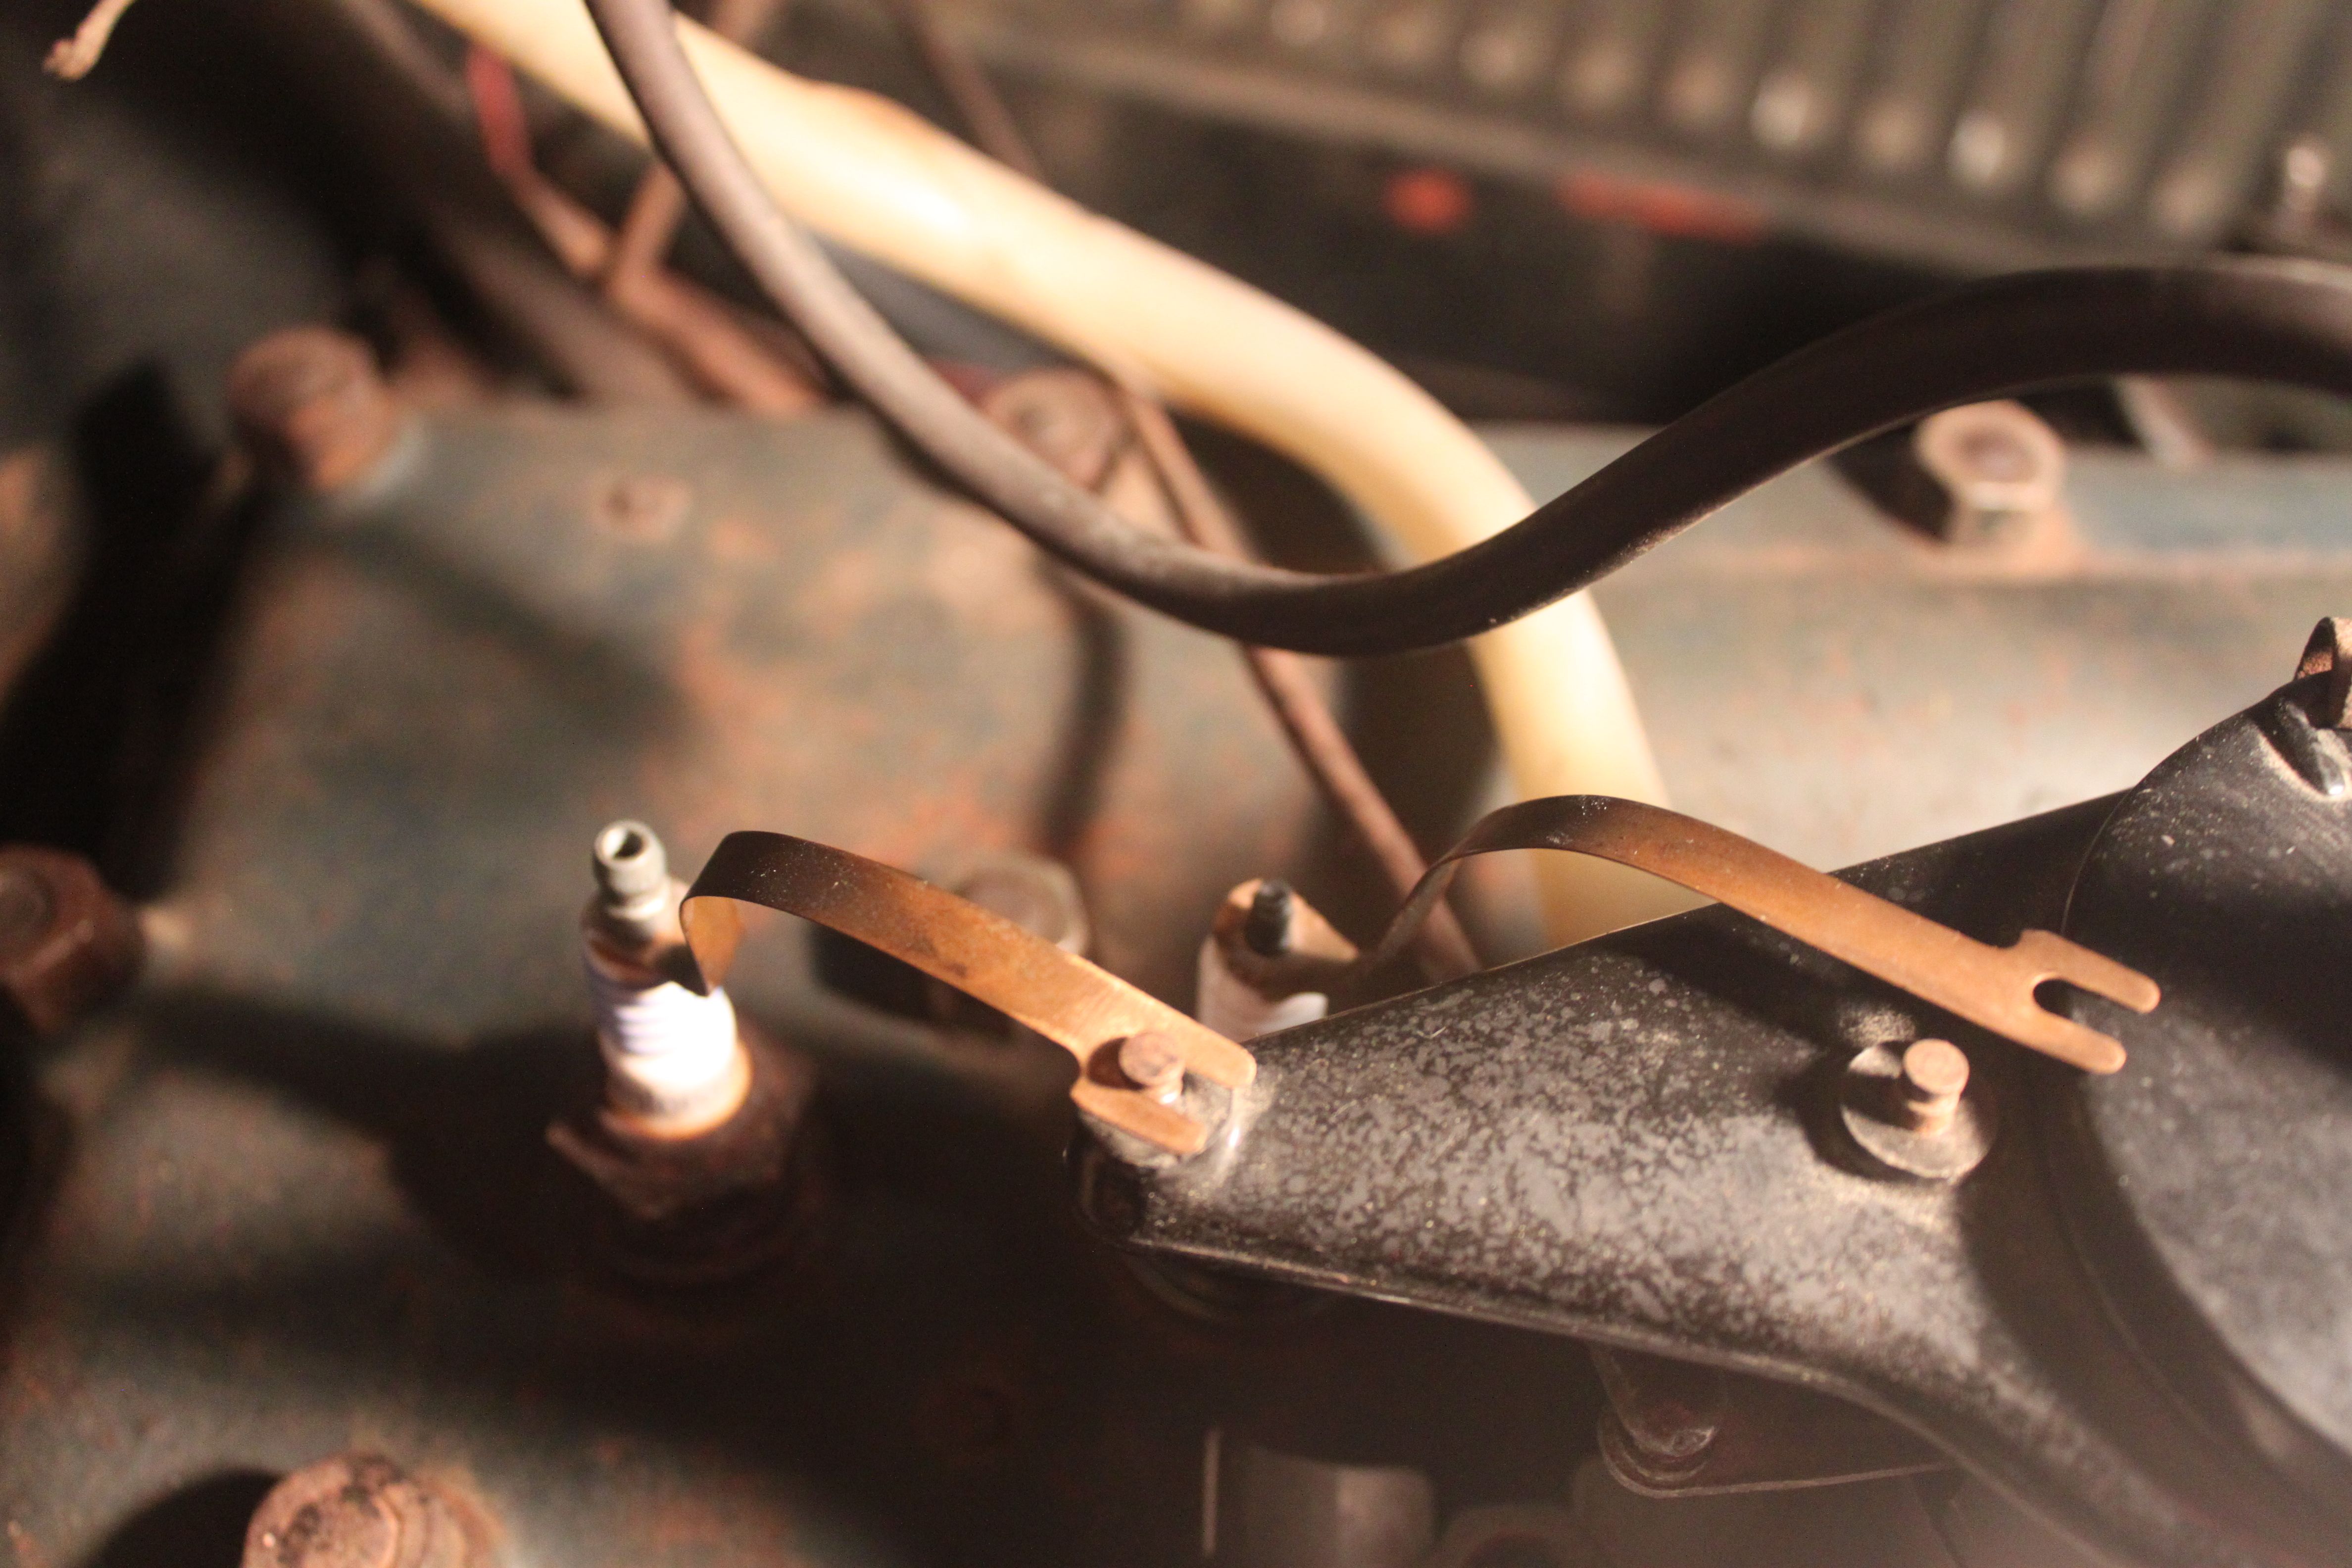
None of this helped. Dave changed out my distributor cap with one that he had altered to have holes in the top so that you could see if there was spark. Daisy had no spark.

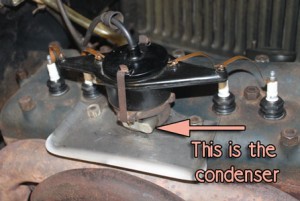
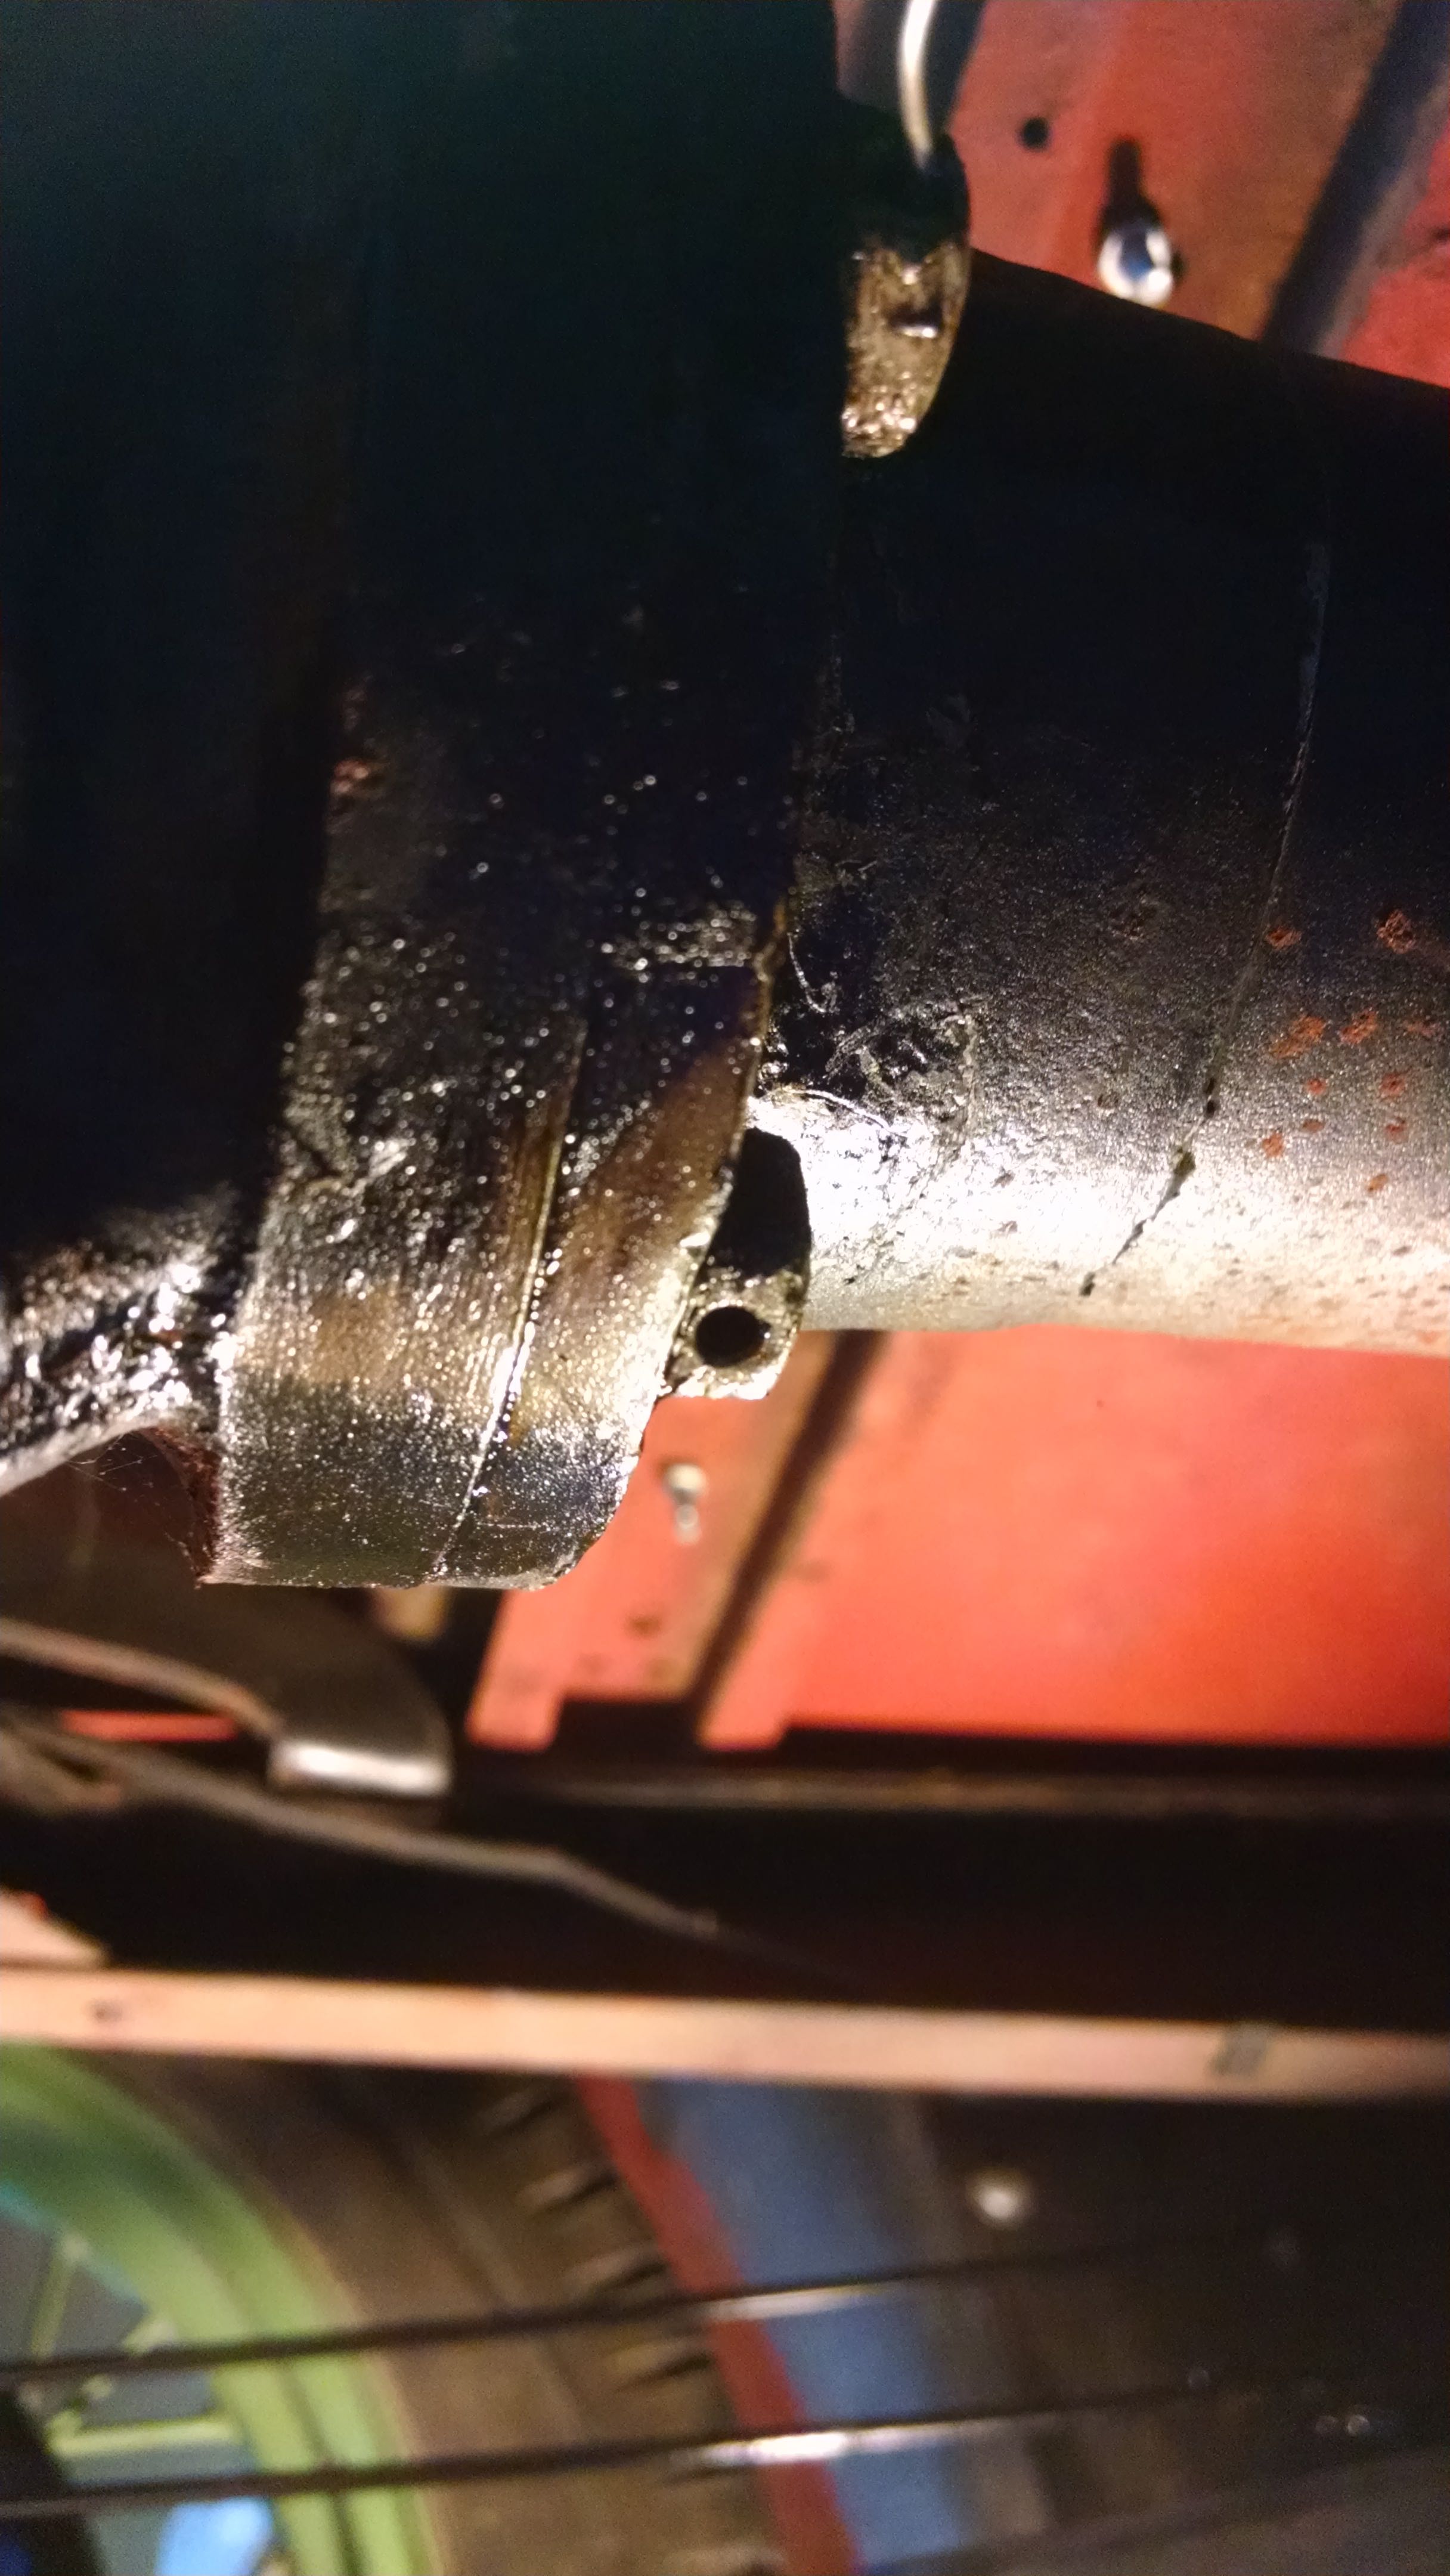
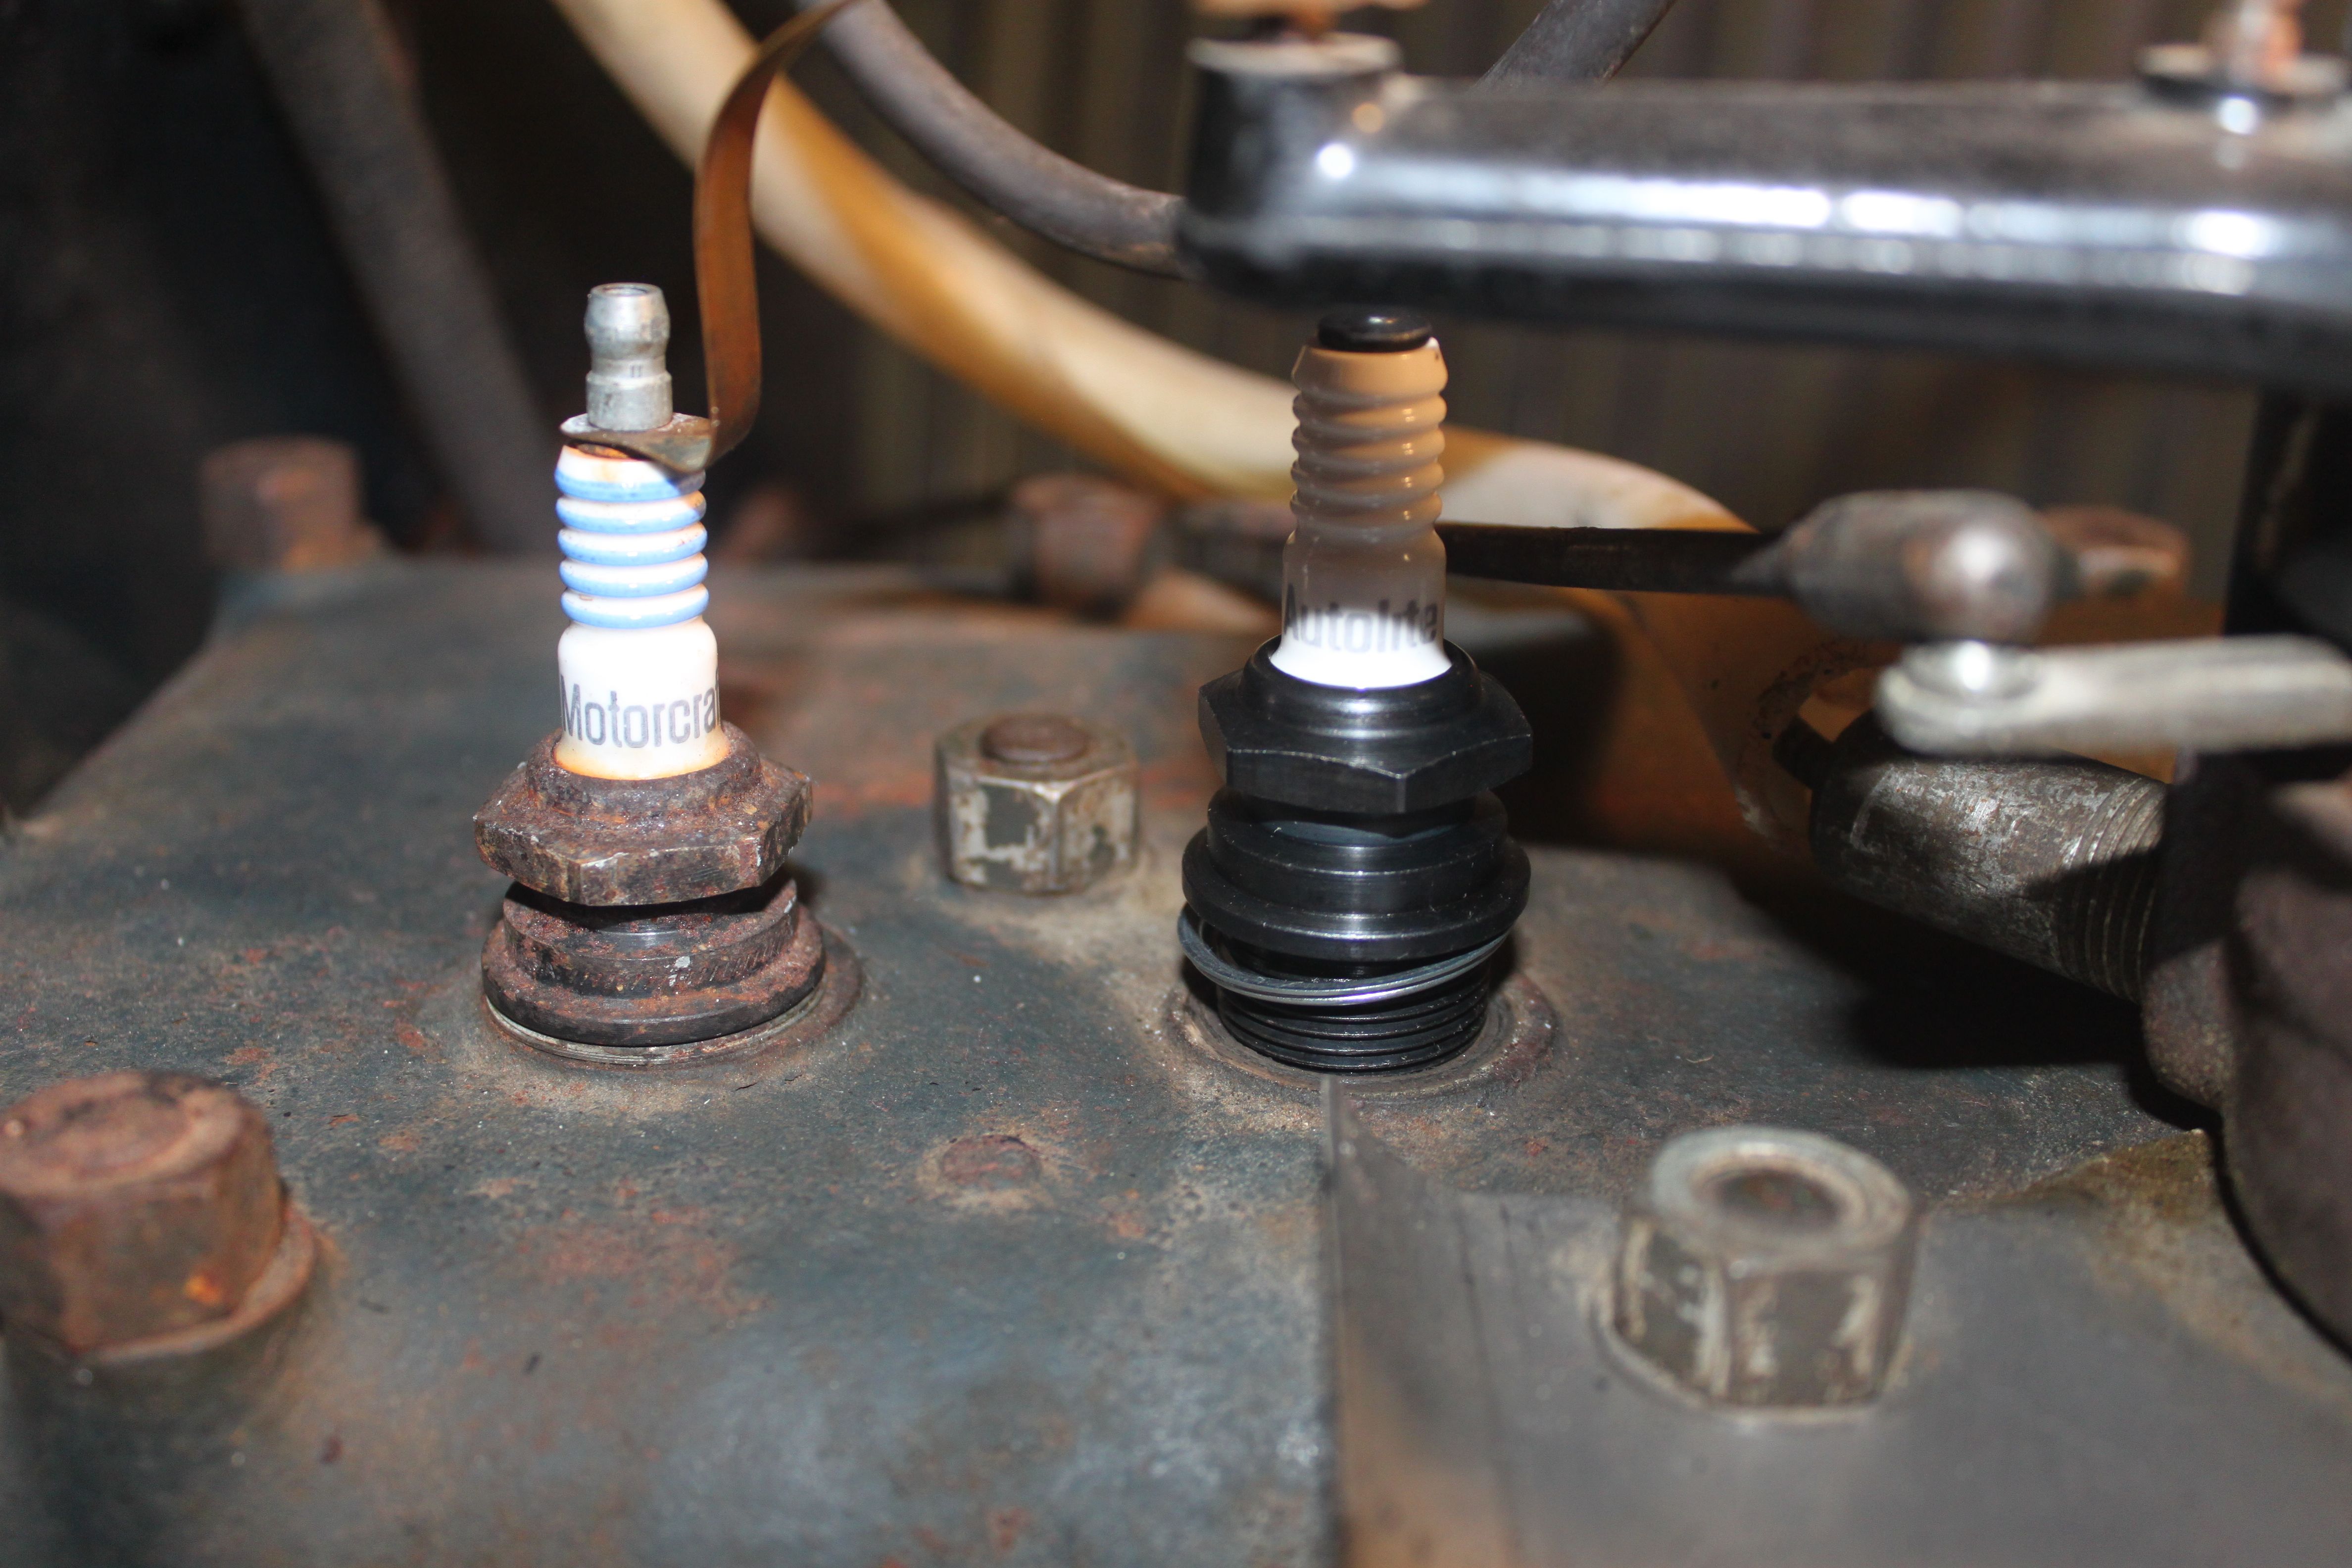
Next, we suspected the coil (I can’t remember why). So, Dave hooked up a coil that he had brought. Still no spark. He cleaned the tips where the spark should jump from the distributor’s rotor to ignite the plugs. Still no spark. We changed out my spark plugs, just in case. Still no spark. We changed out the condenser on my distributor for one that Dave had brought.

Distributor with the condenser labeled

She still didn’t start right away. She did, however, backfire as I was pulling my foot off the starter. She had done that for me before, but I had another witness (besides Model A Husband). Dave confirmed that when that happened, there was a jump of a spark from the rotor to the nearest connector. He had no idea why. Nor could he figure out what it told us.

Dave turned to me and confessed that he was out of ideas. He sat down with the Les Andrews’ book, and doubled checked our check-list. Lucky me…I had stumped one of the experts. He had me try again and watch the amp meter that’s mounted in the car. If there was still a problem with the circuit, it should stay at zero. However, as I cranked the engine, it was bouncing around, so there were amps flowing.

Then, for some reason, we decided to try again. I can’t remember why. And I don’t think we tried anything else new. But…she started!!!

I hopped out to see the distributor spinning and sparks flying.

Since we weren’t sure what we had done that would cause her to finally start, we started pulling out Dave’s additions one-by-one. First we reconnected my coil. And she started. Then we replaced his peek-a-boo distributor cap with mine. And she started. And then we replaced his condenser with mine. And she started.

At this point, we just had the spark plugs left. Dave asks what we’re going to do if she still starts with my spark plugs. I laugh and say…be happy that she started? So, we put my spark plugs back in and…you guessed it…she started.

So, yay that she started. But…what is wrong? It is most likely electrical. And the problem is that it could go wrong again, maybe when I’m out on the road, and that wouldn’t be good.

At this point, I need to do a little work on the brakes before she’ll be safe to drive. But once I’ve done that, I’m going to take her out for short drives. Dave has suggested a few things for me to change out – electrical and not – so I’ll be working on those as well. But she’s alive!!

Spark? Check! Gas? Maybe…

After rebuilding the carburetor, I’m ready to try starting Daisy again. Did it work? Check out my latest video to find out…

Re-assembling the carburetor

reassembling_carburetor

After replacing the spark plugs, I tried starting Daisy again, but to no avail. I had Model A Husband try starting her while I watched the engine, and she…”coughed”…as if she was about to start. However, her “cough” was accompanied by a glurt of gas from near the carburetor. I took this as a sign to rebuild it.

There were some mis-adventures with the process, but I’ll save that for another post. Today I reassembled the carb and made a little time-lapse video of it.

Spark Plugs

There are three things an automobile engine needs to run: spark, gas, and compression. When the engine doesn’t start,  these are the places to begin the search for a problem. I decided to start my search with the spark.

My first candidate for issue was the spark plugs.  These are the source of the spark in the above requirements of the engine. Basically, electricity is pushed across a gap in the spark plug, creating a spark.

I found this site, which explains it in much more detail: How Automobile Ignition Systems Work: Spark Plugs

To do it’s job, the spark plug needs to be clean (so the electricity can be conducted) and the gap needs to be just right. I decided to check the plugs on Daisy. They are located on the passenger side of the engine. This is a view of the engine when the hood on that side is opened up:

Top view  Connection

The spark plugs are screwed into the engine block with metal ribbons connecting them to the distributor. The charge comes from the distributor, through the ribbions, into the spark plugs and then <ZAP> a spark across the gap in the plug. To get them out, first you have to unscrew the cap that holds the ribbon in place, then take a deep set socket to unscrew the plugs from the engine. You can kind of see the socket I used in the picture below.

Securing the plug

When I got one plug out, it was clear it was dirty and should likely be replaced. The picture below shows one of my old spark plugs (on the left) and a new one (on the right).

Good and bad spark plugs

Notice how dirty the old one is and how shiny the new one is in comparison. A spark would have a hard time getting through the grime on the old one. The good news is that spark plugs are one of the cheapest fixes in the car — about $6.50 for the set of four at my local auto parts store.

Before putting them into the engine, they need to be “gapped”. This is adjusting the width of the gap so that the spark is just right for the car. The gap for each car is different – for Daisy I needed a 0.035″ gap.

Sadly, I didn’t get a good picture of one of my new plugs on it’s side to show the gap, but here’s one of the old, dirty ones. The gap in question is the one between the body of the spark plug and that little “arm” at the top in this picture.

Spark plug

I have a coin-type gap tool – there are others out there, and I might get one someday, because I wasn’t overly happy with the coin-type one. But, it did get the job done.

Start by measuring the gap. Insert the edge of the coin gap tool at the smallest end, and pivot the coin until it is snug in the gap. My first measurement came up at about 0.025″, which was too small.

Gap too small

With the coin tool, the way to increase the gap is to use the hole in the tool to pry open the gap.

Adjust the gap

My next attempt measured about 0.040″, which was too big.

Too big

To shrink the gap, I tapped lightly with a hammer. It’s possible to break off that little arm, so you can’t be too vigorous with it. I think I made it a little too small this time, but after shrinking it again, I got it just right.

Just right

Then it screws back into the engine block, tightening a bit with the socket. Then connect the metal ribbon again by replacing the small cap nut.

Setting the new plug

Repeat with the other three spark plugs, and that’s it!

This isn’t the only failure point for spark, but it’s the one I already knew how to do!

Older posts

© 2024 Model A Girl

Theme by Anders NorenUp ↑