Seatbelts had been invented when Model As were first made (for airplanes), but they were not an option on Ford automobiles until the 1950s (according to Wikipedia). Clearly, they were not an option on Model As.
Seatbelts are not required on antique cars, I wanted them in Daisy. Sure, in a bad enough accident, they won’t be enough, but it’s some added protection. The main hope is to keep from being thrown from the car in case of an accident. I had heard about this accident, which took the life of a man and his daughter from our area a few years back: Father, daughter killed in accident involving Model A. Turns out that Dave, the guy in the club I’ve been working with on Daisy, knew this man and had helped him look at Model As before he bought this one. Dave seemed more than happy to help me install the seatbelts. And I’m glad, because it wasn’t exactly trivial.
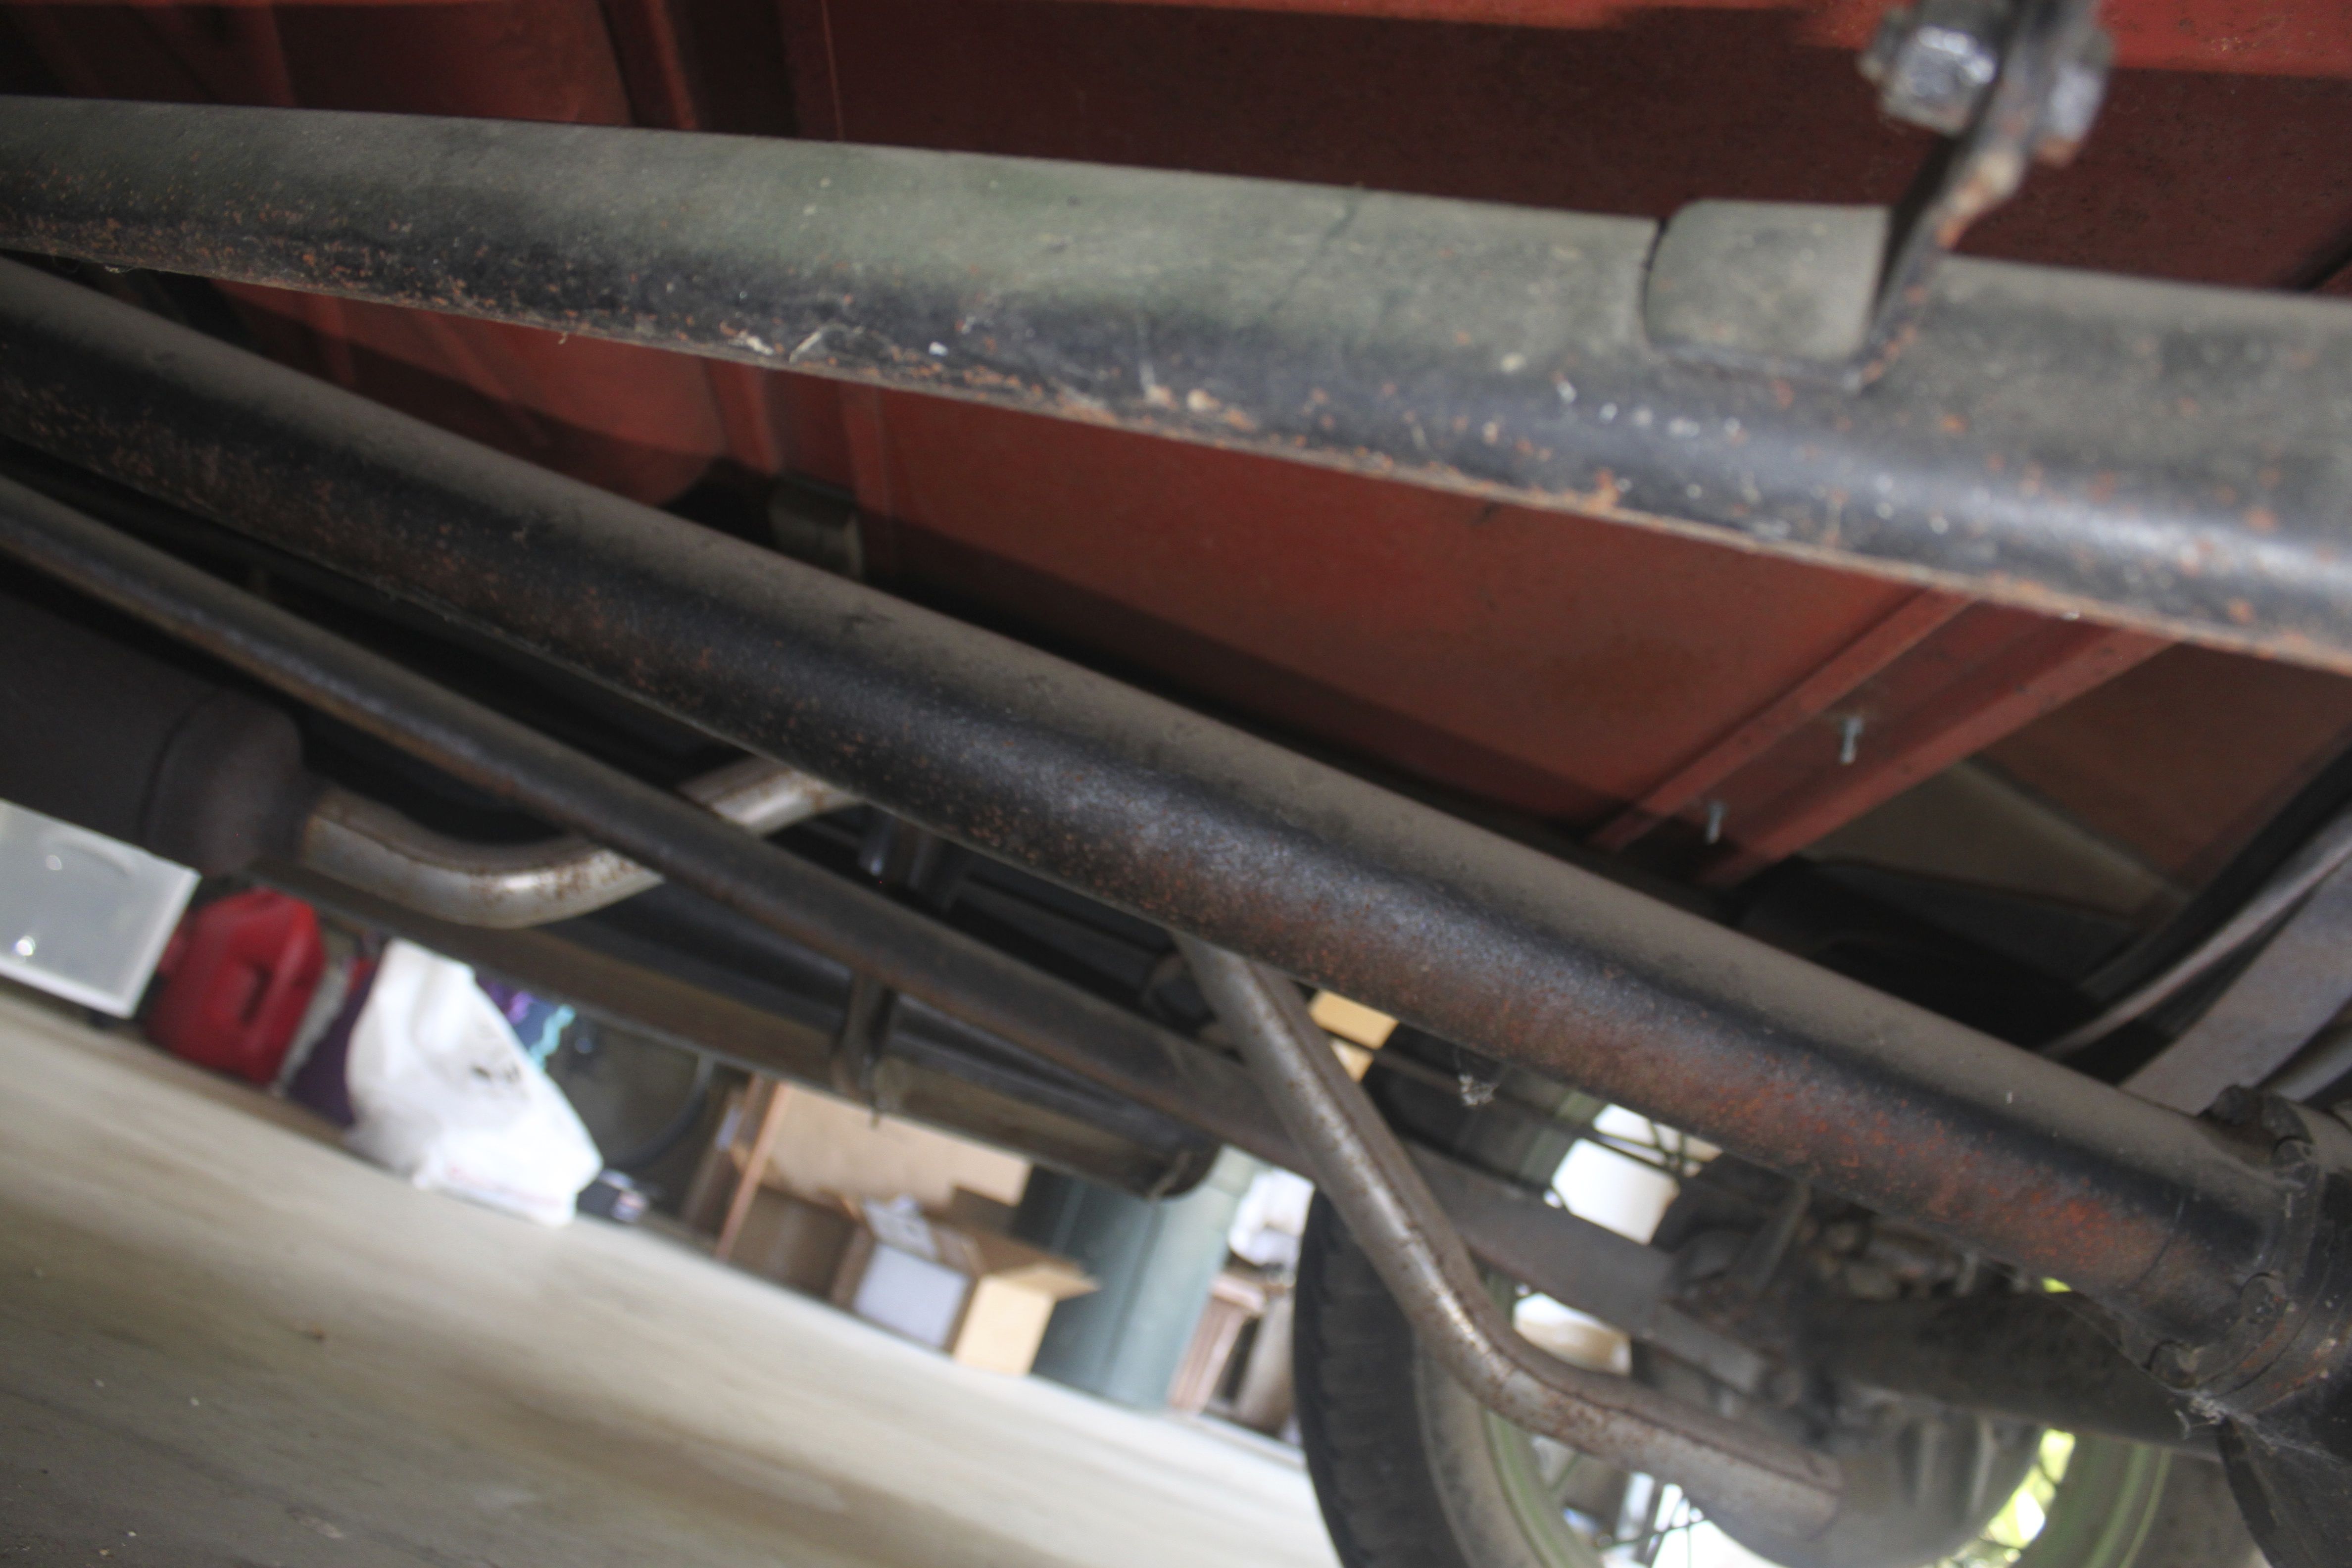
Since the car is not designed for seatbelts, we had to figure out how to connect the belts to the body of the car and fish them up through the seat. We also wanted to reinforce the points where we attached the belts to the car. So first, Dave and I scoped out the bottom of the car to find a likely place to put in a piece of angle iron. The idea was to bolt the belts through the car body and the angle iron, which would spread the force on the body of the car across the length of the iron piece.
Here’s the channel we found:

We drilled through the body of the car in three spots, and bolted the belts to the car using
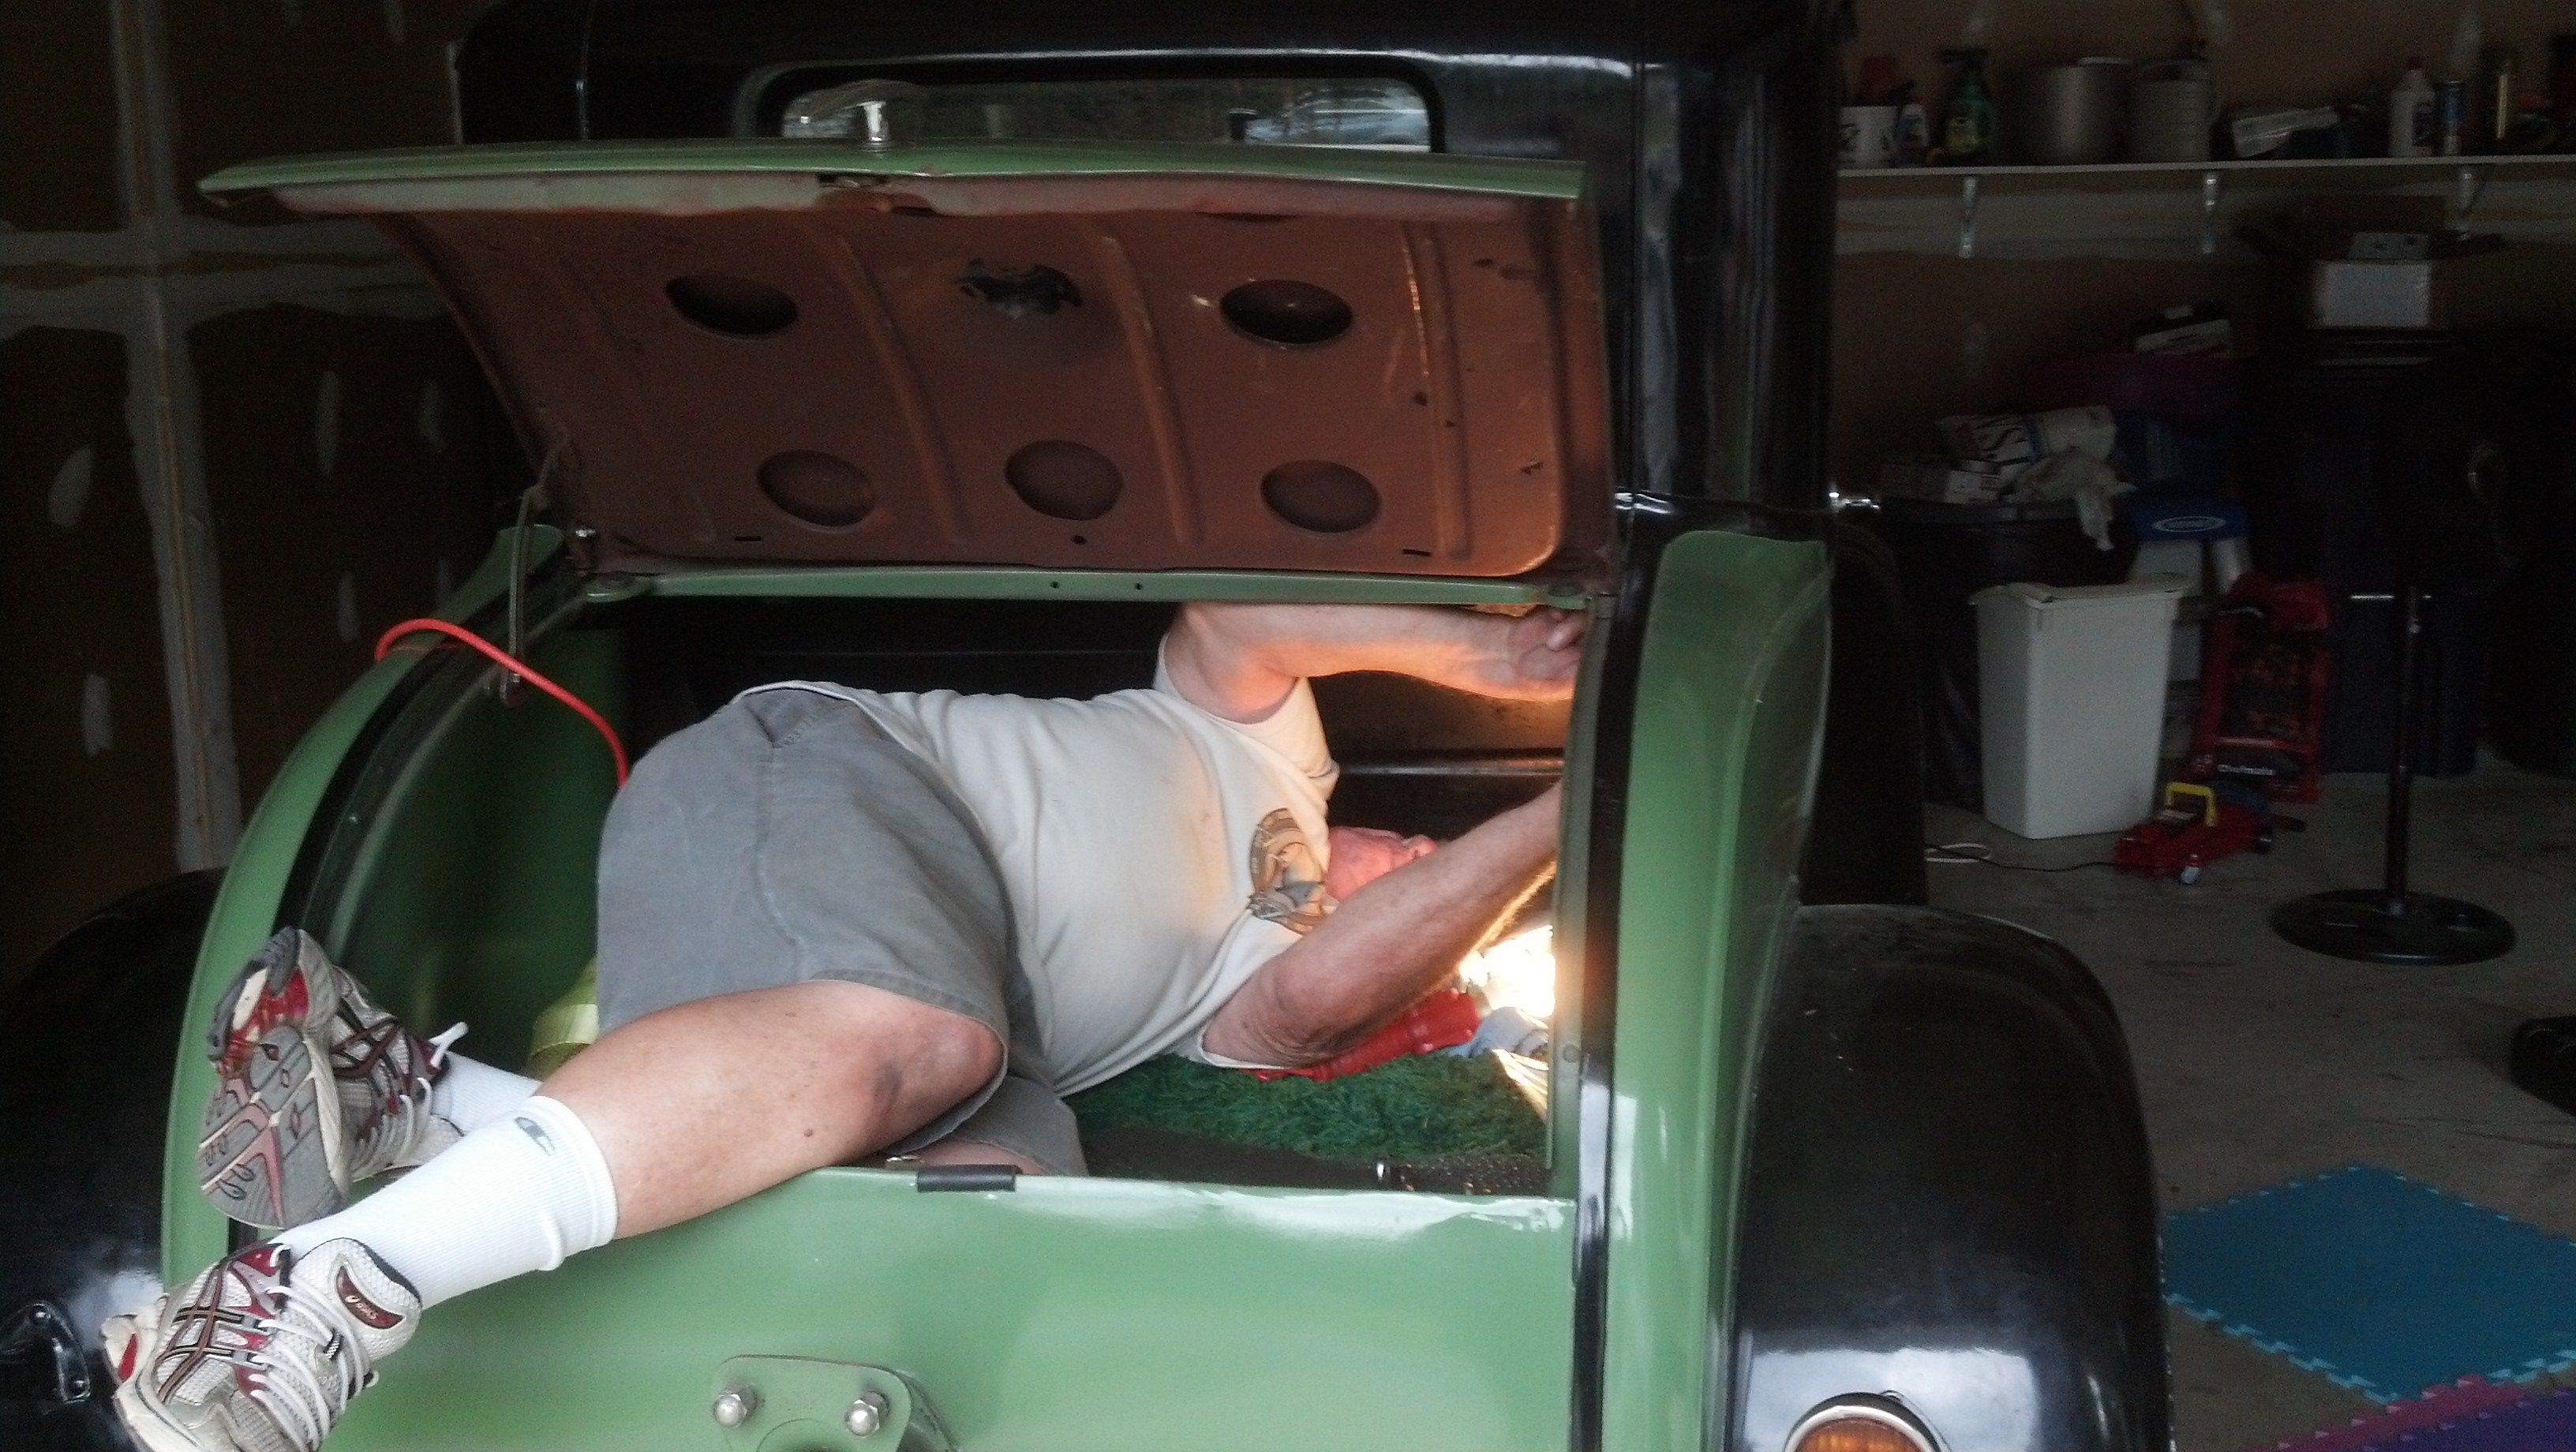
Grade 8 bolts. Next, we needed to figure out where to fish the belts through the seat. Dave crawled into the trunk to mark the seat.
I let Dave cut the holes in the seat. I’m not sure the name of the tool he used, but it had a circular, toothless blade, and kicked up a lot of sparks!

We filed down the edges created by cutting the metal, and I shot the openings with a bit of black spray paint, since the process had stripped some of that area of paint. Dave had also brought along some clear plastic tubing. We used that to protect the seatbelts from the edges of the cut seat. Even with our filing, there is still some danger of fraying the belts. Using the tubing, we cut two lengths for each slit in the seat-back, cut one side of the tubing, and then fit it over the cut edge of the slit. I’ll need to check these periodically to ensure they stay and that the belts don’t start to fray.
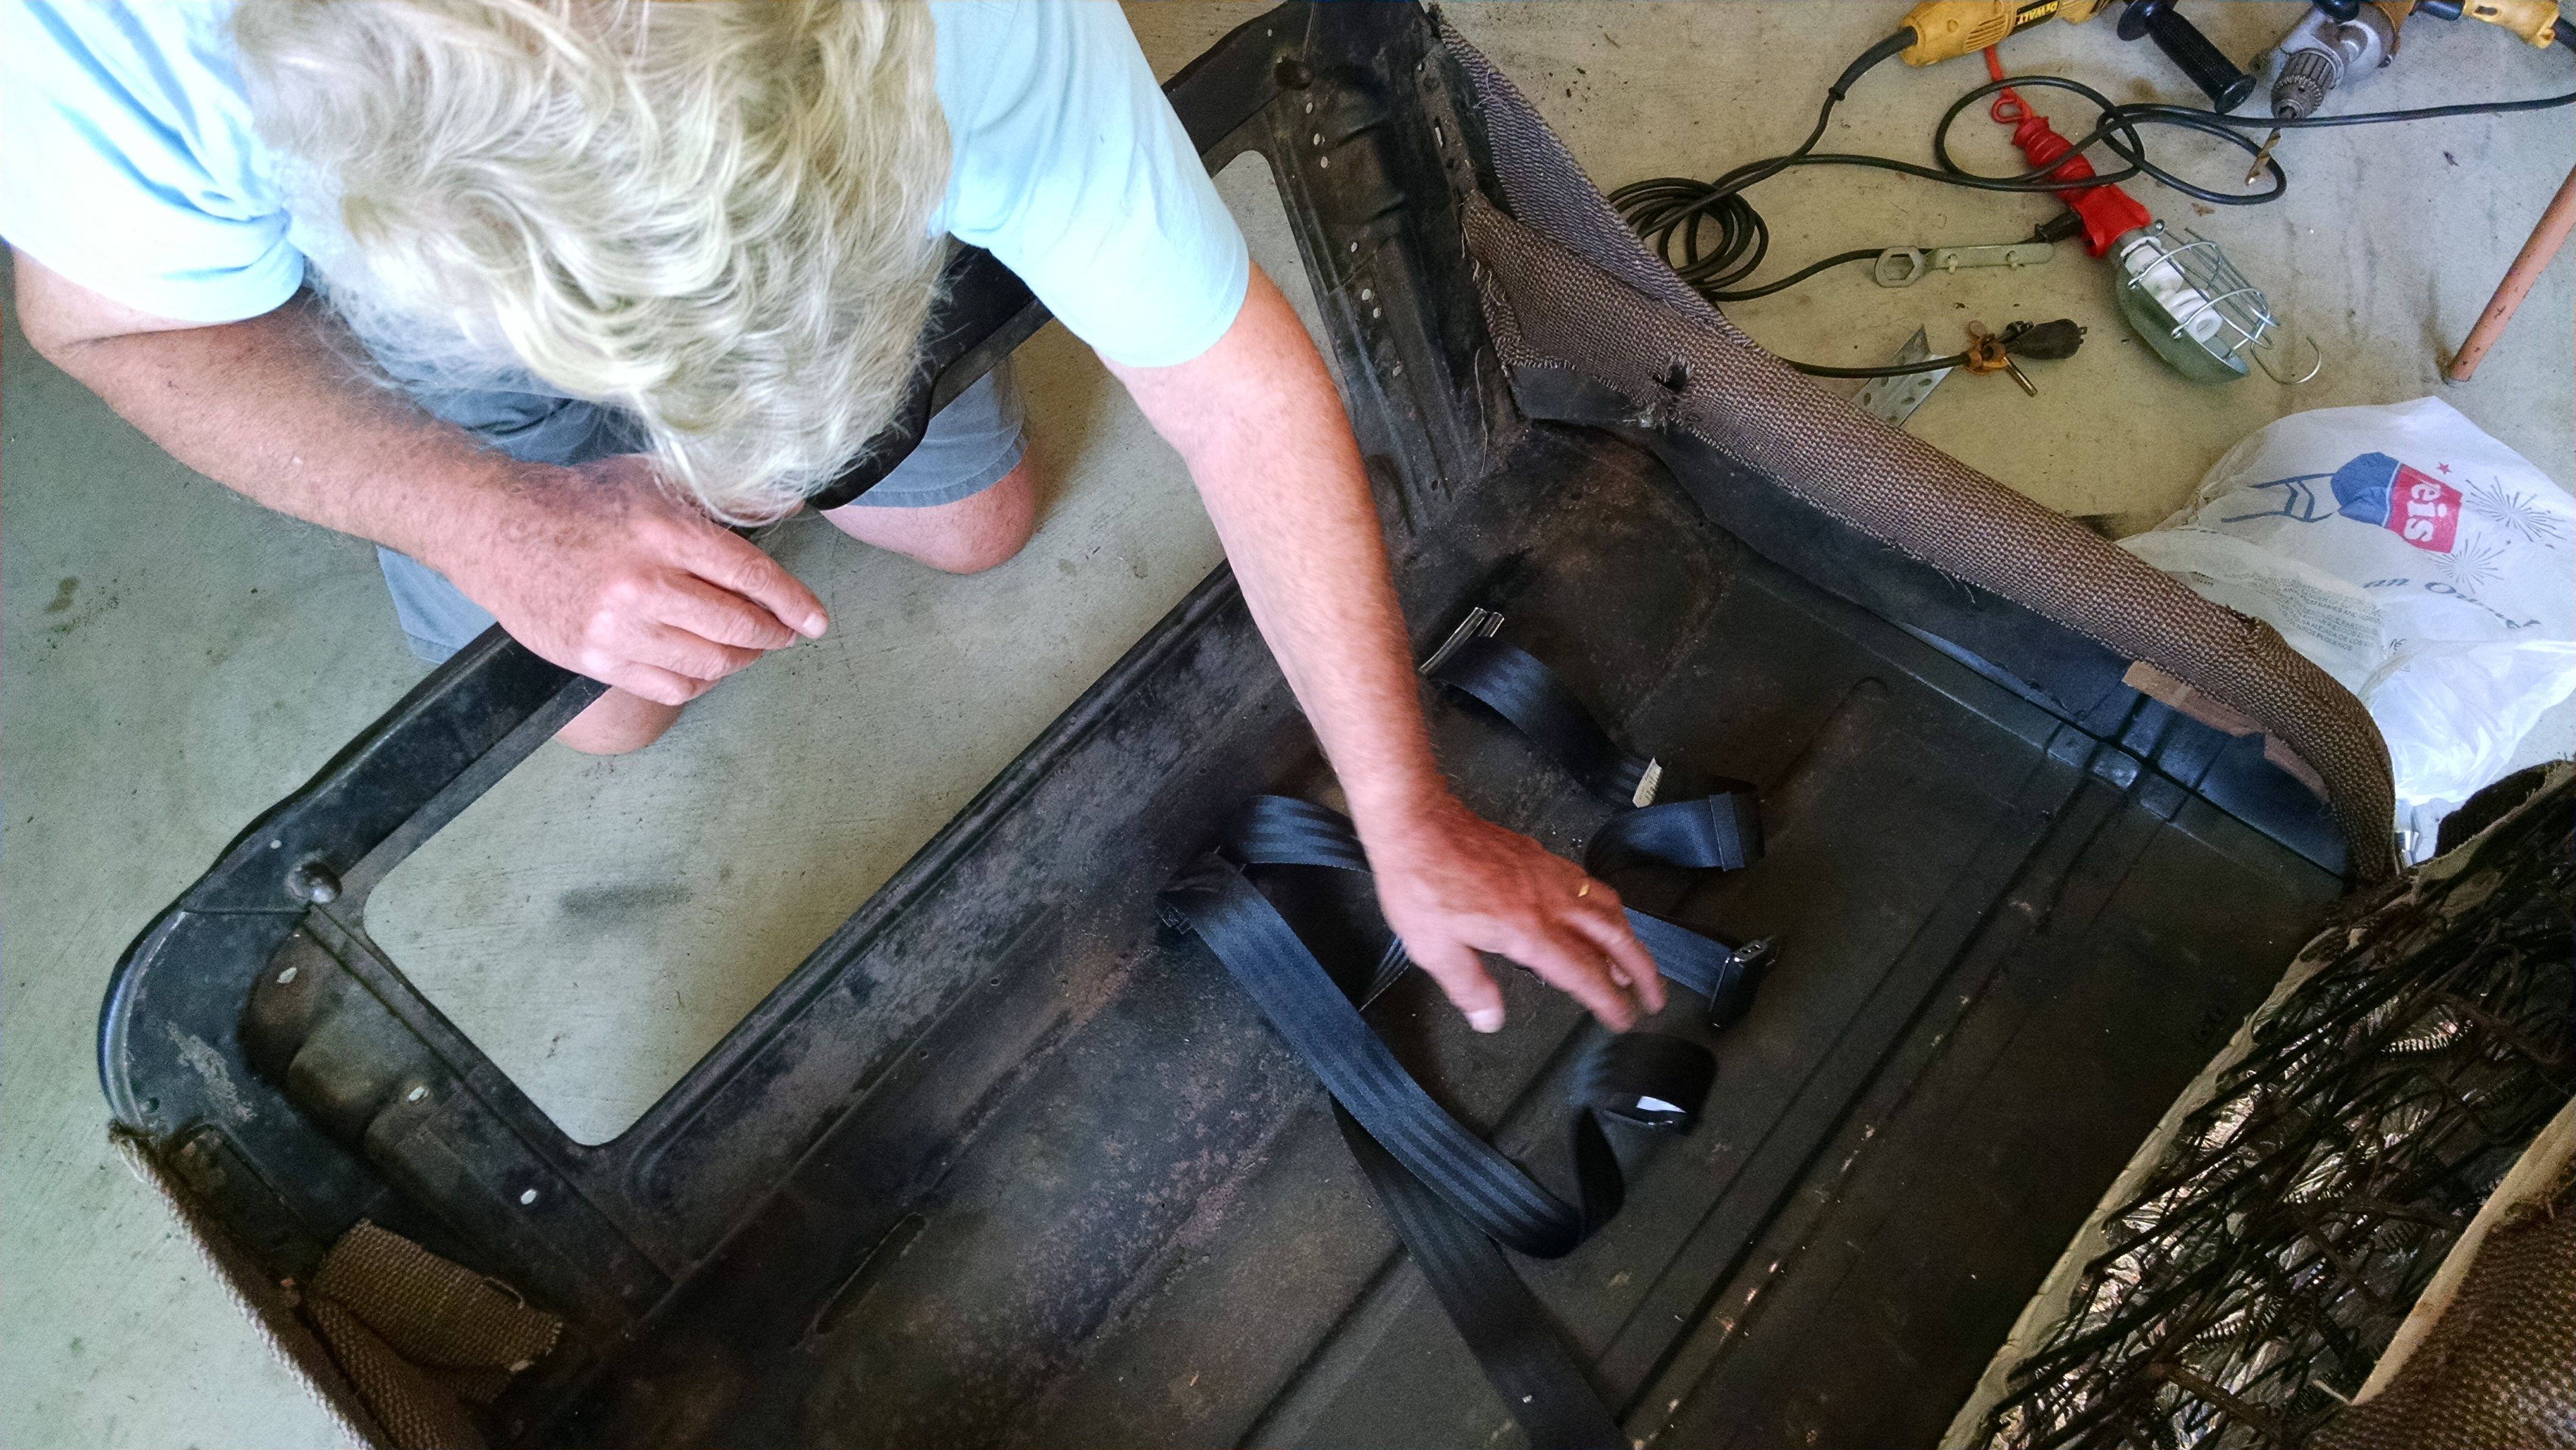
Here is Dave after we fished the seatbelts through each of the slits in the seat-back:
Next, we put the seat back in the car. We didn’t connect it to the tracks yet, because we wanted to attach the seatbelts to the body first. If we had put the seat back in, we would have needed to go in through the trunk.
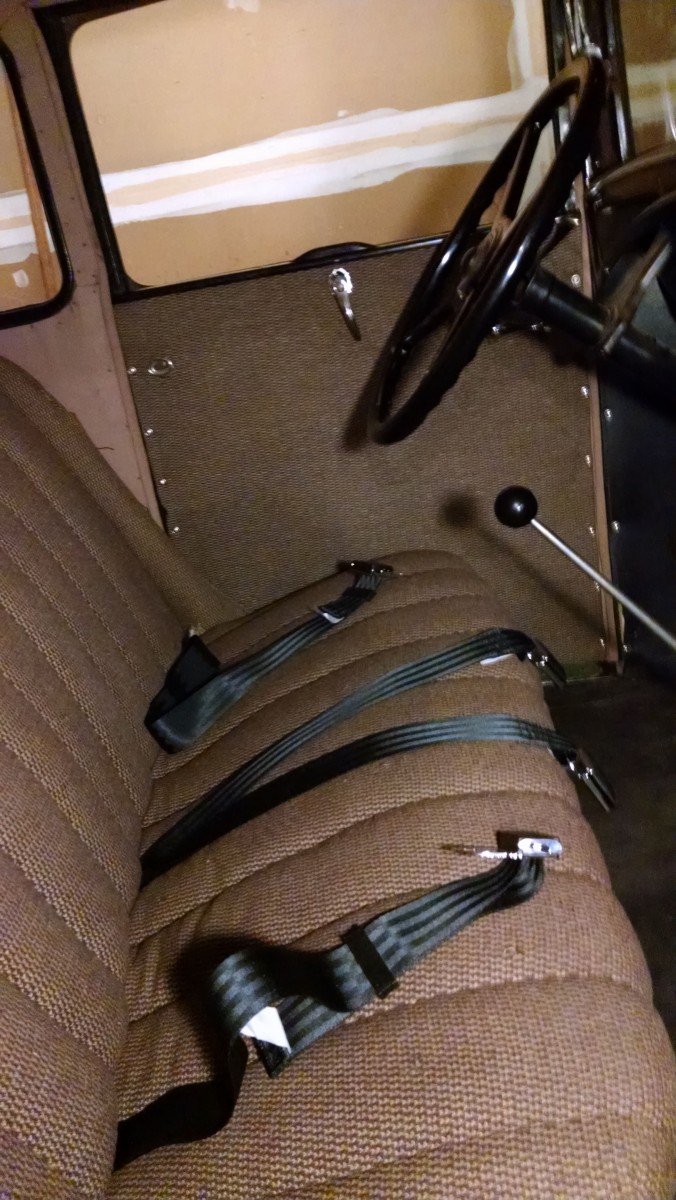
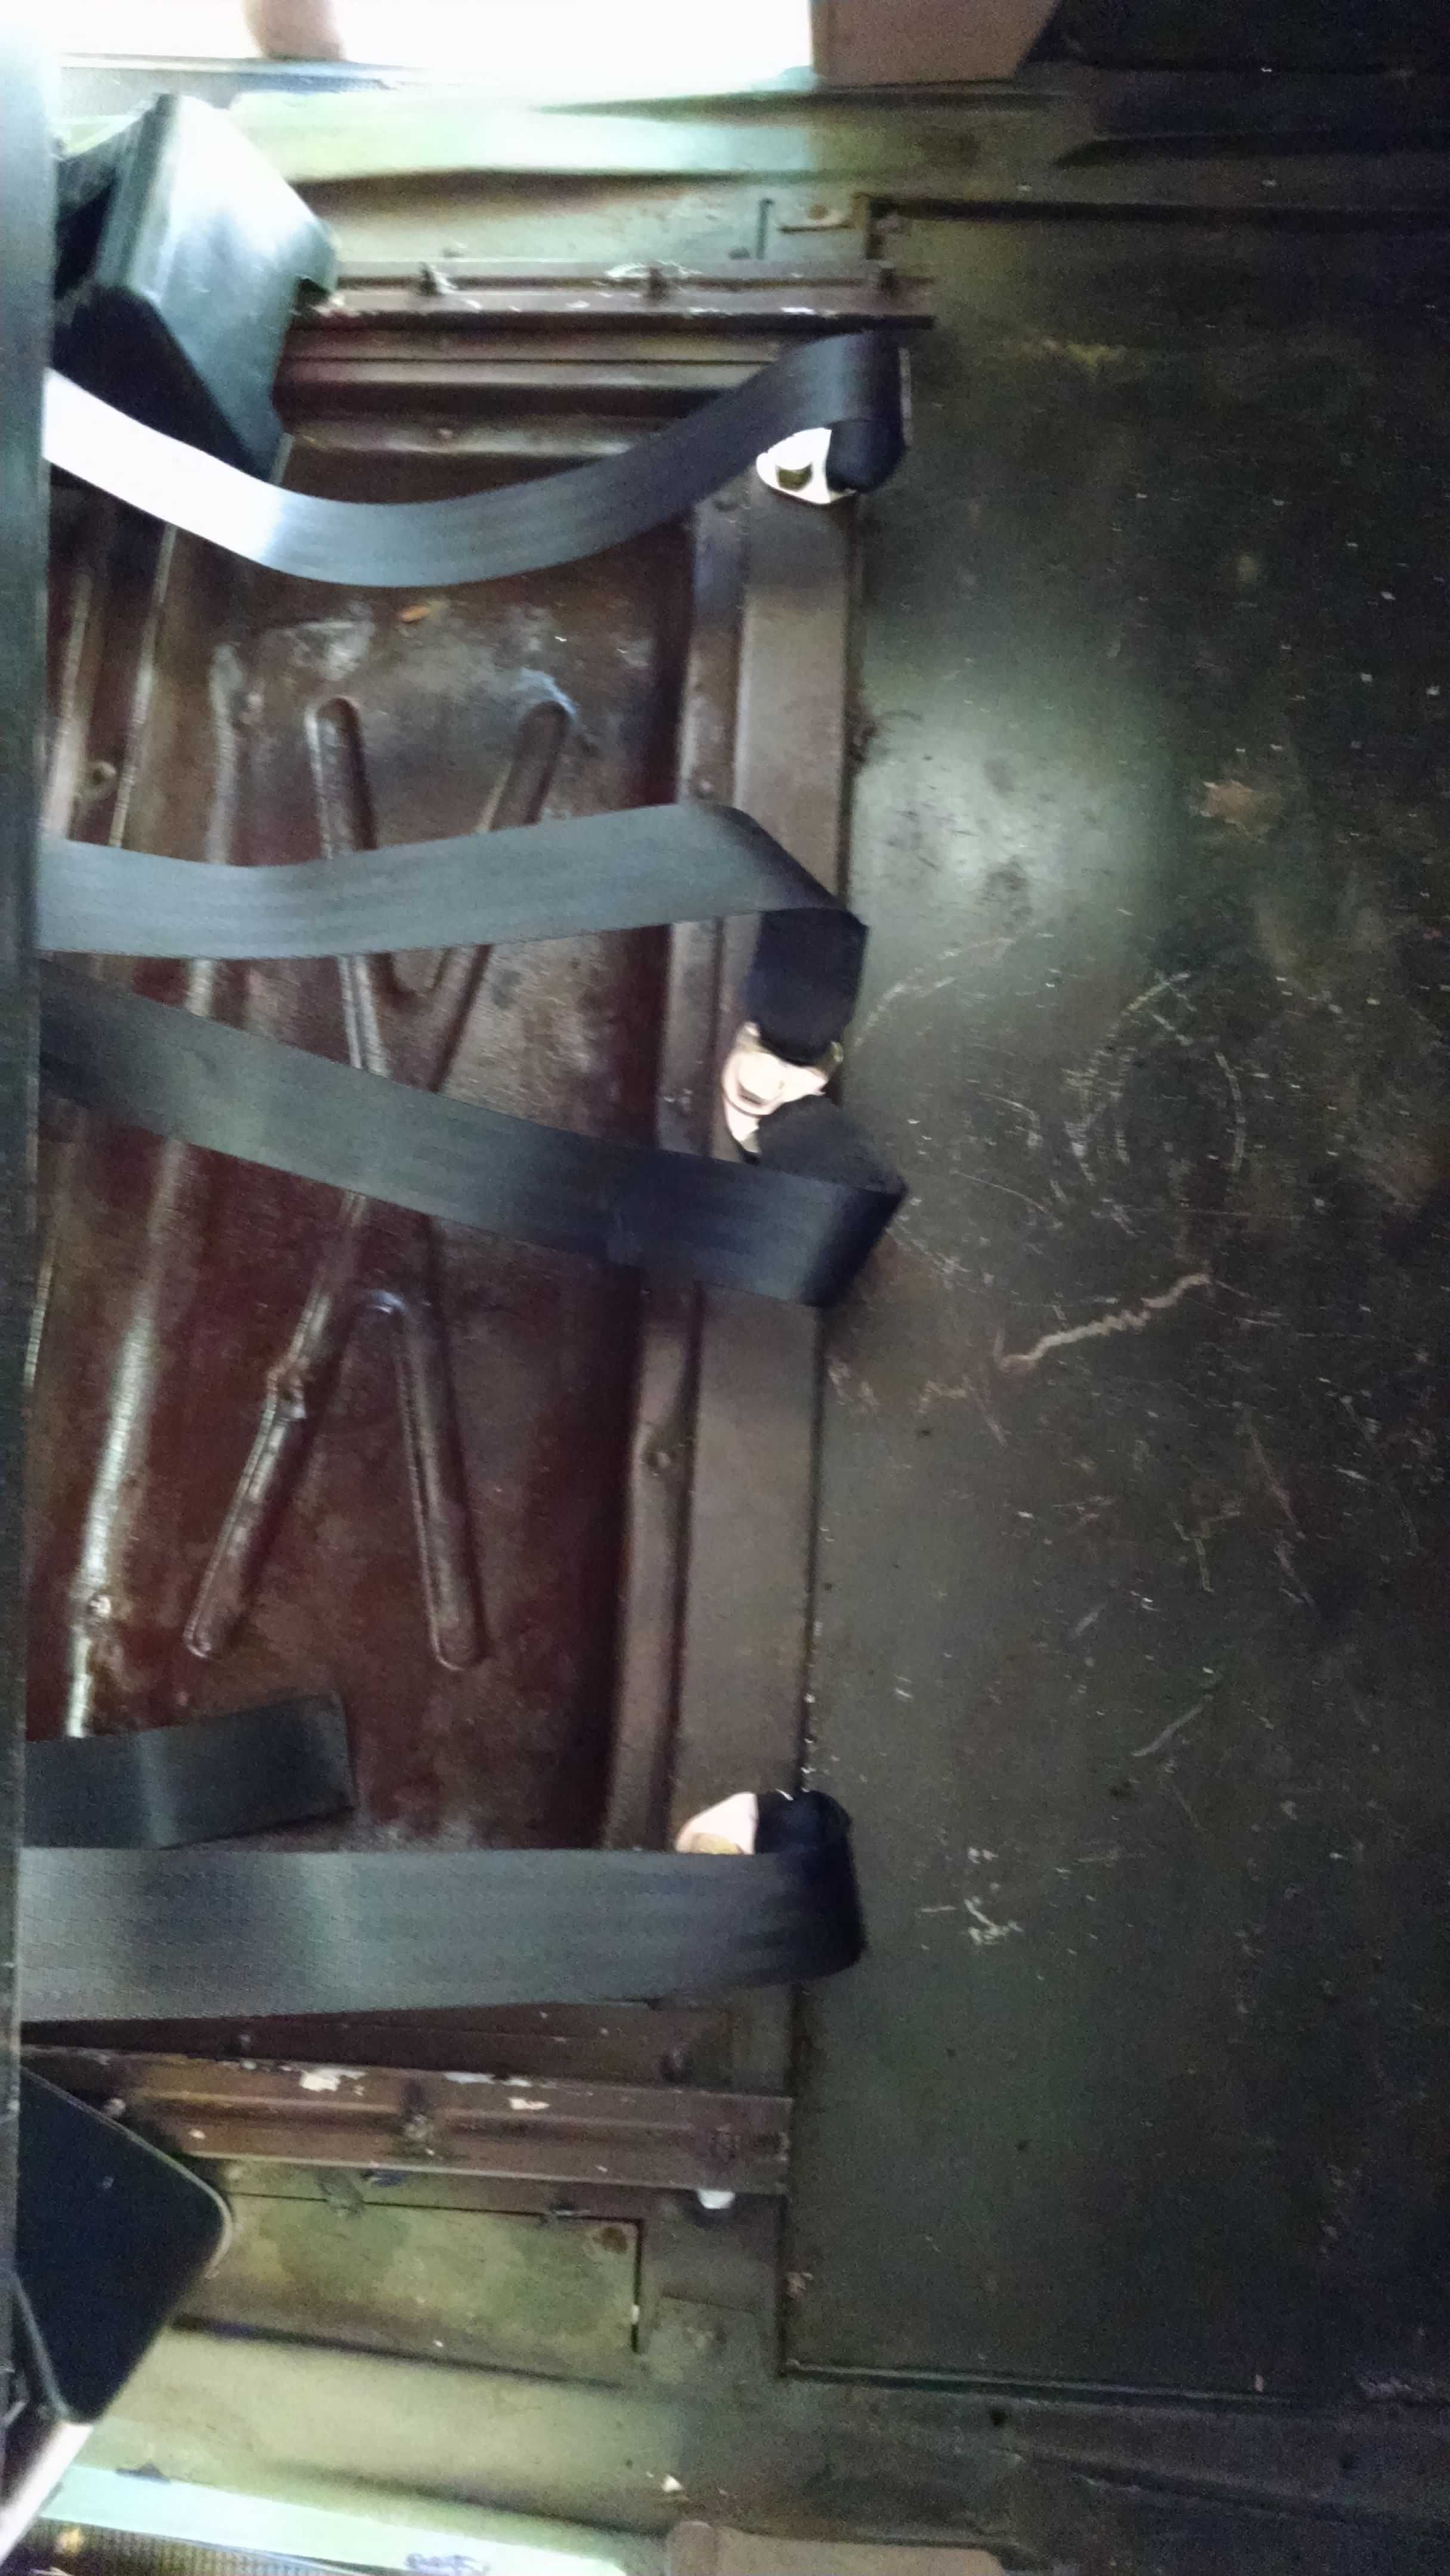
Here’s the seatbelts attached to the car:

Finally, we reinstalled the seat. (Which was a whole other thing because we had discovered my seats were adjustable, but I didn’t have the adjusting mechanism. Installing that mechanism was not as easy as we first thought it would be…but then, nothing in this process is as easy as one might think.)
Here is the finished seatbelt install!


Recent Comments