If you want to make sure your bolts and screws don’t go anywhere, there are a few choices for ways to keep them in place. Ford used cotter pins, safety wire, and lock washers throughout the Model A. My grandpa, who restored Daisy, didn’t necessarily believe in using these everywhere they were supposed to go. In particular, Grandpa Wayne seemed to have an aversion to cotter pins. So, as Dave and I are working on Daisy, he’s noting places where I need to add them.
Lock washers are probably the easiest thing to use. I assume more folks are familiar with them than cotter pins or safety wire. A lock washer is just a washer with a slit in it and bent to be a slight bit helical. When you tighten down the screw/bolt with a nut, the washer flattens out and is supposed to exert a spring-like force on the screw, keeping it from unscrewing. These are not the safest way to keep things from unscrewing, but they’re easy, so Wayne used them in several places where there should have been a cotter pin.
A cotter pin is a small piece of metal that’s folded in half, with a loop where the fold is. You put the pin through a hole in the bolt and then split the pin, bending at least one arm around the bolt. These are usually coupled with “castle nuts”, which are nuts that resemble the top of a castle’s turret. The cotter pin goes between the peaks in the nut, locking it in place.
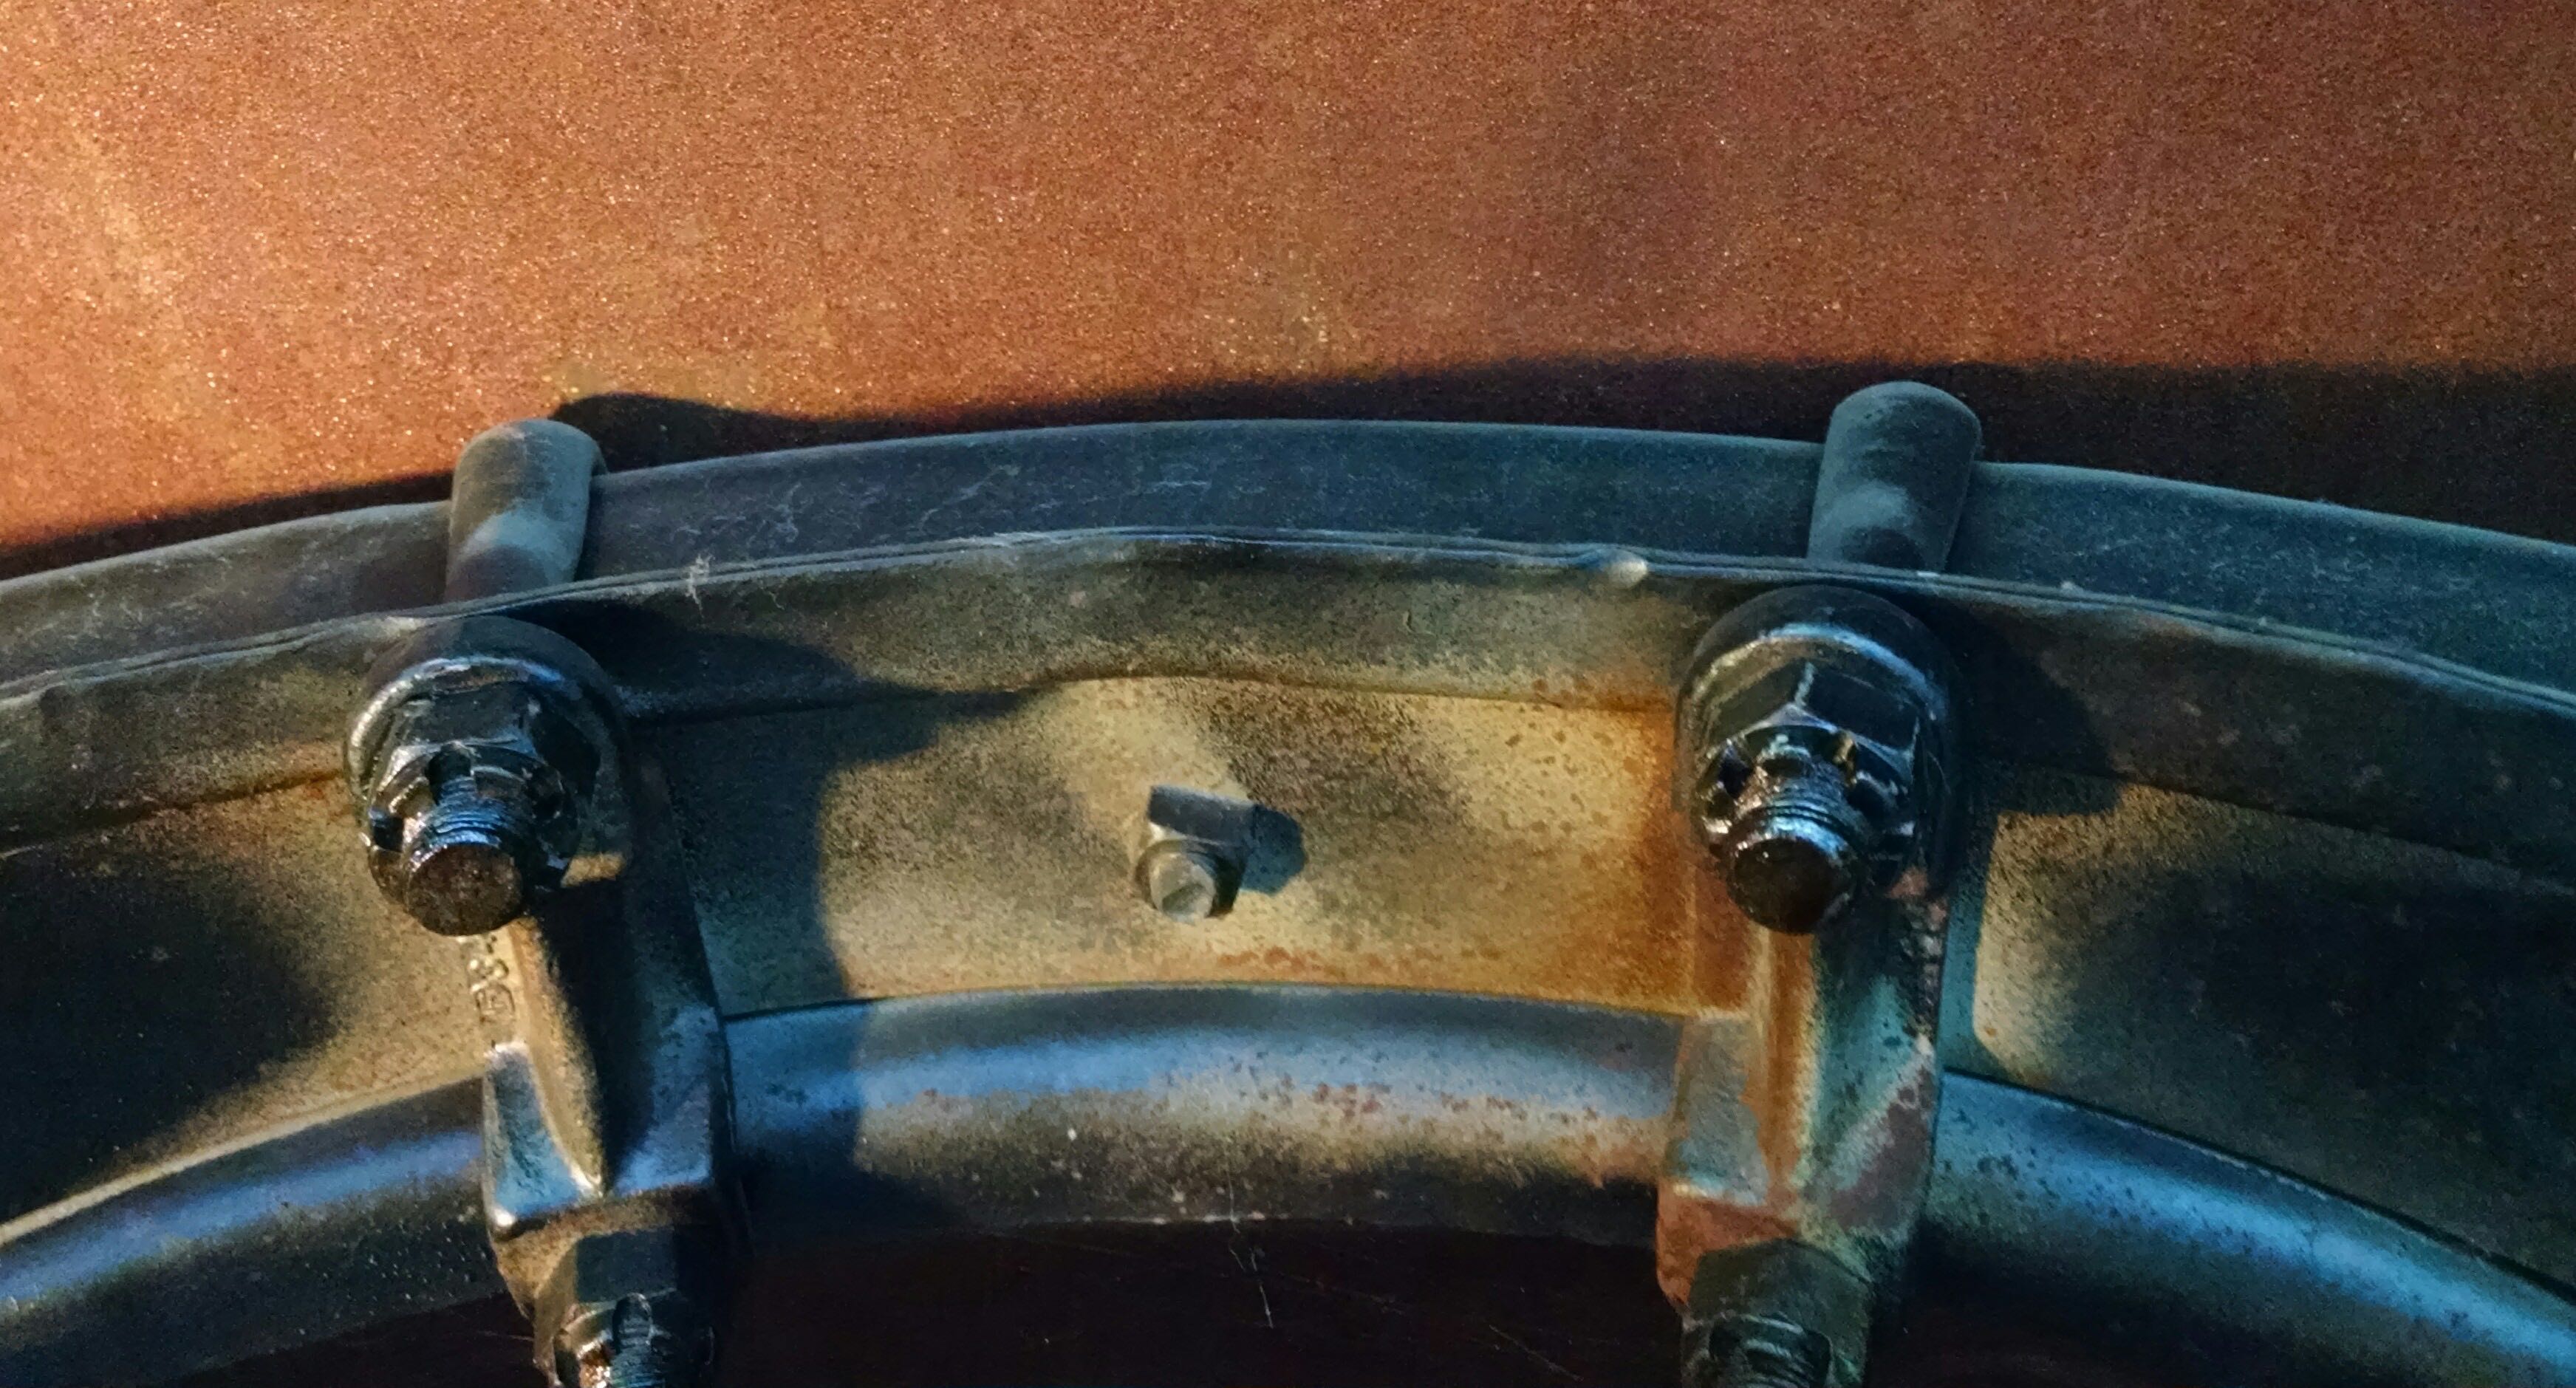
I think it’s safe to say that cotter pins are the most common thing used on the Model A. There were several places where Wayne simply didn’t put them and other places, like I mentioned already, where he substituted a lock washer instead of putting in a cotter pin. My friend Dave keeps pointing out places where I need to add cotter pins. Dave is all about saftey, and I appreciate it, because I wouldn’t necessarily know where the cotter pins were missing. Last week, I worked to install them on the u-bolts holding in the rear and front springs.
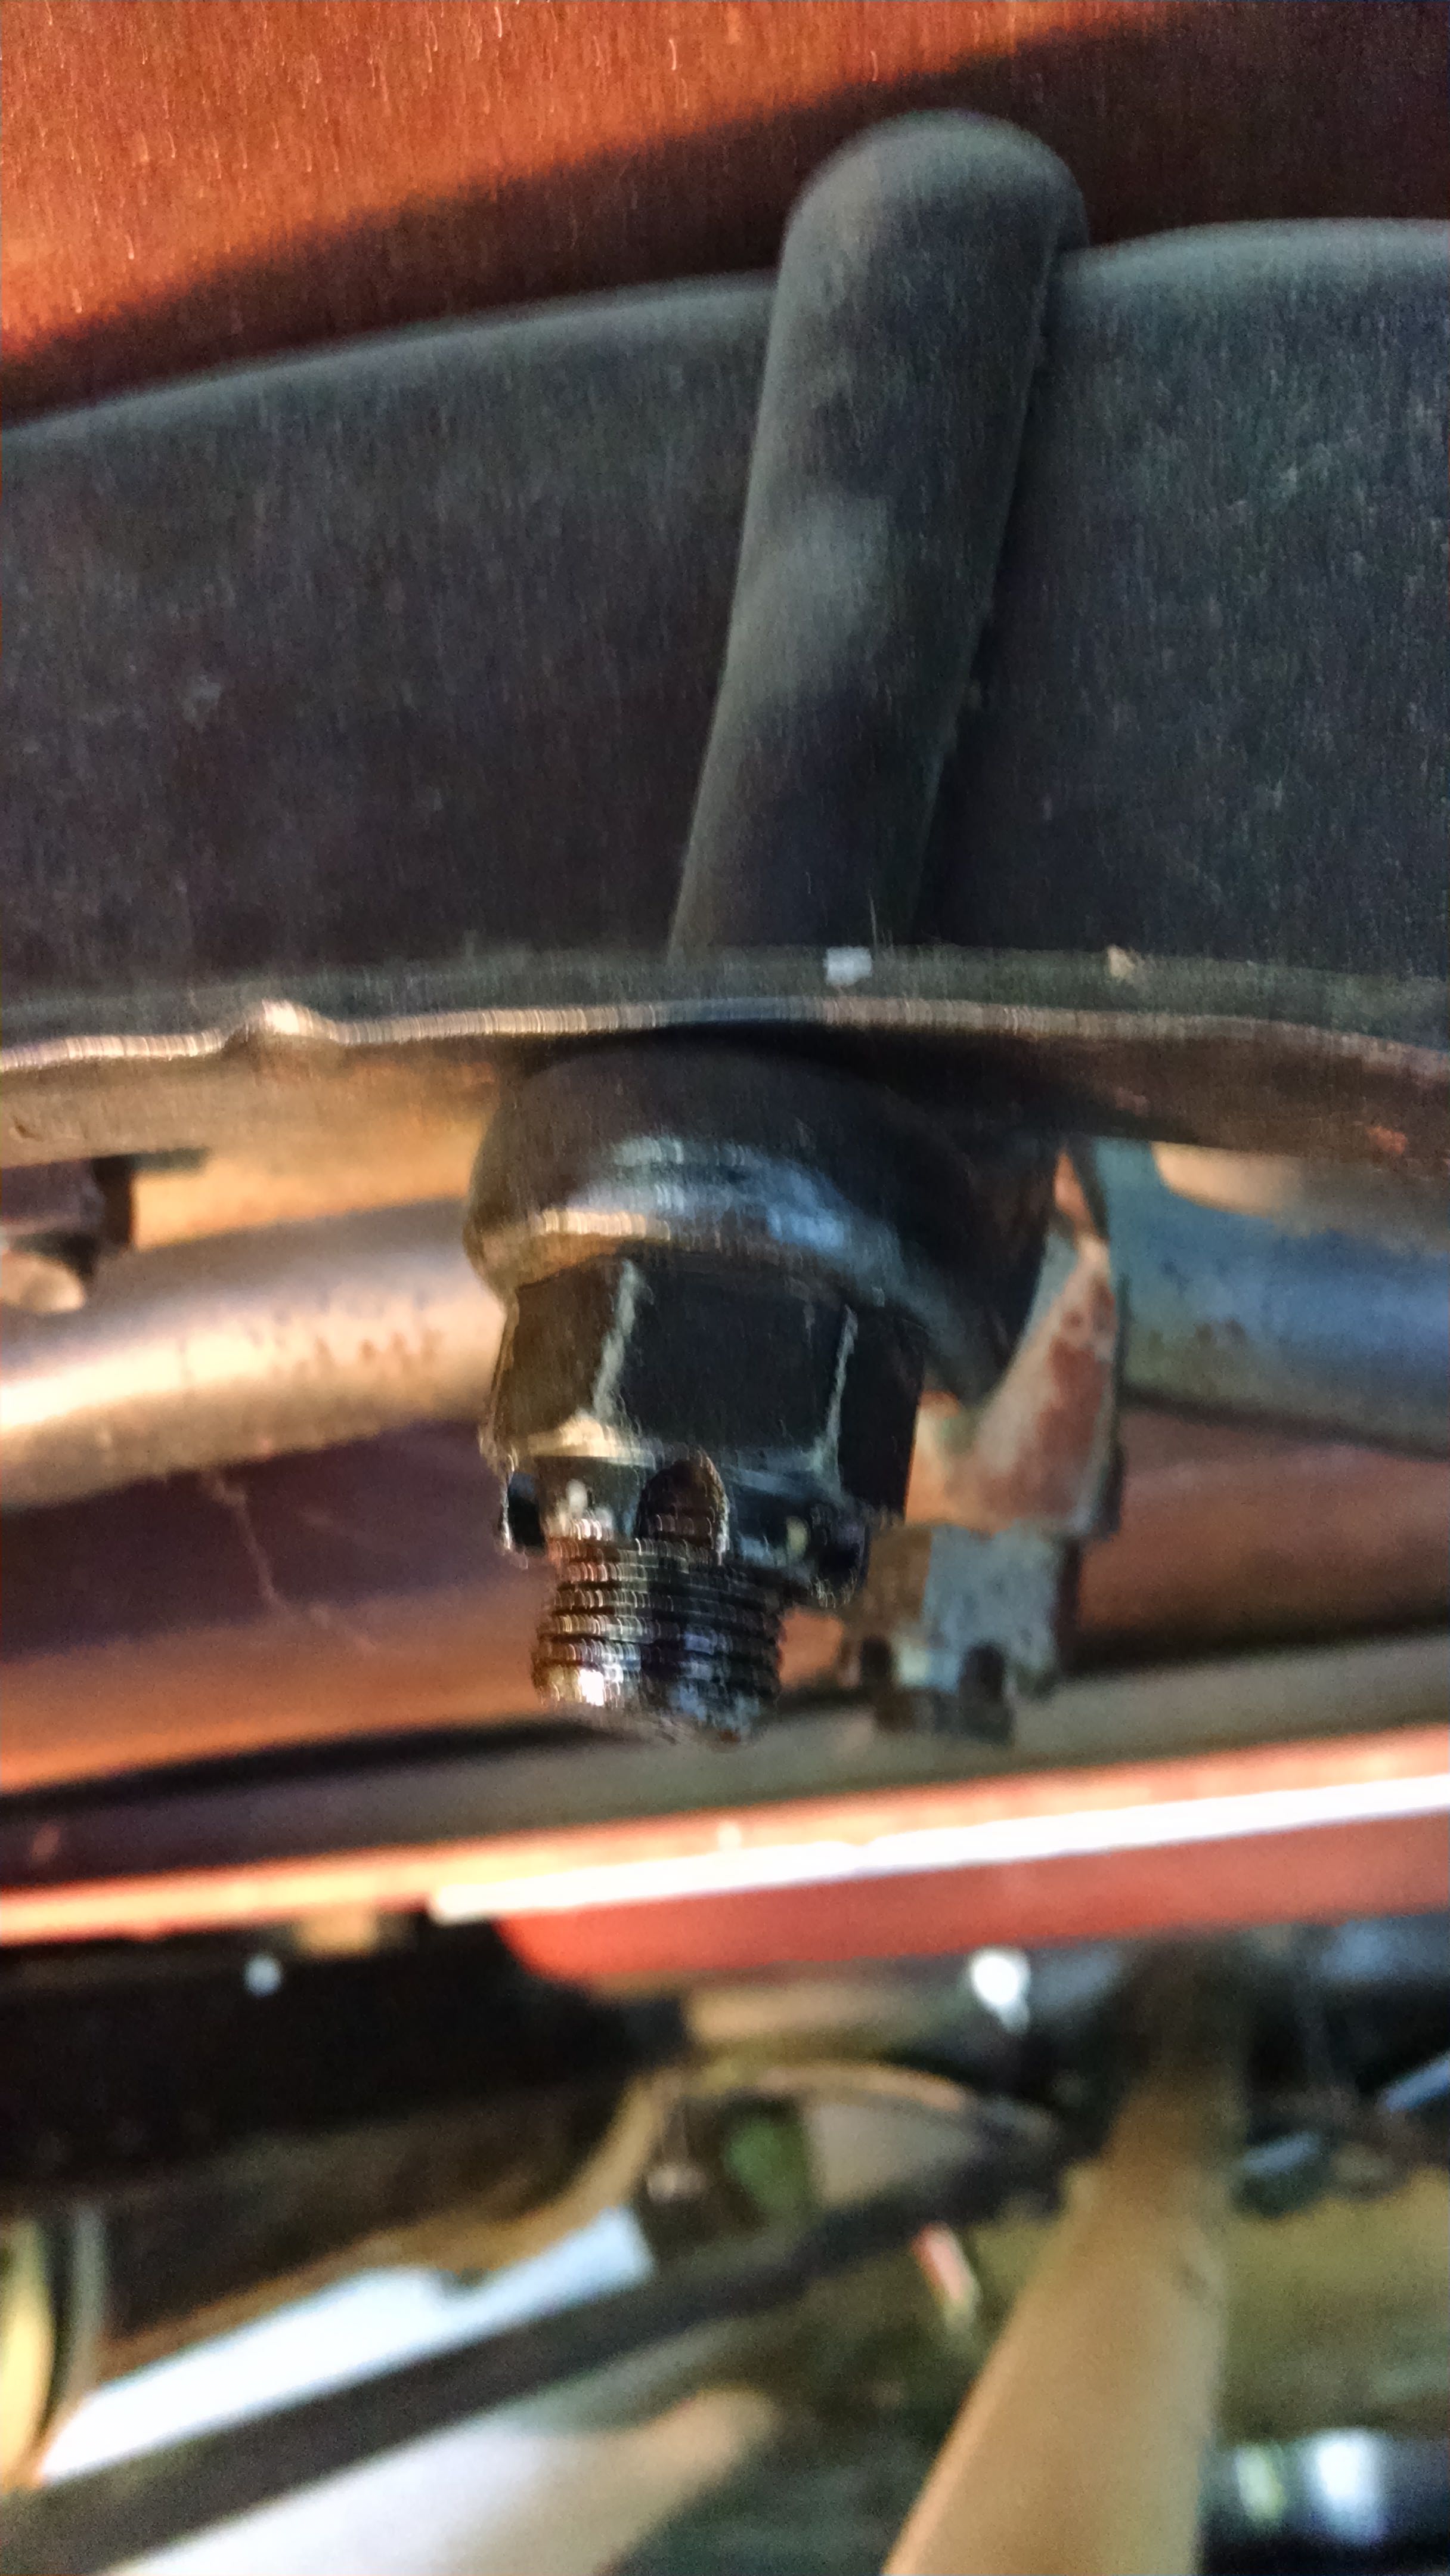
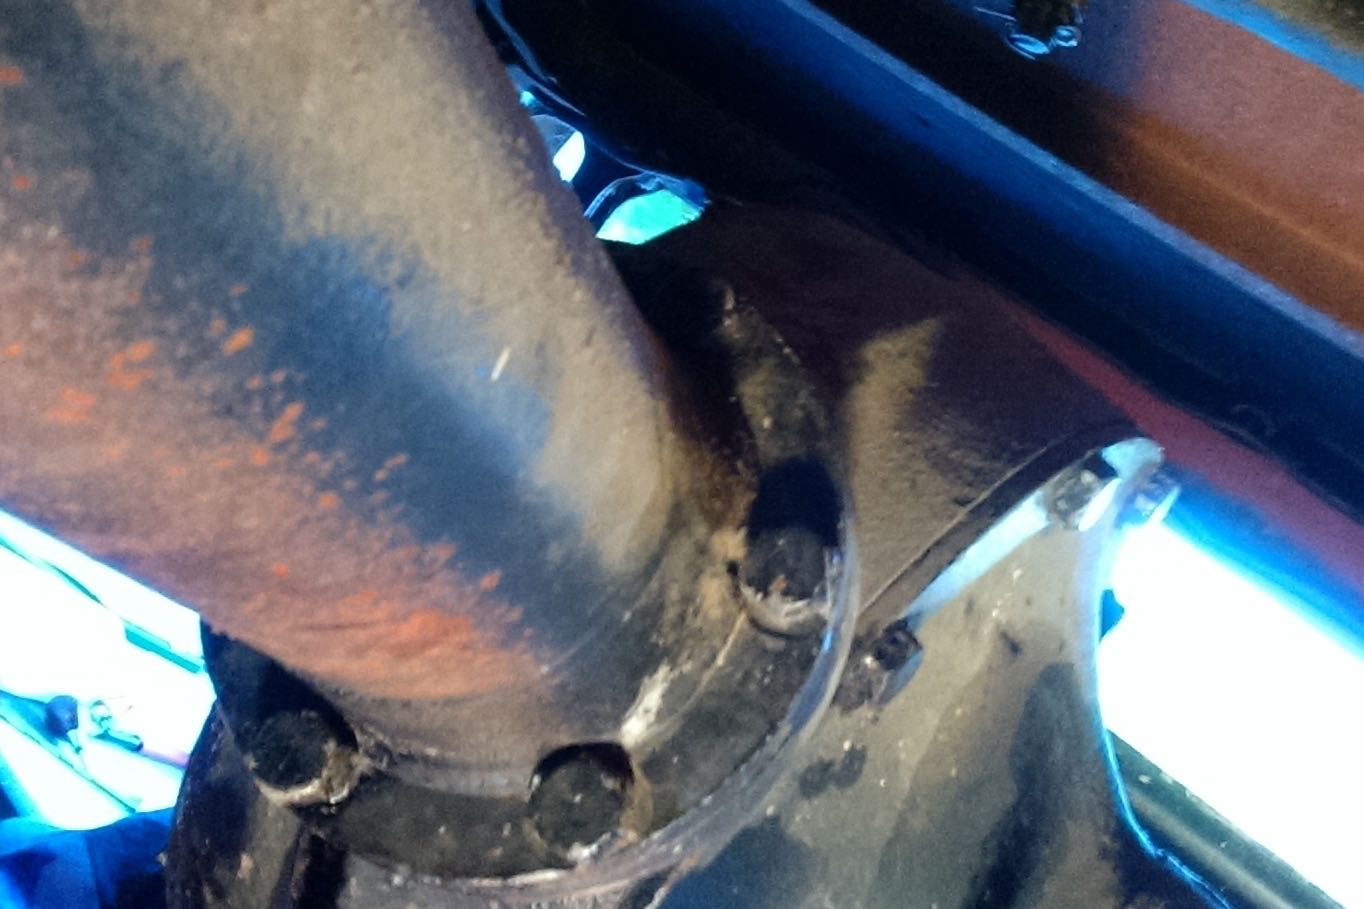
First, I needed to remove the castle nut, clean it, and then clean out the hole for the cotter pin. Since the holes had been collecting crud for about 30 years (and maybe had the remnants of an older cotter pin, it wasn’t necessarily the easiest thing. In some holes, it was enough to use a length of safety wire, but for others I needed to use a small nail and pound the crud through.
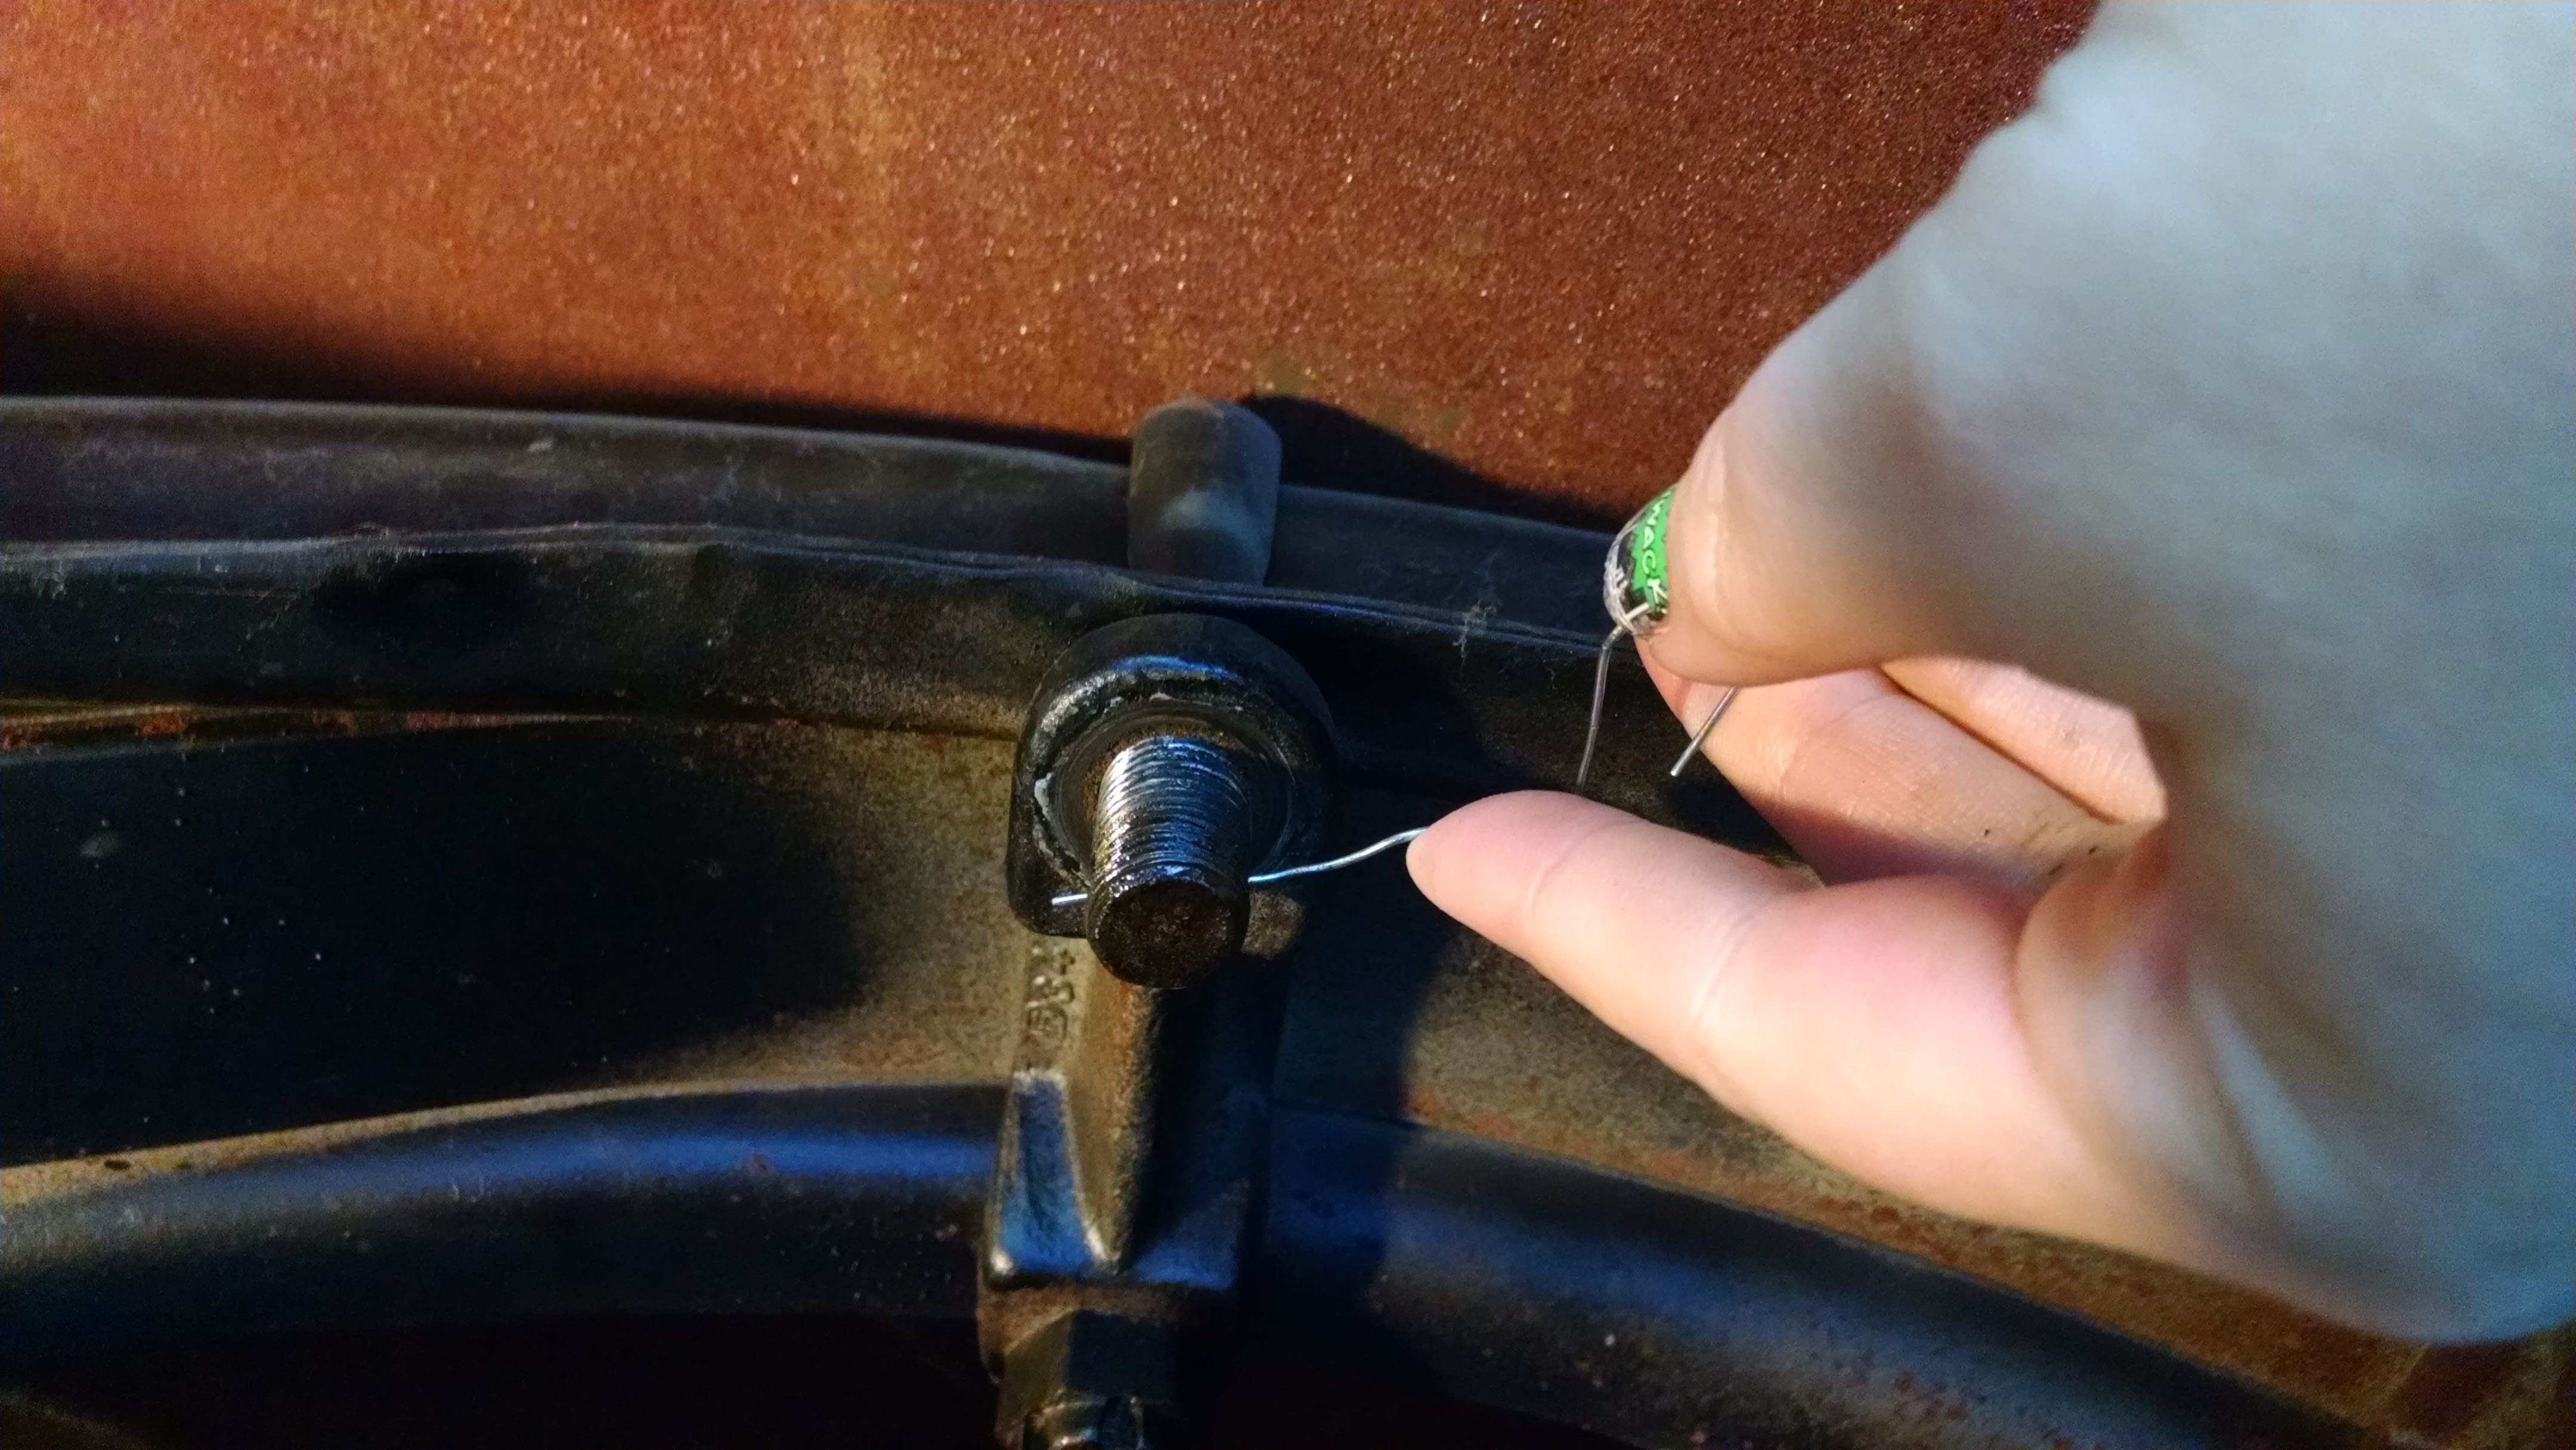
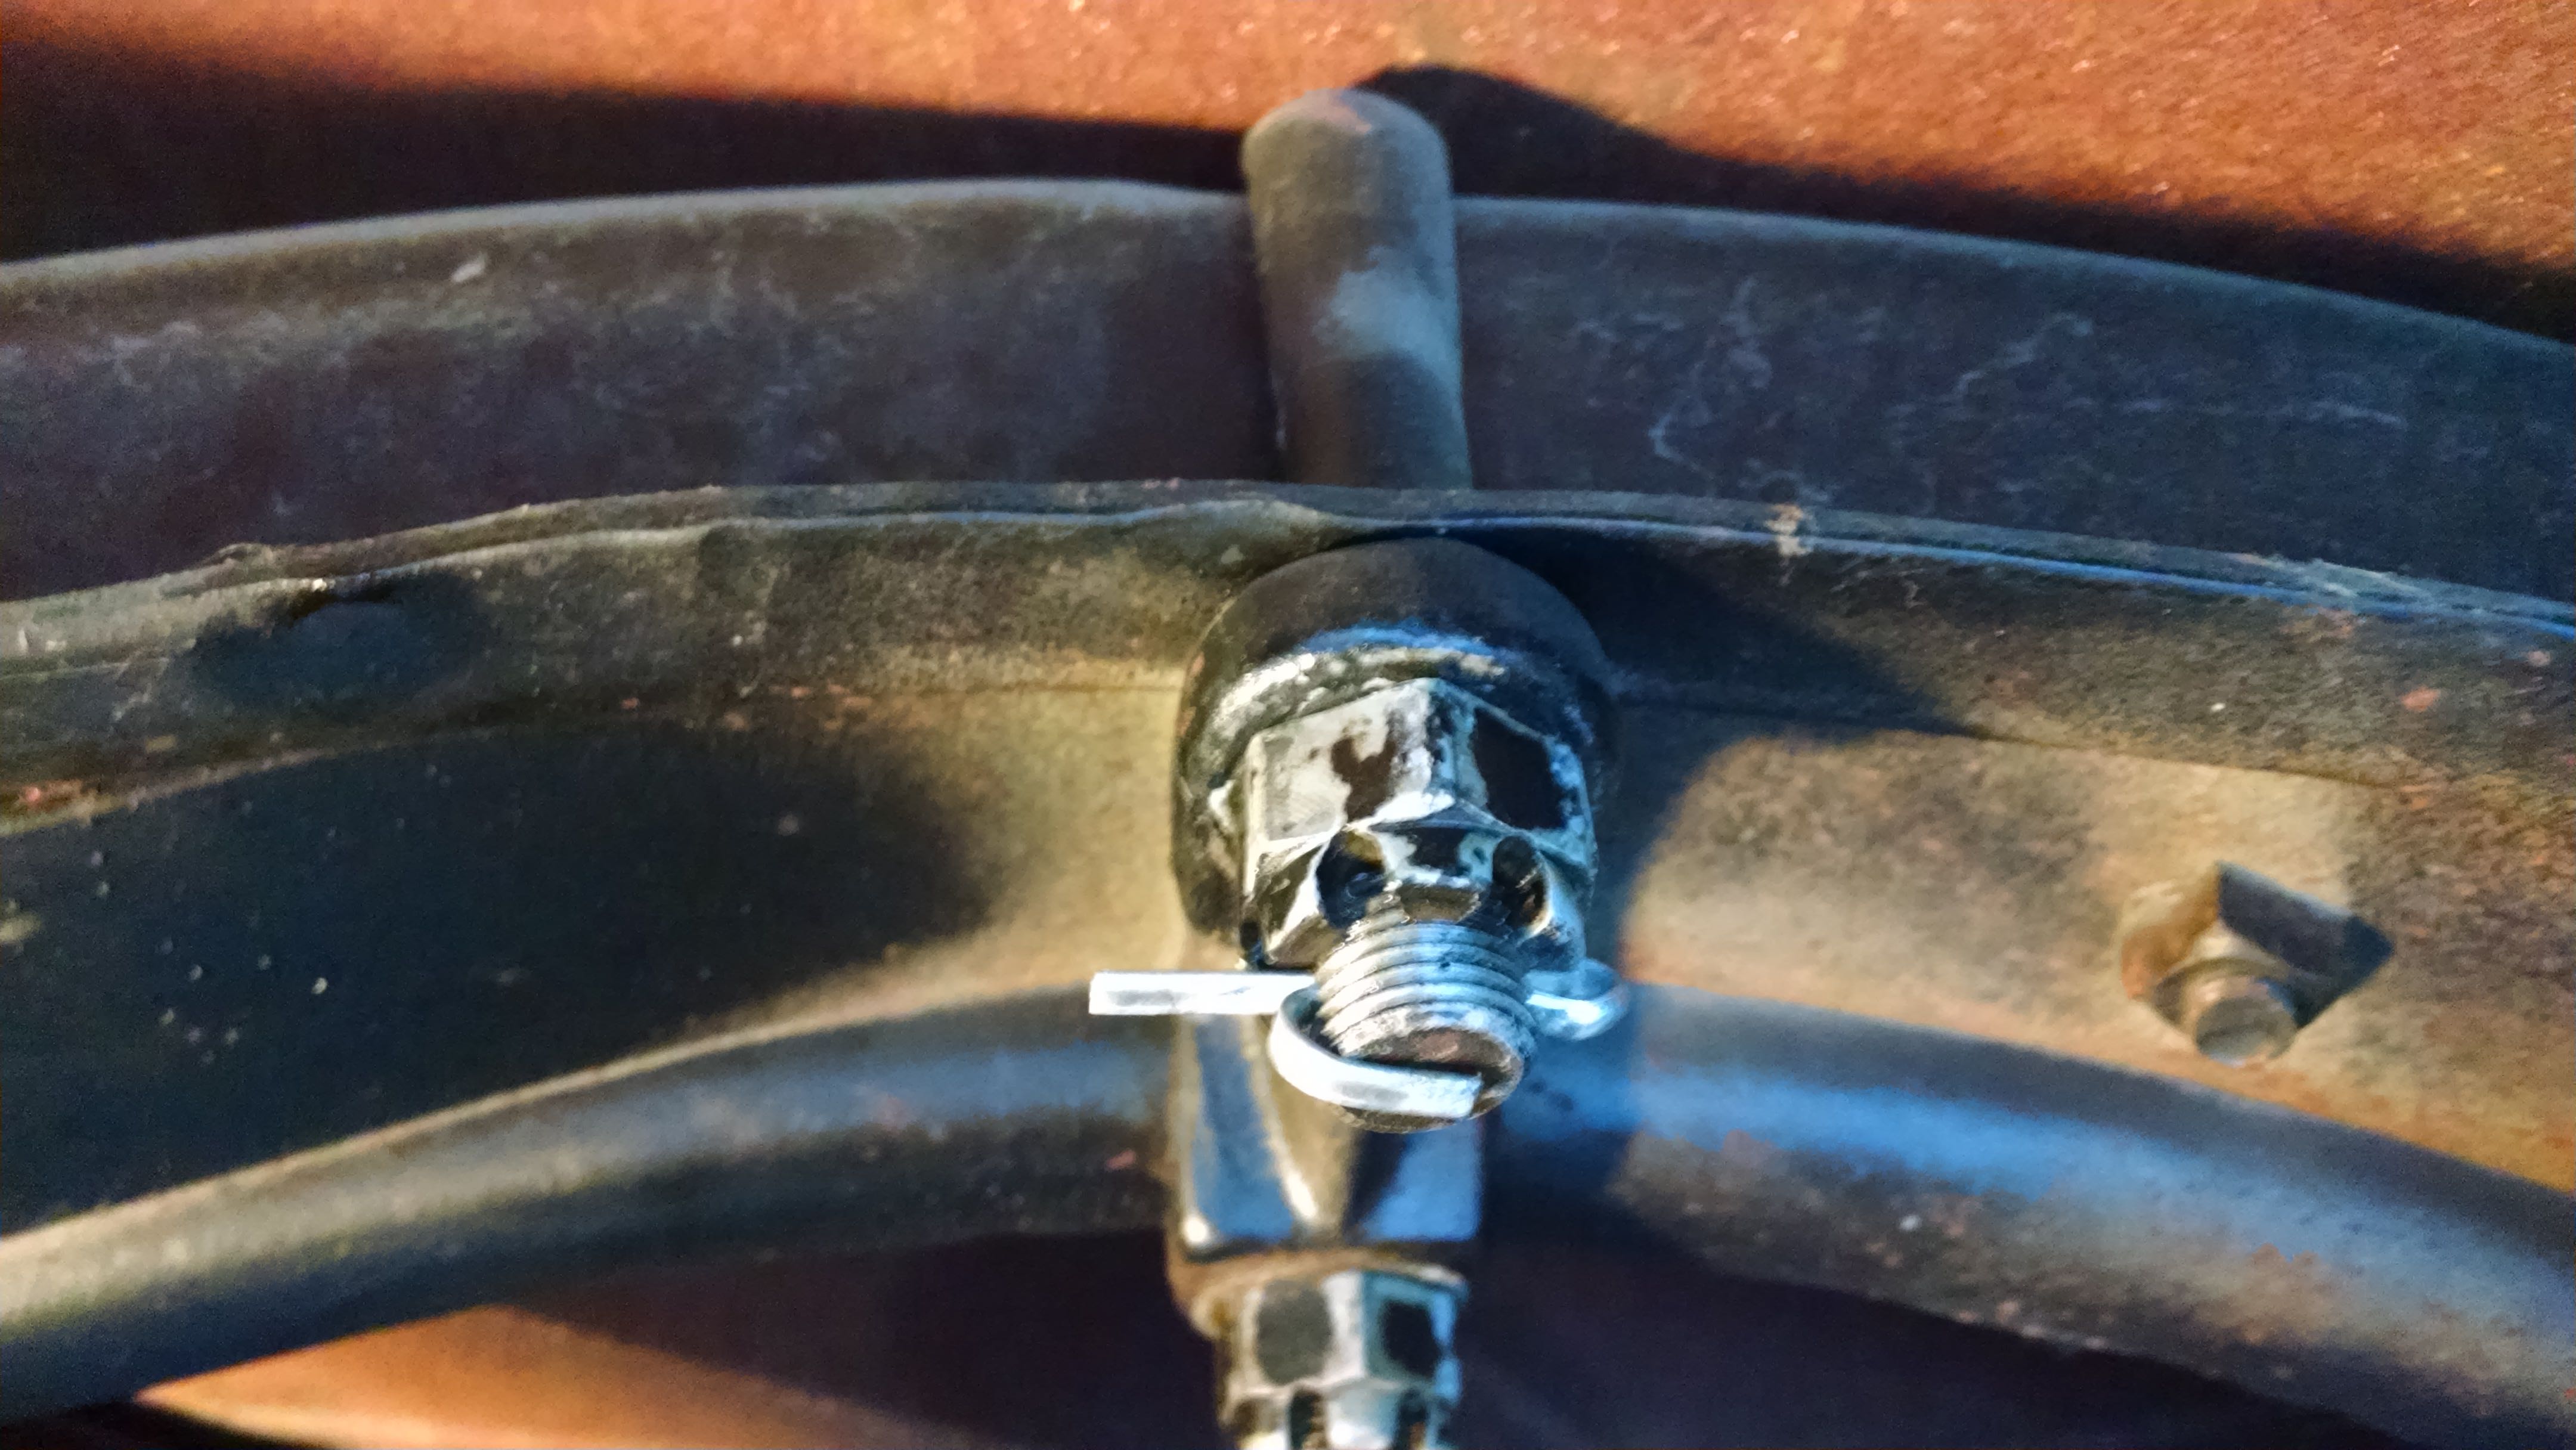
Then, the final trick is to tighten the castle nut down so that the hole lines up with one of the “castles” just right. Once that’s done, insert the cotter pin, and bend half of it over the bolt.

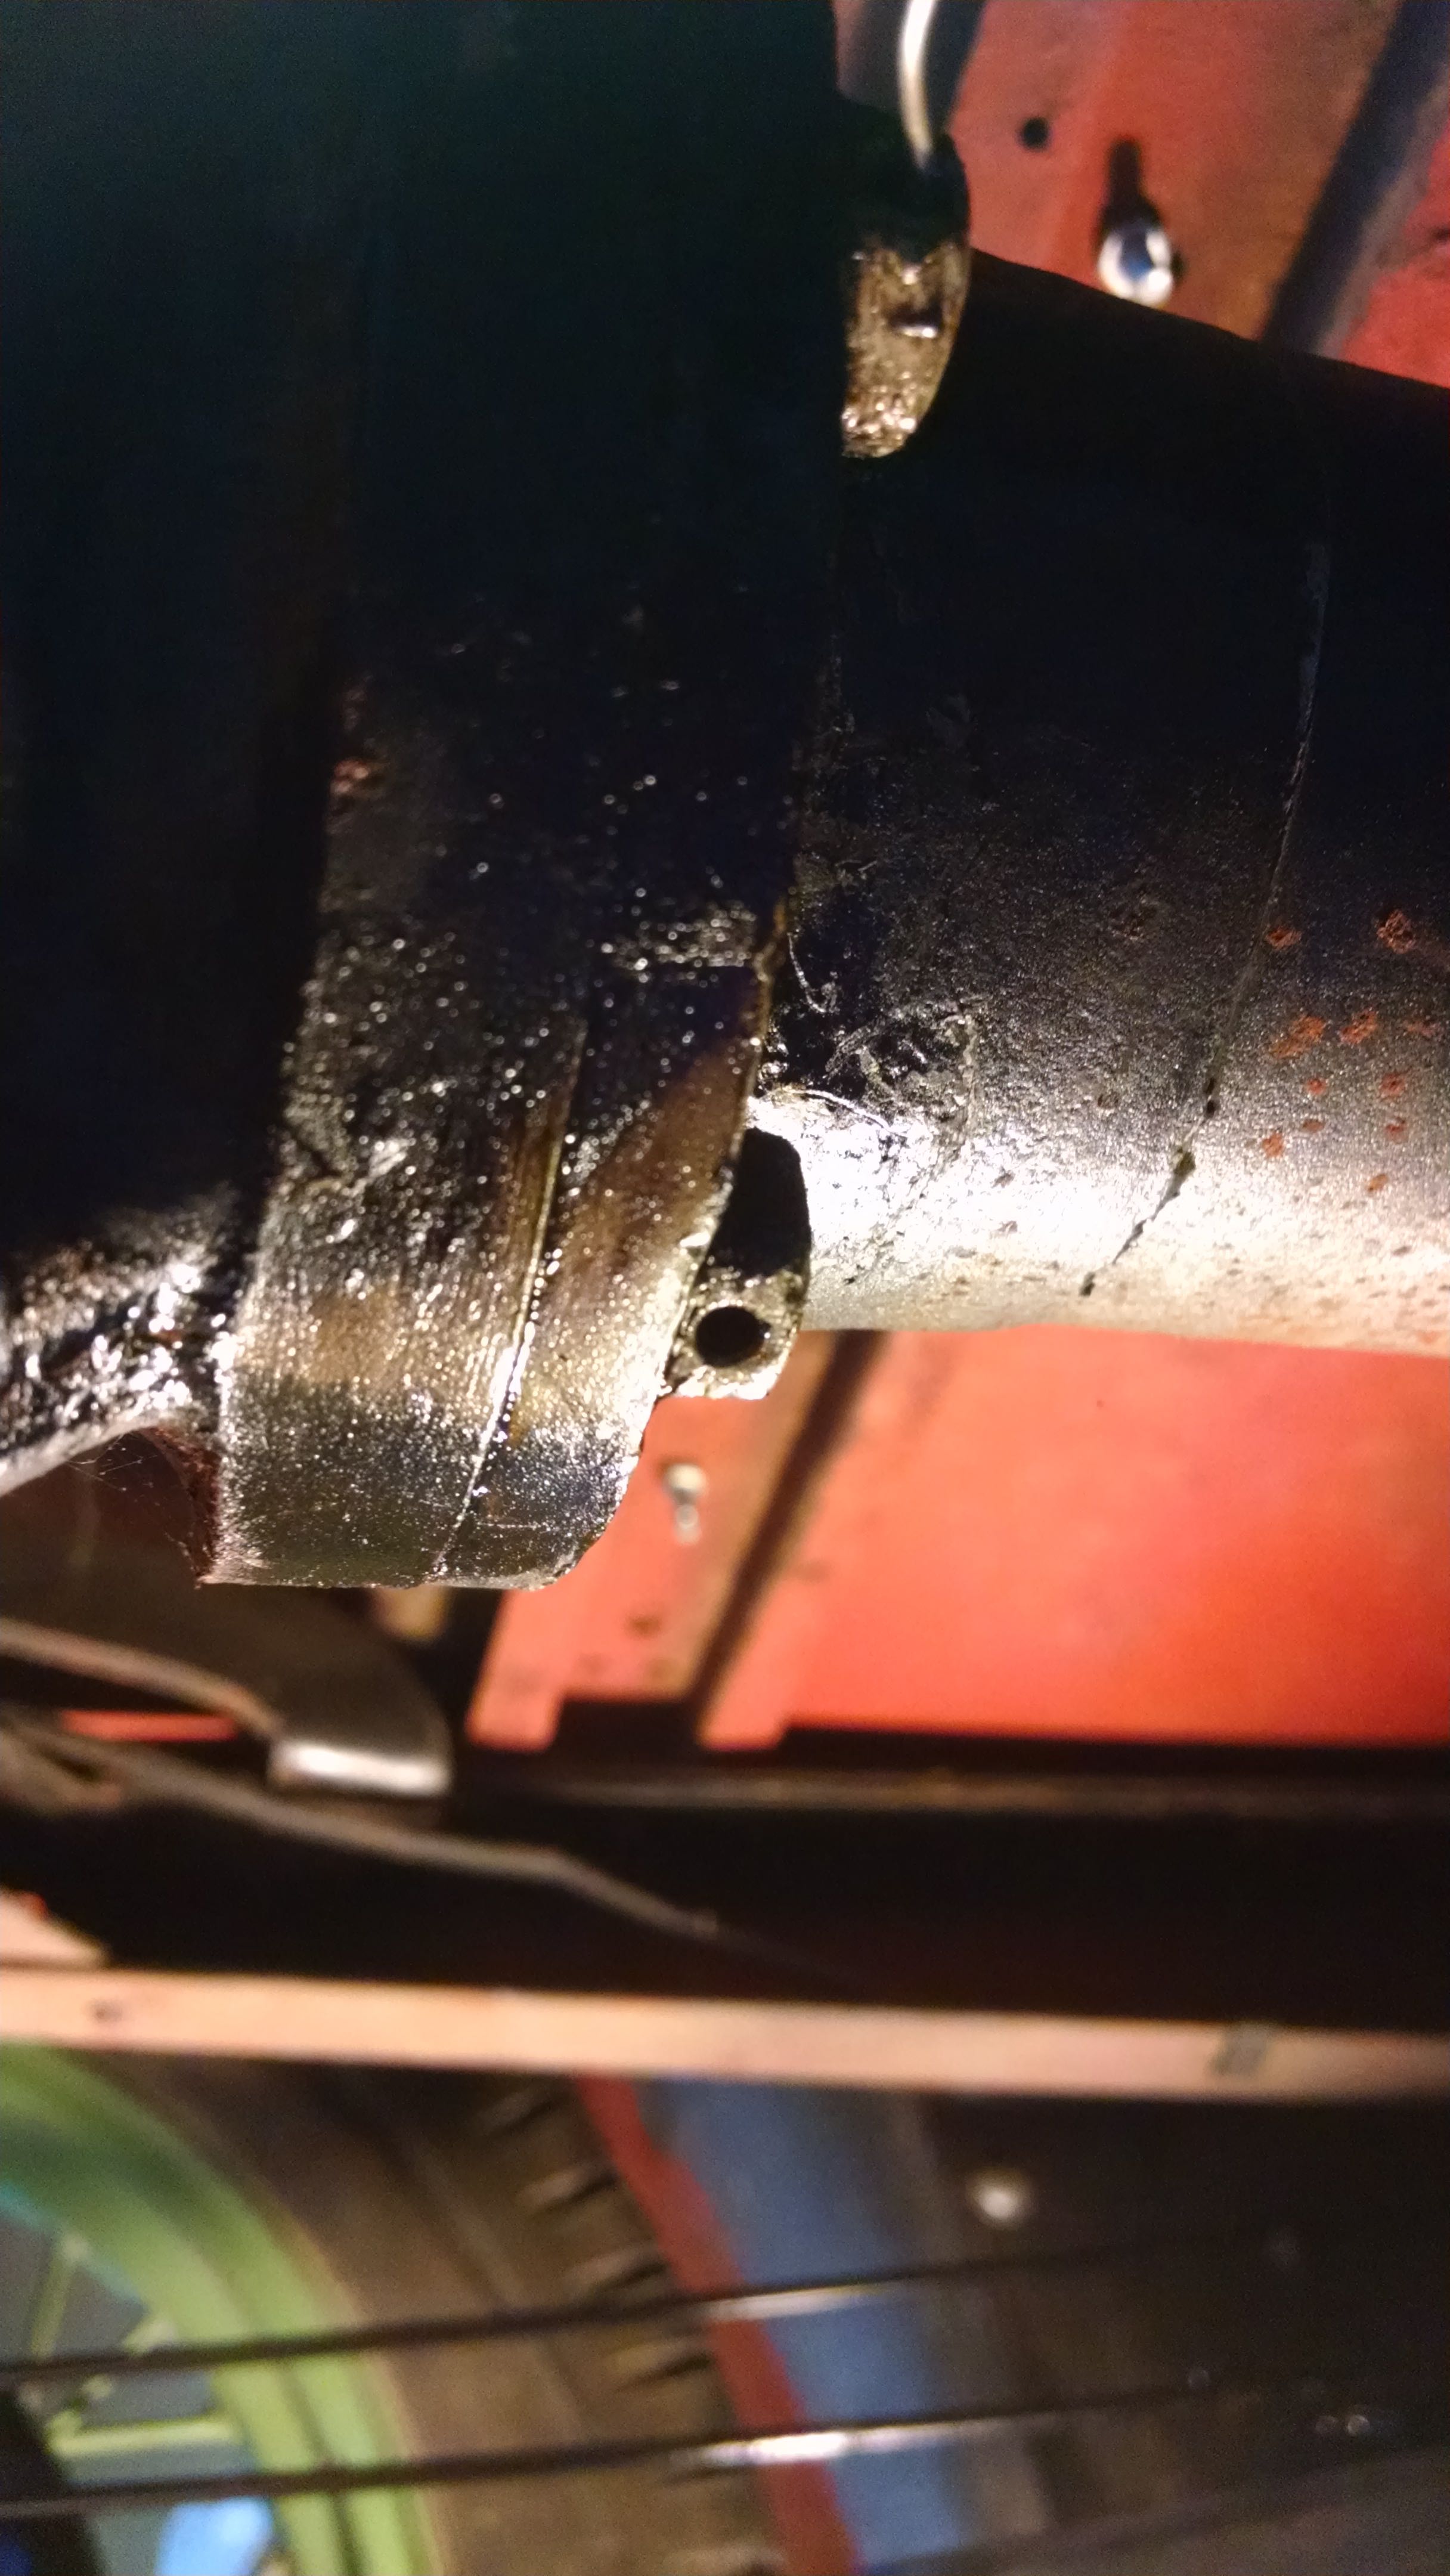
Finally, there is safety wire in a few places. It’s just what it sounds like – wire that makes things safe 🙂 Basically, there are holes in the heads of some bolts, and you add wire to keep them from spinning. In my case, there are series of bolts holding in the drive train to the rear differential.
Again, the first step was to clean out 30 years of crud from each hole. (And most of that crud seemed to end up on my face and hair, since I was laying under the car while doing this. Oh, and a few of the bolts had holes going the wrong way – they led right into the drive train tube, so I couldn’t get the wire in (it’s very stiff wire!).
But, I finally got it in. The idea with the safety wire here was to link all the bolts together, then twist off the wire. This should keep them from working their way out.
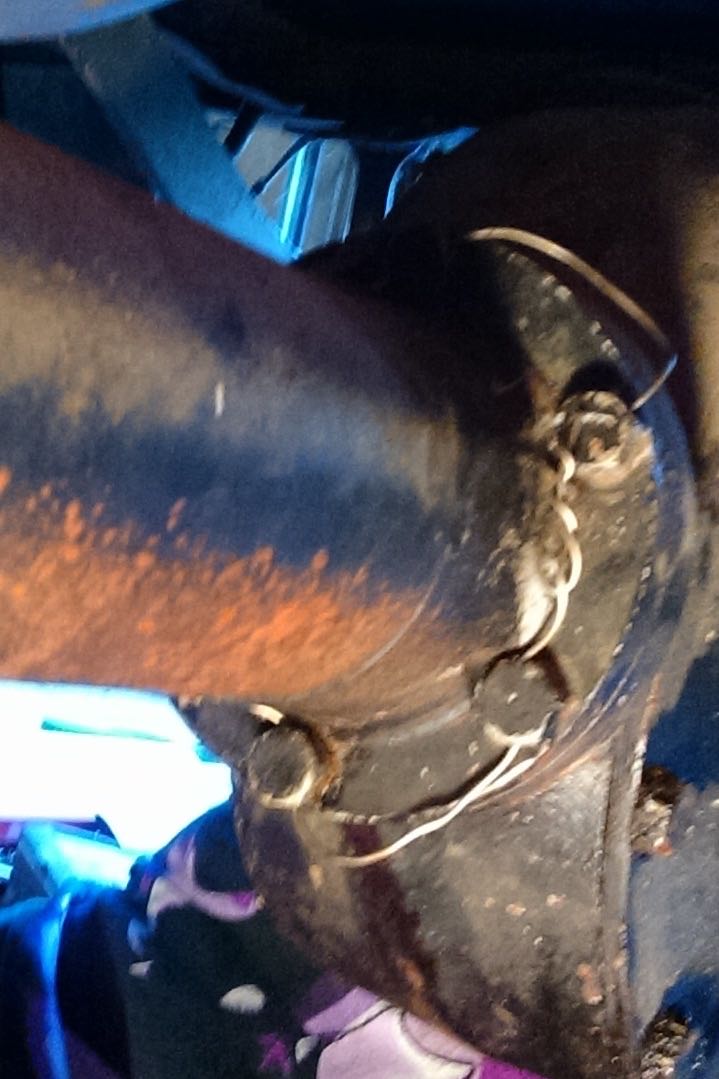
(I went back and pulled the wire tighter than in that picture, but not by a whole lot — it was very stiff wire!)
I’m sure I’ll keep finding other places, but these were the most glaring instances where Wayne didn’t use the safety measures that Ford had originally put in.

Recent Comments